Trigger Finger
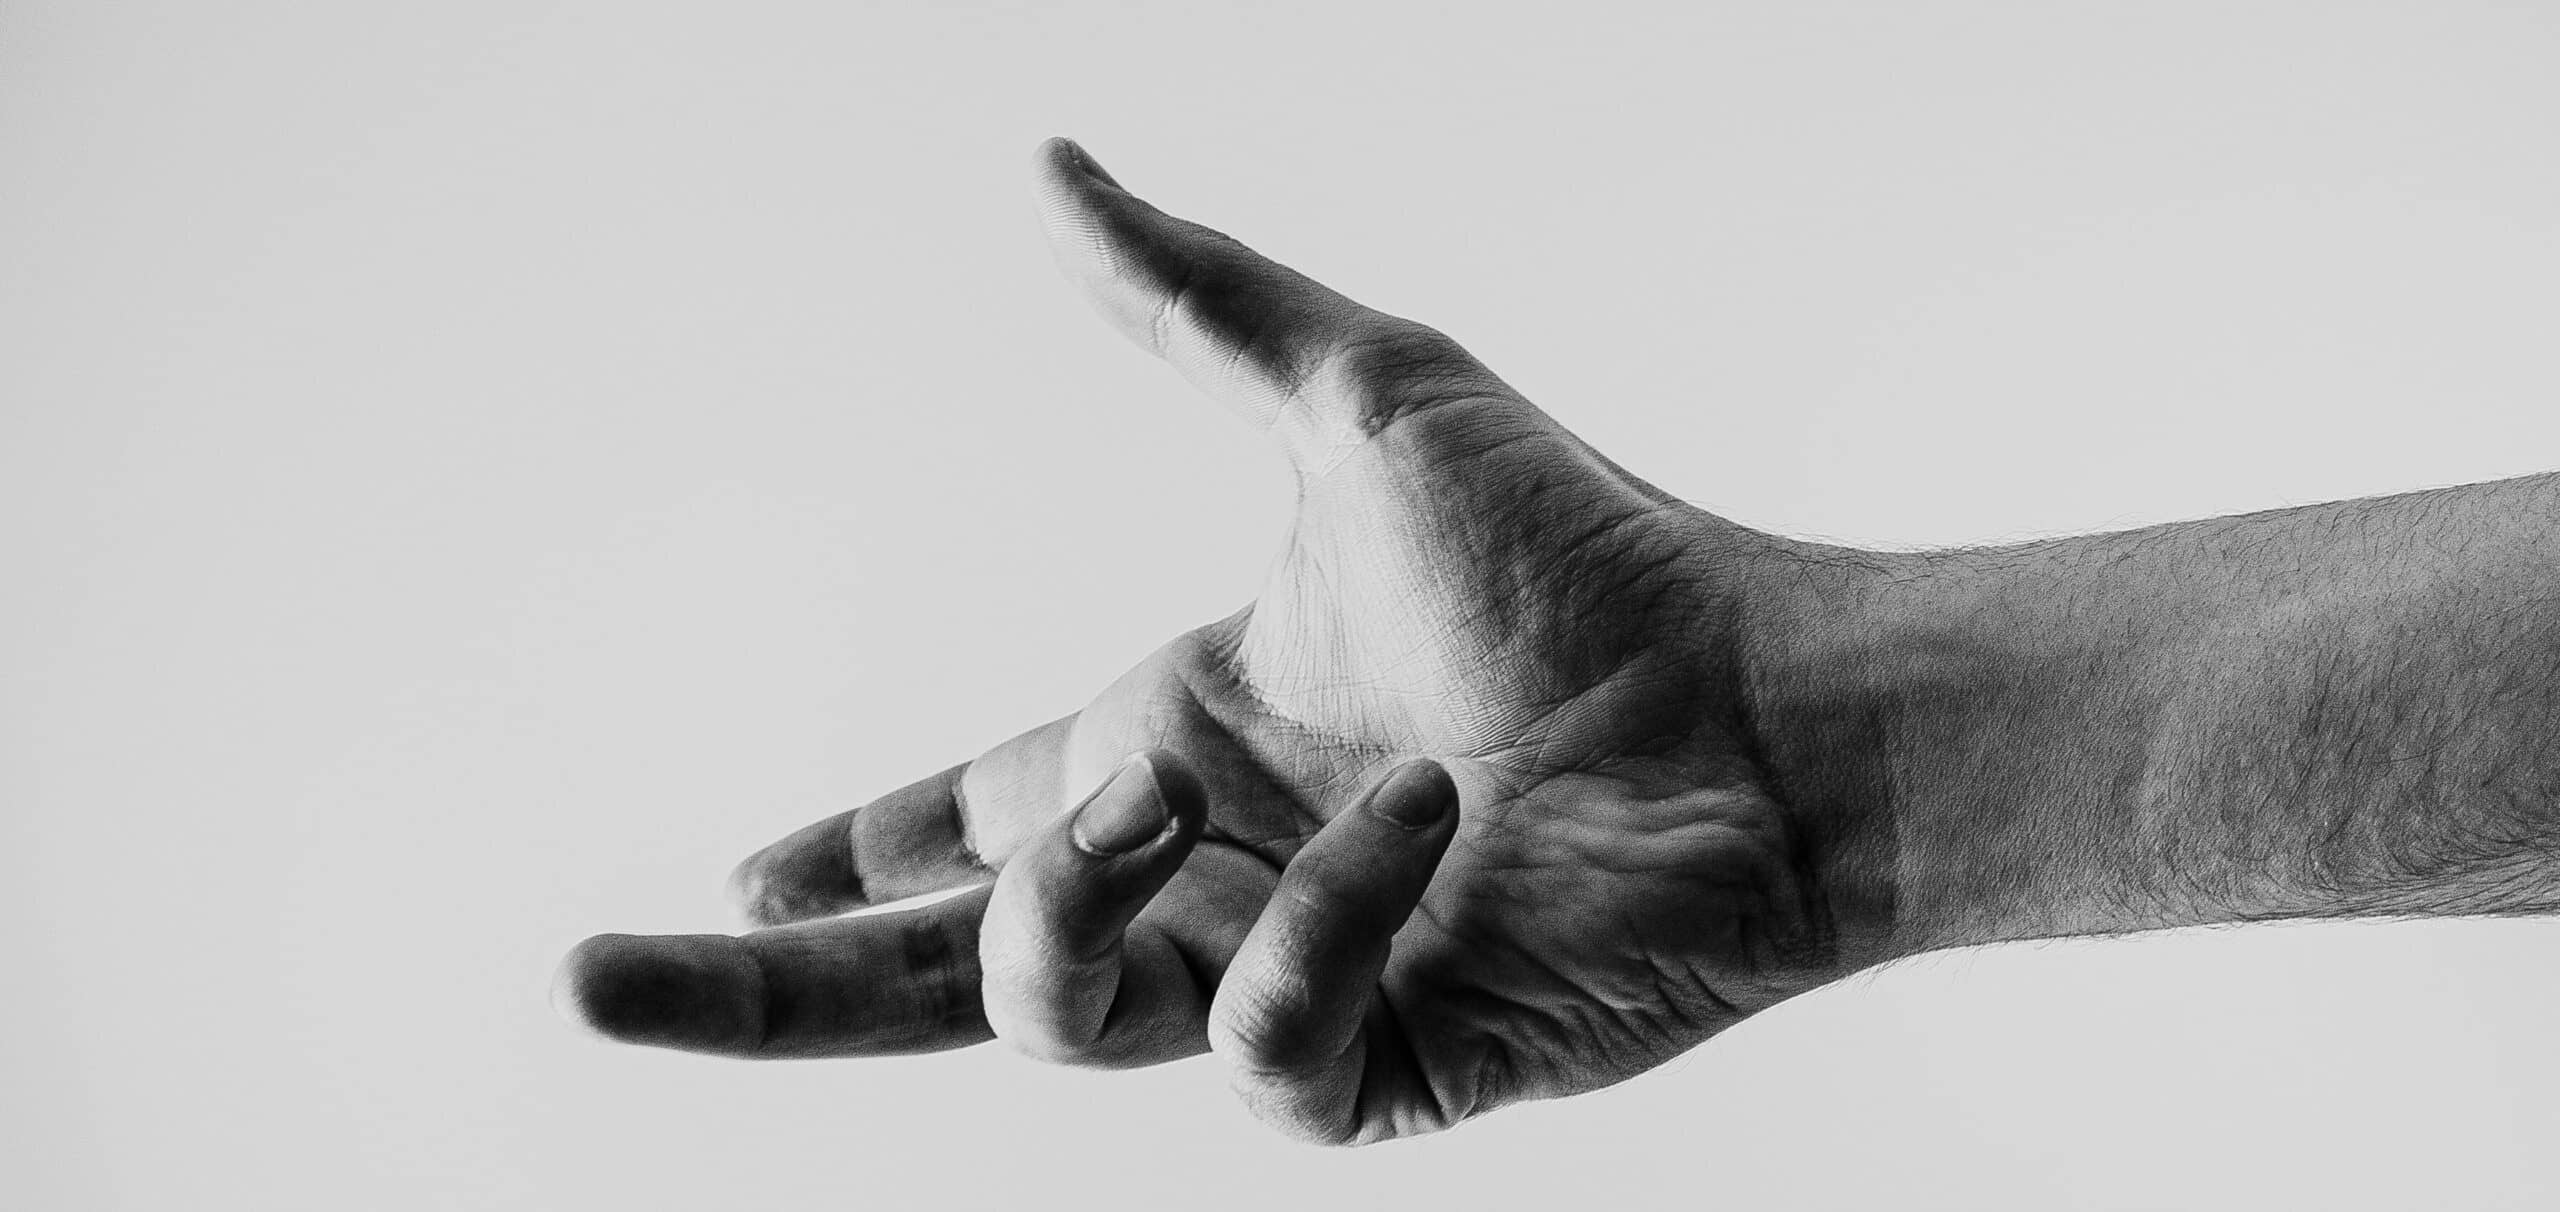
In the middle of an intense 6-week training regimen for climbing, you notice a catching and locking in your left ring finger when opening and closing your hand. There is a pain in your finger and in the top of your hand. Since you want to send your project this year and don’t want to impact your future training, you take a rest from climbing for a couple of weeks. This decreases the pain, but the digit becomes stiff. Since the pain has gone away, you try to return to moderate climbing for a couple of days to ease your finger back into motion. After two days of climbing again, the pain returns with the catching and what feels like snapping over the A1 pulley (base of finger). This is an example of someone who has developed trigger finger, also known as stenosing tenosynovitis.
Signs and symptoms
The example above is of an individual suffering from trigger finger. This appears in climbers due to the repetitive opening and closing of the fingers and the stress this causes on the tendons of the hand. Trigger finger is caused by the flexor tendon thickening in the (distal) or upper part of the palm. The thickening of the tendon creates more friction when it glides through the tendon sheath. The affected tendon is normally caught at the edge of the first annular pulley (A1) as shown in “Image 1”. This causes locking or catching during bending and straightening of the finger, sometimes needing passive manipulation of the finger to extend all the way in more severe cases. The individual has pain in the distal (upper part) of their palm as well as pain radiating along with the digit. This person will also feel tenderness in the base of their finger over the A1 pulley.
How trigger finger relates to climbing: this is an overuse injury meaning it develops over time and not just one specific incident normally. It may appear after an intense two months of training or a full month climbing trip to Yosemite. Often the sensation of catching will sneak up on you and the joint just feels a little weird and out of place; however, as it progresses, the pain will get worse as well as the finger could lock in flexion (the bent position) if pushed. In some cases, people can be predisposed to trigger finger from diabetes mellites, carpal tunnel syndrome, and repetitive finger motions, as we have discussed in climbers.
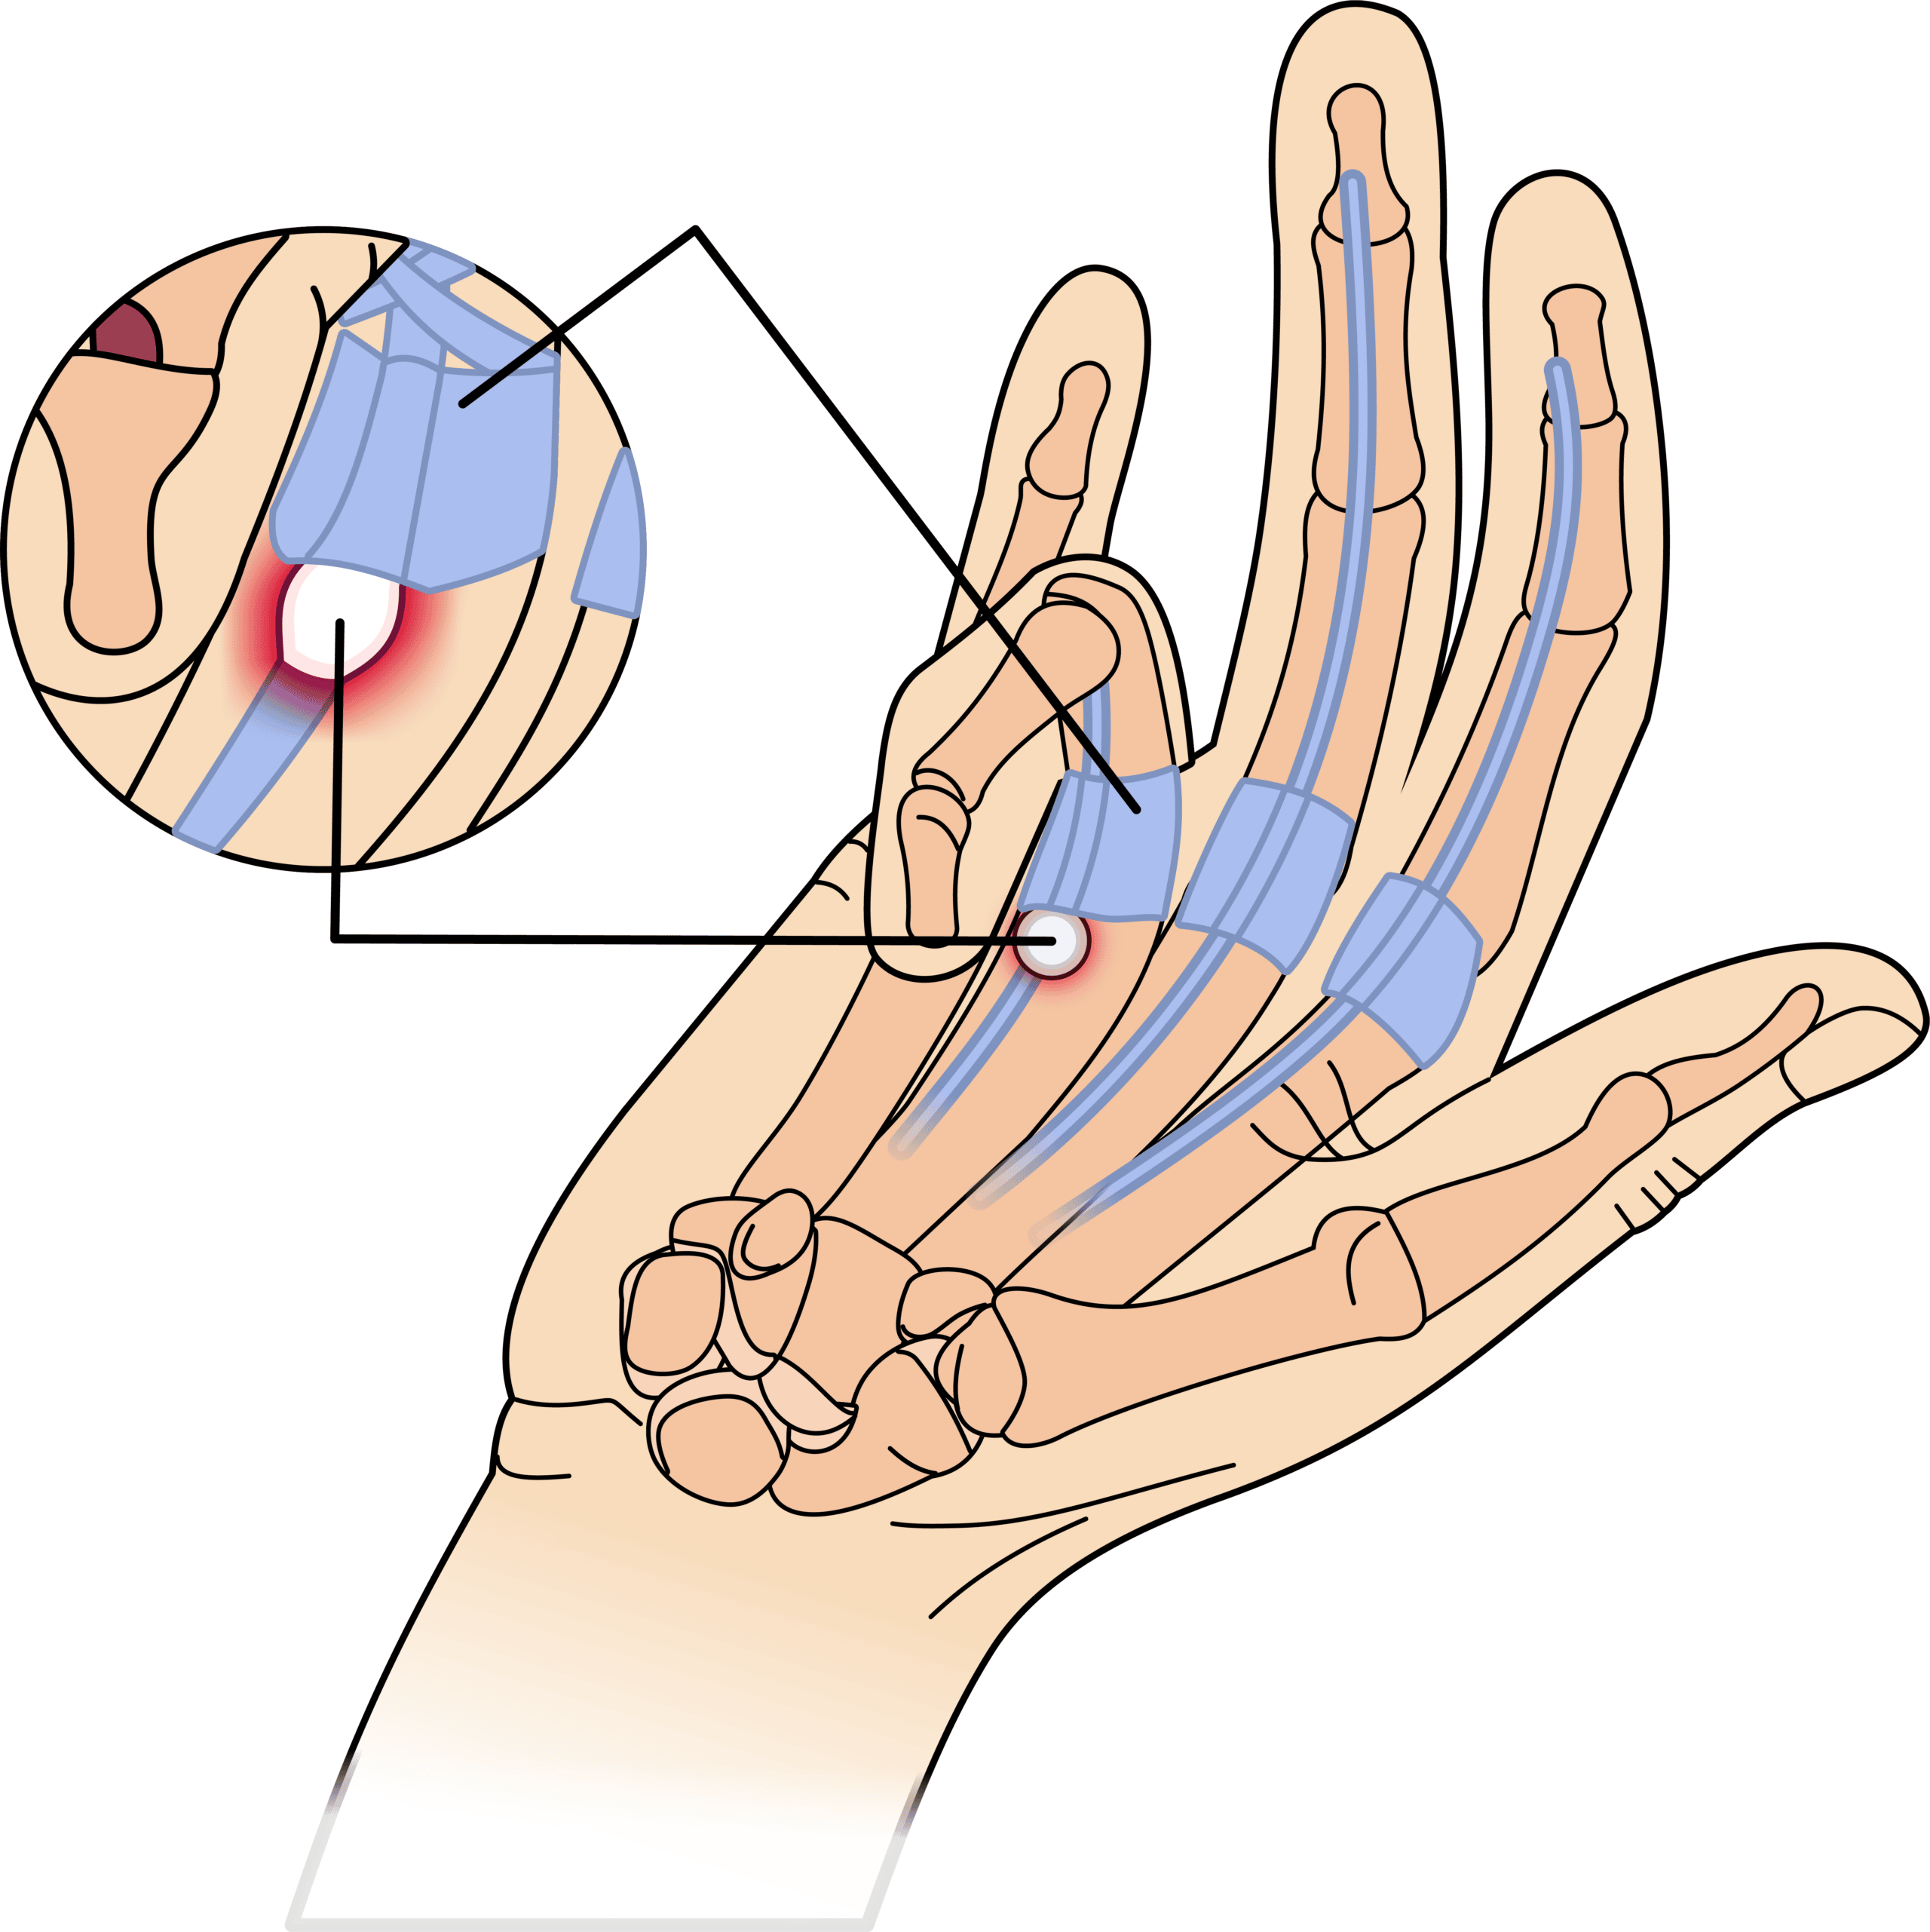
Vagy, Jared. Rock Rehab For Medical Providers: The Climbing Doctor, 2022.
Assessment:
The most used tool for diagnosing trigger finger is the clinical presentation of symptoms. The symptoms that are screened for are: popping or clicking felt when moving the finger, tenderness sometimes accompanied by a lump in the palm of the hand at the base of the affected finger, swelling, and the finger is locked in a bent position and is unable to straighten. These symptoms are worse in the morning than in the evening or following long periods of inactivity. In some instances, more than one finger can have this injury.
During the exam, the doctor will perform a physical exam observing the quality of movement of your fingers and getting a history of your symptoms. The exam palpates for pain and or lumps in the hand and observes how smooth the movement of the finger is. Also, it is important to test for grip strength in the affected hand, which could be decreased if you have trigger finger. When diagnosing this injury, ruling out other factors is done by using MRI and blood tests if necessary. There are four grades of injury used to describe trigger finger and help in research and deciding the best treatments necessary.
- Grade 0: normal movement of the digit, no problems
- Grade 1: uneven movement, pre-triggering pain, tenderness at A1 pully, palm pain.
- Grade 2: actively correctable locking of the digit, clicking, active triggering an active extend, catching demonstrated.
- Grade 3: passively correctable locking, active or passive unlocking, passive triggering, passive extend, or no active flex.
- Grade 4: uncorrectable fixed flexion, locked in flexion or extension, fixed flexion of PIP joint contracture.
The Rock Rehab Pyramid
The rehabilitation for trigger finger can vary from person to person as everyone is made up differently, and the level of injury must also be taken into consideration. Here I will lay out a plan to help heal and regain strength after a trigger finger injury. It should also be noted that there are cases that are more serious and could need further medical treatment and surgery. This also does not take the place of the benefit of having direct medical advice from a physical therapist to help you with the recovery process.
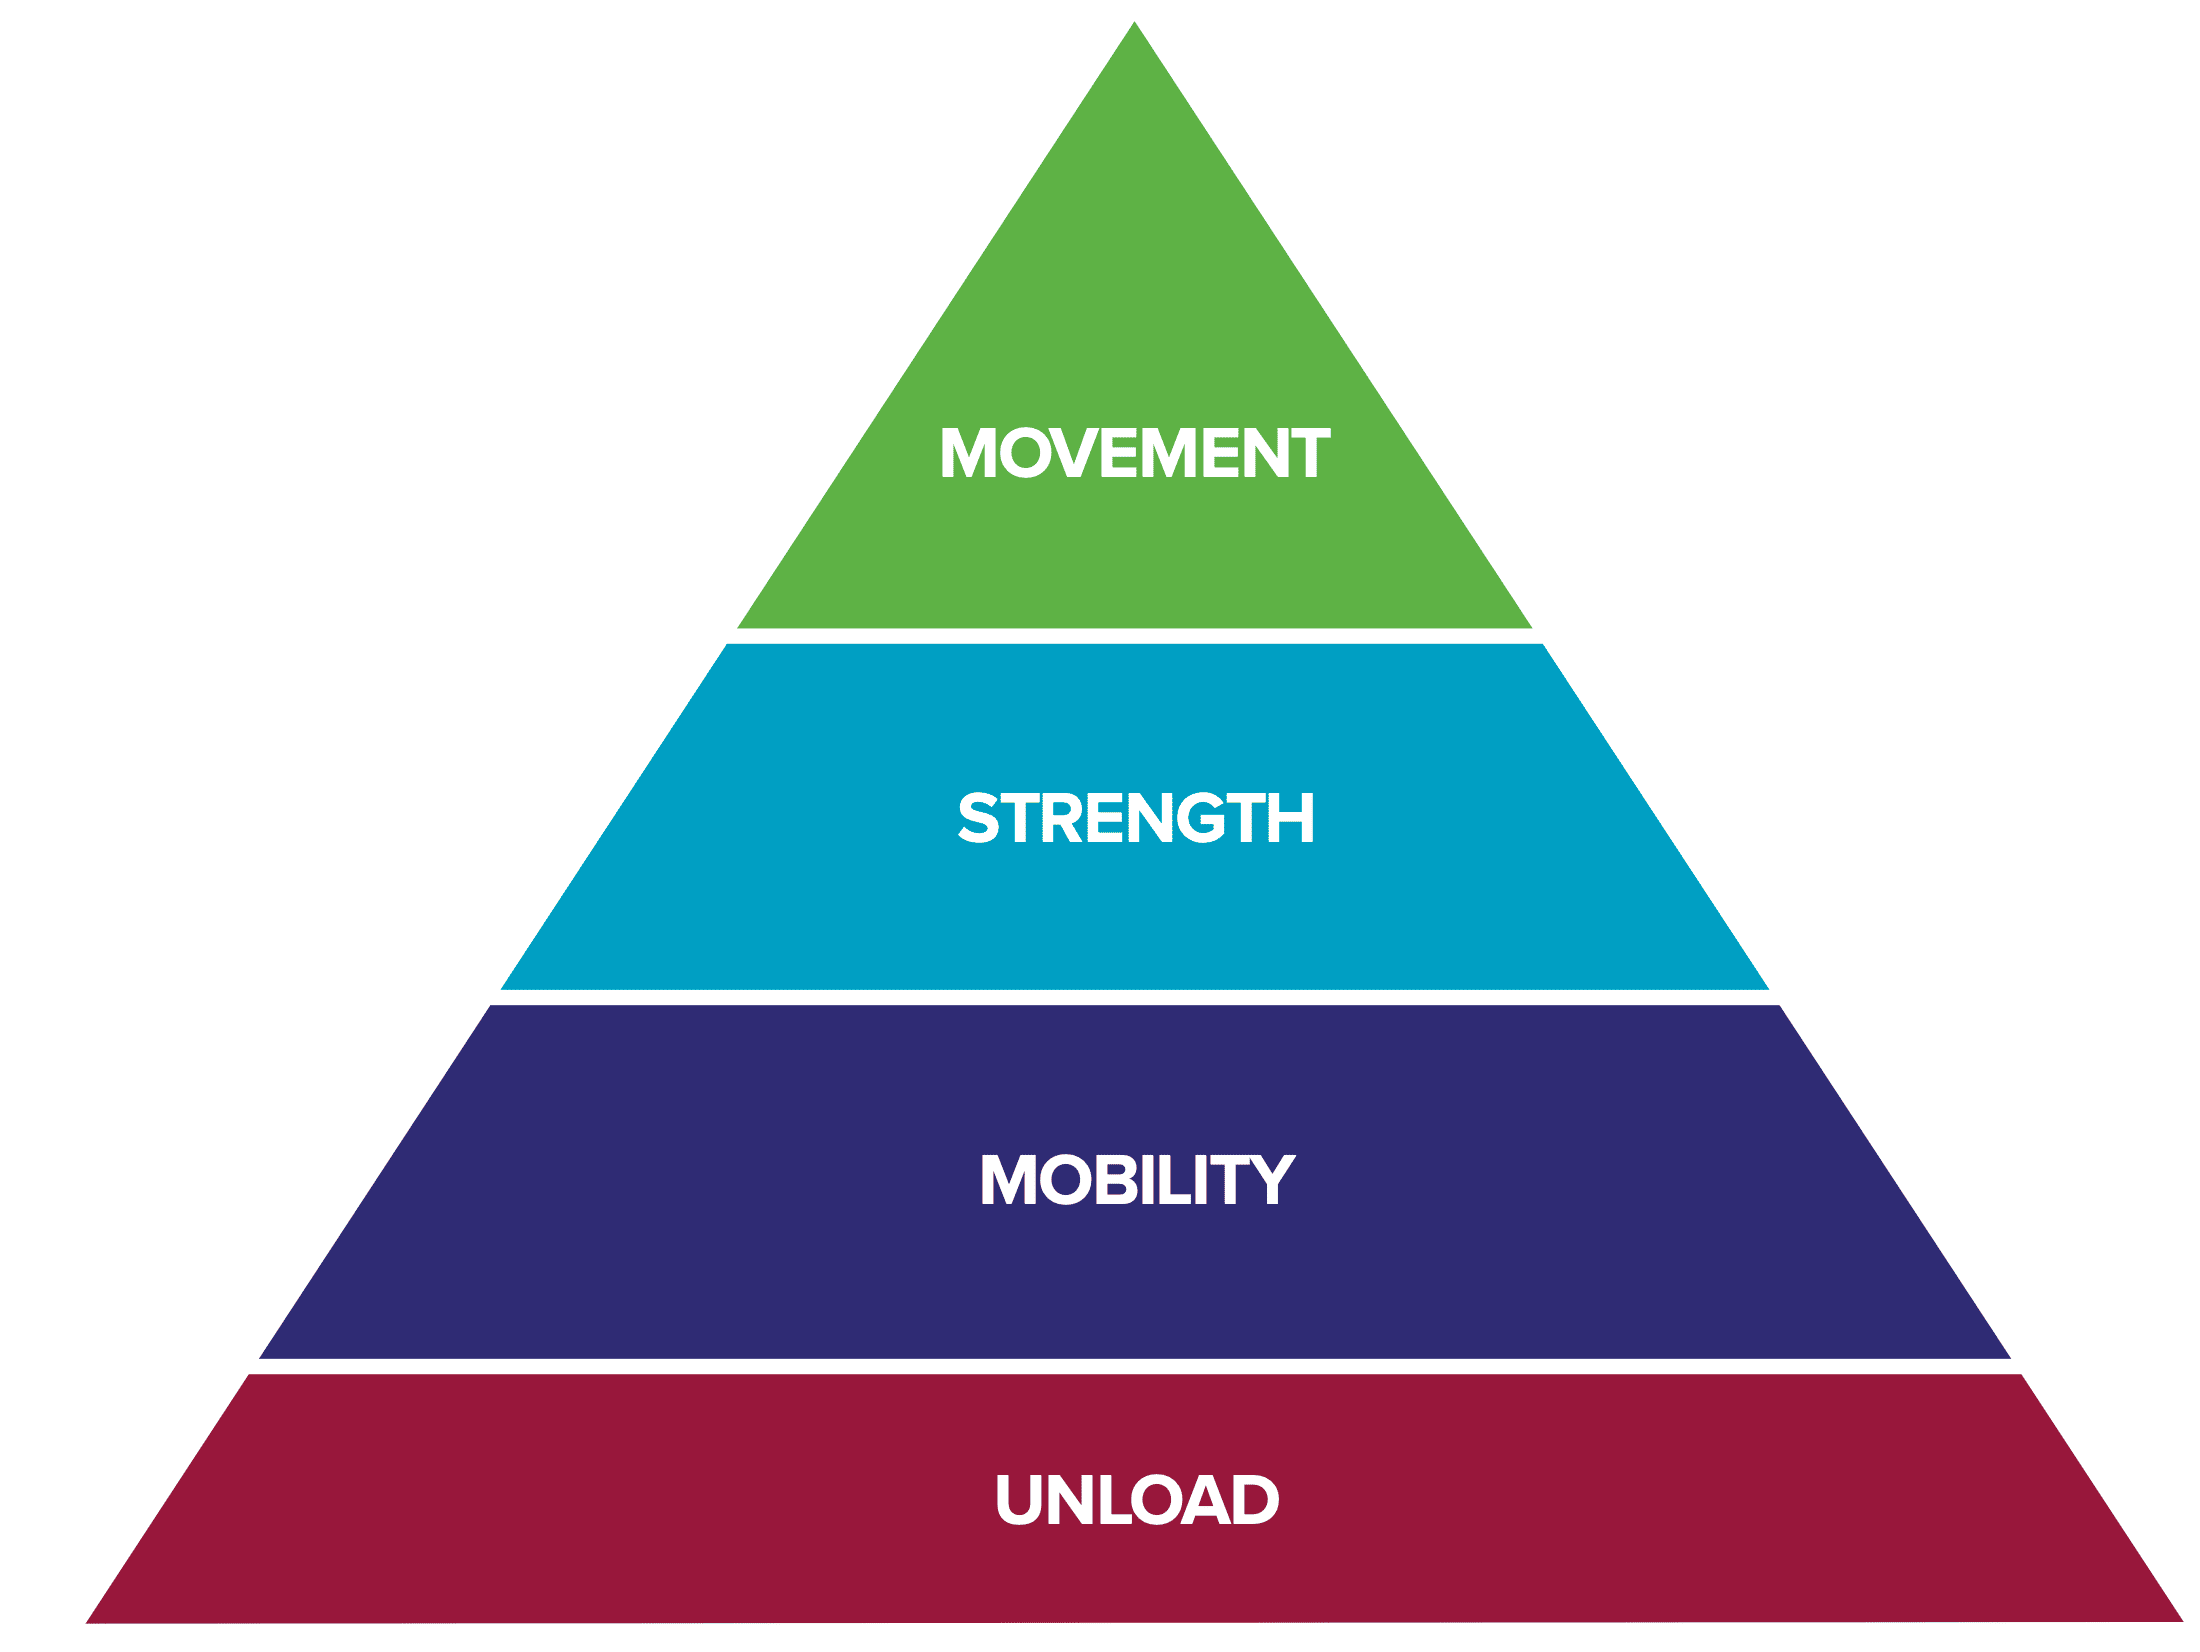
In the book Climb Injury-Free, there are four stages to the Rock Rehab Pyramid, as described by Dr. Jared Vagy, a highly respected physical therapist in the climbing community. These steps outlined below are: unloading and pain management, mobility, strength, and returning to movement.
Step 1- Unloading exercises
After an injury, it is important to take time to let the tissue rest and take time for the inflammation to subside. This phase can last a couple of days to weeks, depending on the severity of the injury. This means taking some rest days from climbing and potentially doing other light workouts that do not involve your injured finger.
- The first part of recovery is avoiding any activity that is painful or aggravates your injured finger. This means climbing, typing, writing, clicking with a mouse etc…
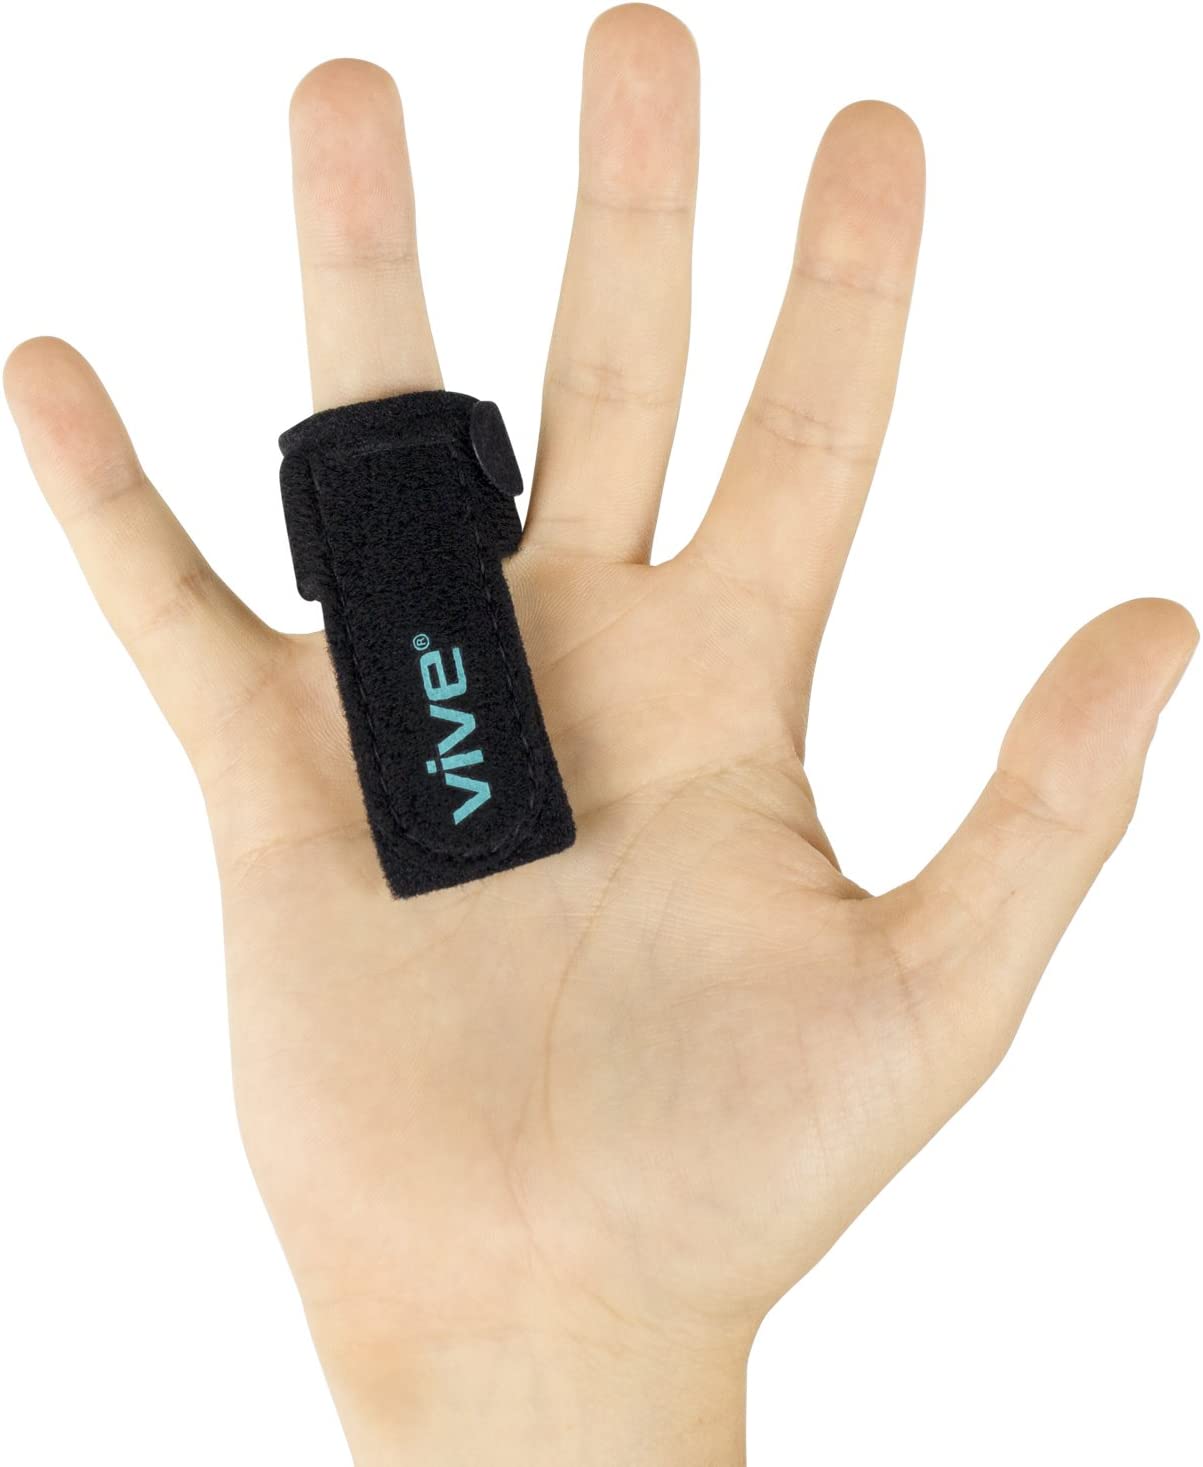
- Wear a finger brace at night for up to six weeks in severe cases to put the finger into extension (straight) so that it does not get “stuck” in flexion (bent). This will also remind you that you have an injury and need to take special care of that hand and finger for a while.
- To decrease the pain and inflammation, ice the joint for 10-15mins twice a day.
Step 2- Mobility
The pain and mobility of your finger will often be worse in the morning, so it is good to start out with the mobility right then to begin loosening up that joint to set yourself up for success later in the day.
Active Range of motion:
This means using your own muscles to move your finger. The exercise is bending your fingers into a soft fist and then extending them out straight again. This can be painful if you have the catching sensation in the base of the finger, so only move in the pain-free zone, and if you keep after it, that zone will increase little by little. Do this exercise 10-20 repetitions in the pain-free range twice daily. When doing an active or passive range of motion, if you cannot get a lot of range and your finger keeps catching it is recommended to hold the joint at the base of the finger and then go through the motion. This does not work for everyone, but it can sometimes help decrease pain while performing the exercise.
Passive Range of motion:
2-3 times per day, use your other hand to help bend your finger gently into full extension and hold it there for 30 seconds. Then again, for 30 seconds, bend your injured finger into flexion and hold for 30 seconds; this is the more painful direction, so make sure to use a gentle touch and not go into the pain. Also, ensure you are relaxing your injured hand to get the full benefit of this exercise.
Massage of the joint:
Find the tender spot at the base of your finger and do a cross tendon message with the thumb of your other hand. This will help loosen up any scar tissue that might be in the area as well as increase the circulation to stimulate the healing process. If this is too painful, hold off for a few days until the joint is less inflamed, then begin the gentle message. The key to this is being less invasive than more, a light touch to start off with, and then deepening the message as pain allows.
Step 3- Strength
After gaining the mobility back, it is important to strengthen the muscles in the hand before getting back to full-out climbing and sending those projects. This will help defend against further reinjury. When doing these exercises, ensure your pain does not exceed a 3/10 or continue on for more than 24 hours. This will set back your rehab process, so if these exercises are too painful, decrease the resistance, number of repetitions, and or frequency so that it is more manageable and does not push you into pain which will flare up your injury.
Extension exercise
Start with the tips of all of your fingers touching and put a rubber band around them, then try and open your fingers out, 2 sets of 15 repetitions once a day. As you get stronger (after a week or two), you can add more rubber bands to make it more difficult. Or if 15 is too many, decreases to 5 or 10 reps.
Flexion exercise
Put a hand towel on your kitchen table and then put your recovering hand on top of it at one end. Using the fingers of that hand, bring the other end of the towel toward you, scrunching it up as you go. Do this three times twice a day.
Using a stress ball in the palm of your hand, squeeze the ball with your fingers and thumb trying to make a fist around the ball. As long as it is not painful, this can be done 3 times a day for 20-30 repetitions.
If either of these exercises are too painful due to the resistance, go back to the active and passive range of motion until the pain recedes.
Abduction and Adduction
Abduction: Place your injured hand flat on the table and, using your other hand, squeeze the recovering finger and the one next to it together. For example, if your middle finger was injured, put pressure on the outside of the middle and index finger and have the injured hand push out against that pressure as if you are trying to spread your fingers apart. Only apply gentle pressure; this is a difficult exercise, 2 rounds of 8 repetitions once a day to start off with.
Adduction: This is the opposite of the previous exercise. Again lay your recovering hand on the table and try to squeeze your middle and index finger together with the other hand offering resistance. If it is too difficult with the resistance, start out with just the motion and work up to resisted movement. This is done in 2 rounds of 8 reps once a day.
Step 4- movement exercises and techniques
This phase focuses on returning to climbing in a safe manner and minimizing the chance of re-injury. Although every climber is itching to get back to full send mode following an injury and all that time off spent recovering, easing back into the swing of things is important.

- Every time you climb, the warmup is important, especially for the fingers, and it is even more important post-injury. Getting the blood flowing throughout the body is good, but also limbering up the fingers before getting on the wall is imperative to support the continued healing of your finger. Doing some of the strengthening exercises or active mobility exercises prior to getting on the wall can help warm up your muscles and continue strengthening to prevent re-injury.
- Starting out with easy routes on big holds for a while so that your fingers get back their strength is also helpful. Avoid crimps or making any move that hurts your finger or makes it lock up. Even as the injury gets better and you start working on your projects again, make sure to warm up properly and not jump on difficult climbs immediately; ease into your workout
- Avoid using the closed crimp position as much as possible and vary the hold types that you use when climbing. This may be difficult when climbing outside, but training inside for a few weeks before going after your project in Yosemite is advisable. This will limit the repetitive stress on your finger joints that comes from using that crimped position for every move.
Benefits of Seeing a physical therapist
It is also a good idea to seek out the valued impute of a physical therapist to assist in your personal rehabilitation. The general recovery program might not be working, and they can give your hands-on therapy as well as alter and personalize your road to recovery. Tour PT may also refer you to the proper medical team if you need further treatment. Although trigger finger heals on its own in some cases, there are instances where more drastic interventions, such as surgery, may be indicated.
About the Author
Adrienne Rossi is a second-year Doctor of physical therapy student at Mount Saint Mary’s University in Los Angeles. She is an avid outdoor adventurer passionate about rock climbing, camping, hiking, skiing, and surfing. Her goal as a DPT is to serve the outdoor community in preventing and rehabilitating their injuries. The hope is that this paper will shed some light on the rehab and prevention of trigger finger.
Don’t hesitate to reach out to Adrienne with any questions
Email: AdrienneKGRossi@gmail.com
References
- Cronkleton, E (2018, September 16) Trigger finger Exercises. https://www.healthline.com/health/fitness-exercise/trigger-finger-exercises
- Ferrara, P. E., Codazza, S., Cerulli, S., Maccauro, G., Ferriero, G., & Ronconi, G. (2020). Physical modalities for the conservative treatment of wrist and hand’s tenosynovitis: A systematic review. Seminars in arthritis and rheumatism, 50(6), 1280–1290. https://doi.org/10.1016/j.semarthrit.2020.08.006
- Ferrara, P. E., Codazza, S., Maccauro, G., Zirio, G., Ferriero, G., & Ronconi, G. (2020). Physical therapies for the conservative treatment of the trigger finger: a narrative review. Orthopedic reviews, 12(Suppl 1), 8680. https://doi.org/10.4081/or.2020.8680
- Gil, J. A., Hresko, A. M., & Weiss, A. C. (2020). Current Concepts in the Management of Trigger Finger in Adults. The Journal of the American Academy of Orthopaedic Surgeons, 28(15), e642–e650. https://doi.org/10.5435/JAAOS-D-19-00614
- Golas, A. R., Marcus, L. R., & Reiffel, R. S. (2016). Management of Stenosing Flexor Tenosynovitis: Maximizing Nonoperative Success without Increasing Morbidity. Plastic and reconstructive surgery, 137(2), 557–562. https://doi.org/10.1097/01.prs.0000475789.46608.39
- Halim, A., Sobel, A. D., Eltorai, A., Mansuripur, K. P., & Weiss, A. C. (2018). Cost-Effective Management of Stenosing Tenosynovitis. The Journal of hand surgery, 43(12), 1085–1091. https://doi.org/10.1016/j.jhsa.2018.04.013
- Moraux, A., Le Corroller, T., Aumar, A., & Bianchi, S. (2021). Stenosing tenosynovitis of the extensor digitorum tendons of the hand: clinical and sonographic features. Skeletal radiology, 50(10), 2059–2066. https://doi.org/10.1007/s00256-021-03784-x
- Vagy J. Climb Injury-Free: a Proven Injury Prevention and Rehabilitation System. The Climbing Doctor; 2018
- Vasiliadis, A. V., & Itsiopoulos, I. (2017). Trigger Finger: An Atraumatic Medical Phenomenon. The journal of hand surgery Asian-Pacific volume, 22(2), 188–193. https://doi.org/10.1142/S021881041750023X
- Disclaimer – The content here is designed for information & education purposes only and the content is not intended for medical advice.

