A Unique Climbing Injury to the Knee –PCL Injuries
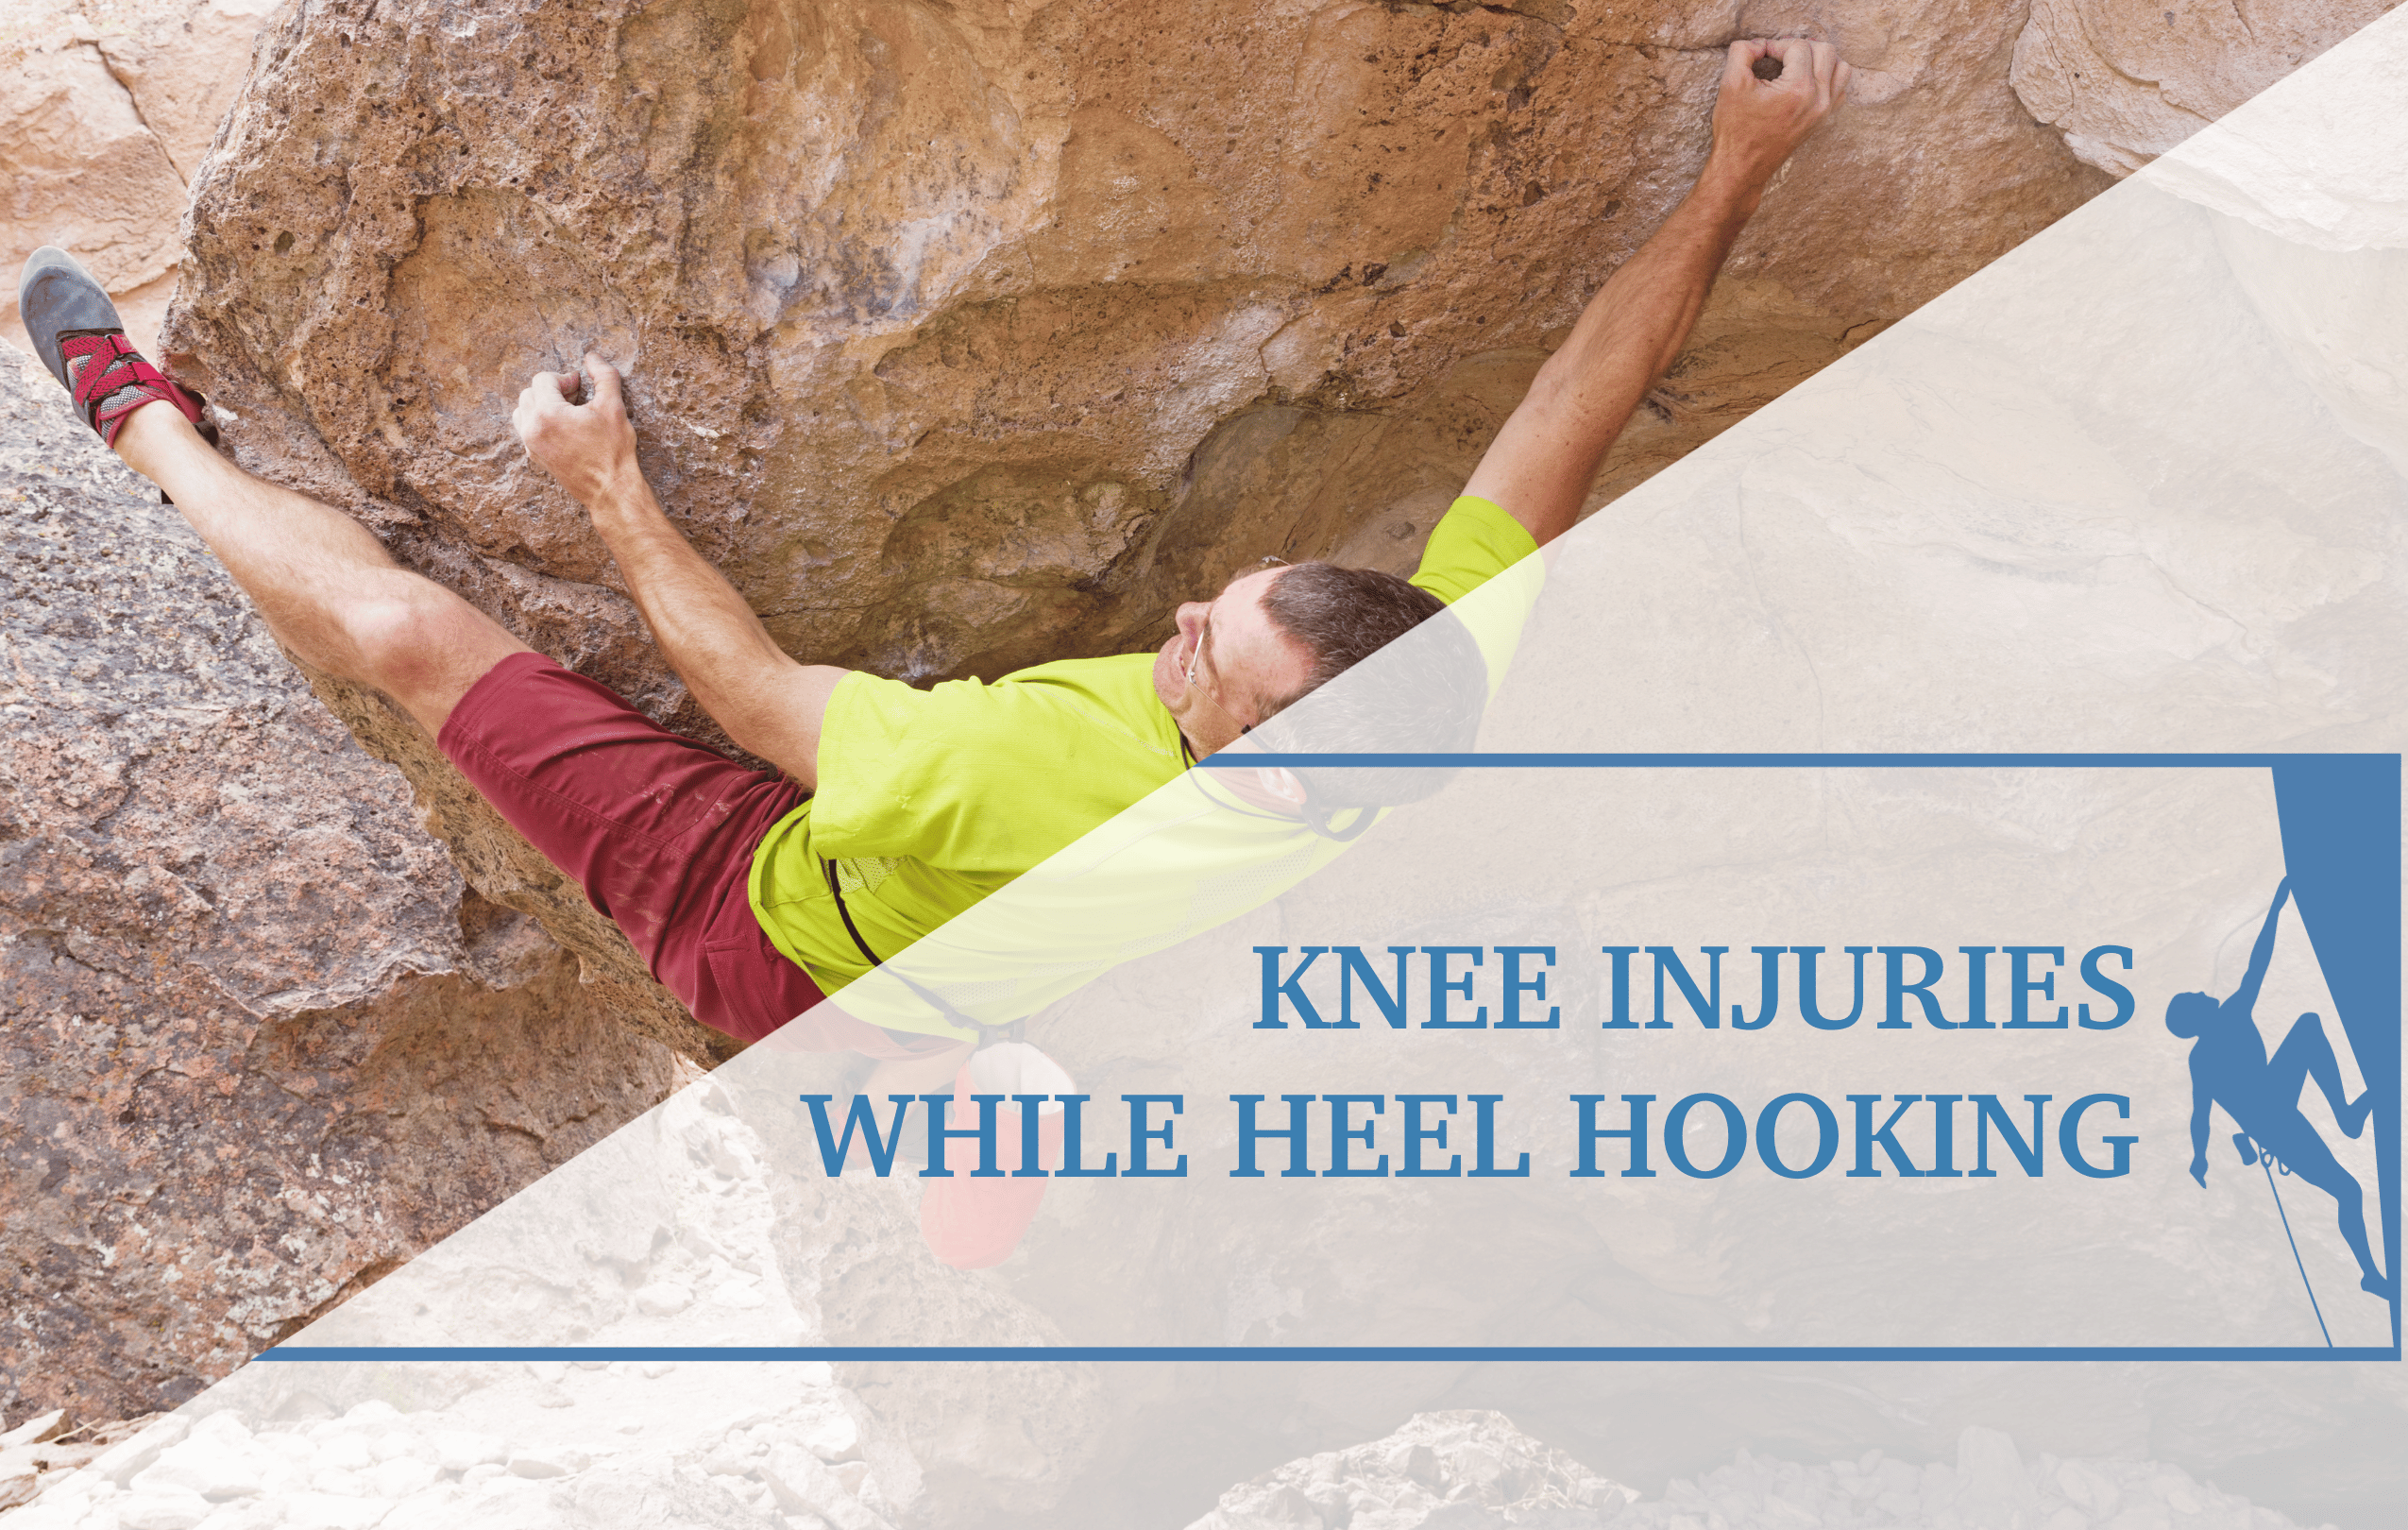
Imagine being on a roof climb where you’re bicycling with a hard toe-down and toe-hook to maintain tension in the feet to be able to make the next move; or maybe you need a drop knee to get your hips closer to the wall to match hands; or a heel hook around a volume to help pull yourself up. The options are endless and each of these moves require intricate coordination and stability by the passive (i.e. ligaments) and active (i.e. muscles) lower extremity structures to help free a limb for the next move.
With an increasing interest in indoor bouldering on the steep artificial walls worldwide, various climbing techniques using the lower extremity have become absolutely essential to successfully send difficult bouldering routes. Reports of climbing related knee injuries alone have nearly doubled in the last 20 years6. A traumatic fall is by far one of the most common culprits for multi-ligamentous knee injuries; but heel hooks may be the greatest offender to injuring the strongest ligament in the knee — the posterior cruciate ligament, commonly referred to as the PCL. This blog post will provide background knowledge on the role of the PCL in the knee joint; share some of the most common mechanisms of injury to the PCL; and suggest a few helpful rehabilitative exercises and tips for the injured PCL.
What are the ligaments of the knee?
The knee is a complex joint with several structures working together to allow for efficient function and movement, mostly in the sagittal (front to back) and transverse (rotational) direction. Like most buildings with supportive upright pillars, the knee joint also has foundational support from 4 main passive (meaning non-contractile) cord-like structures: anterior cruciate ligament (ACL), posterior cruciate ligament (PCL), medial collateral ligament (MCL), and lateral collateral ligament (LCL). When considering any twisting or rotational movements at the knee (i.e. the drop knee move in climbing), the LCL and MCL are the thick bands that provide side to side stability to prevent excessive movement that can result in an injury.2,3 On the other hand, the ACL prevents forward gliding of the leg bone (tibia) while the PCL prevents the backwards gliding during forward and backwards movements of the knee (i.e. jumping and landing).2,3 As you can probably imagine, these ligaments exist for their meticulously individualized roles to help provide the stability in the knee during static (i.e. steadily reaching for a hold on a slab) and dynamic (i.e. using momentum to get to the next hold) movements.

One more key structure that is often neglected is the posterolateral corner (PLC). The PLC complex is an intricate structure composed of the arcuate ligament, LCL, popliteus tendon complex, popliteofibular ligament, lateral gastrocnemius tendon, and the posterolateral joint capsule.2 Its whole function is to provide secondary stability to the knee joint by restraining excessive movements in outward rotation, sideways, and backwards. An injury to this complex is commonly seen with injuries to the ACL and PCL; unfortunately, it is frequently missed during diagnostic examinations and special testing. Failure to address an injured PLC can hinder both the non-operative and post-operative exercise rehabilitation processes, with higher risks of reinjury.
So, how does one injure their PCL and how does it affect the knee?
Unlike the active muscle structures of the body, the passive structures such as ligaments do not have the luxury of frequent sensory input to notify increases in tension. By the time it’s been noticed that the ligament’s tension has exceeded its own limit, it’s often too late and the ligament has likely been overstretched or injured.
Forced hyperextension (excessive straightening) or hyperflexion (excessive bending) of the knee seem to be the culprit of this type of injury6. Although there are some cases of sports related isolated PCL injuries, they are most commonly seen in MVCs – the classic “dashboard injury”3,5,6. The impact to the bent knees from the dashboard can cause a posteriorly directed shear force on the tibia, stretching the ligament to an extreme to cause a sprain or a complete rupture. A similar mechanism is seen in sports related traumas as an athlete falls onto a flexed knee with their feet plantarflexed (toes pointing downwards). *This is actually how I tore mine playing basketball* Thus, for climbers, jumping off a bouldering problem and falling on to the knees should be absolutely avoided!
Another climbing specific consideration are the heel hooks. Heel hooks are notorious for hamstring injuries. When a climber strategically places and digs their heel into a hold, the hamstring muscles contract and pull the tibia posteriorly to create a rotational force to bend the knee to help lift or stabilize the climber to make the next move. Simultaneously, the PCL will function deeply at the knee joint to provide passive stability to prevent excessive posterior movement of the tibia. A very high contractile force by the hamstrings pulling the tibia posteriorly result in an increased load to the PCL to an already straining PCL with the increasing knee flexion range.7 This increase in strain can exceed the ligaments limit, leading to a lengthened (sprain) or torn PCL injury.
Signs and Symptoms
The following are common signs and symptoms depending on the healing phase (acute vs chronic) of the injury.
*Acute/Subacute*
Individuals who experience low-energy trauma (sports accidents) causing an isolated PCL injury usually have very subtle symptoms. Unlike an injury to the ACL, a “pop” is often not heard. They may present with mild to moderate swelling, a slight limp, decreased range of motion in the knee, and some pain/discomfort in the back of the knee – especially with squatting and kneeling5. Individuals who experience high-energy trauma (MVCs) likely have a multi-ligamentous injury. These individuals commonly present with severe swelling, inability to bear weight, multidirectional instability, and decreased range of motion. These injuries should be treated immediately incase of a vascular disruption to the larger arteries in the knee.
*Chronic*
Individuals experiencing chronic symptoms from an injured PCL will often have pain in the anterior (front) and medial (inner front) part of the knee. Athletes with this chronic injury will likely have complaints of pain and mild instability, especially when decelerating or sprinting5. Climbing moves such as toeing down or heel hooking may cause some pain or discomfort since the PCL is no longer functioning optimally to prevent the hamstrings from pulling the tibia (leg bone) backwards.
See a Medical Practitioner
Although this article has done its best to include the most recent and up-to-date evidence, the body is complex and often individualized in its anatomy and subtle movement patterns. Please understand that the information provided in this article is to serve as a guide and not as a substitute for a professional diagnosis and treatment plan from a qualified healthcare professional.
Assessment
Below is a list of common orthopedic test that may be performed by your orthopedic specialist to better assess the degree of injury of the PCL:
Tibial Sag Test: The knees are positioned into 90° of flexion and observed from a side view to examine the position of anterior tibia. Posterior sagging of the tibia is indicative of a positive test.
")
")
Posterior Drawer Test: The patient lies supine with their knees flexed to 90°. The examiner will sit on the subjects toes and place their hands around the knee with their thumbs resting on the tibial tuberosity. The examiner will apply a posteriorly directed force. A lack of end feel or an excessive posterior translation compared to the uninvolved limb is indicative of a positive test.
")
")
Dial Test: This test is specific to the posterior lateral corner (PLC) and not the PCL. The examiner will apply an external rotation force at the feet. Positive test is a >10° or rotation compared to the uninvolved side. Position the knee at 90 deg. knee flexion to assess PCL laxity and 30° knee flexion for PLC laxity.
Following a thorough knee examination, if a PCL injury is suspected it will be crucial to develop a plan to best address the areas of pain and limitation to return to prior level of function. Below is a general guide to help those who have an injury to the PCL.
The Rock Rehab Pyramid
The Rock Rehab Pyramid was developed by Dr. Jared Vagy in his book Climb Injury-Free to help injured climbers return to sending their beloved rock climbing routes. The pyramid is composed of four stages of rehabilitation that strategically progresses the injured climber towards recovery. Following an injury, one will start at the bottom of the pyramid and work upwards using general guidelines to determine appropriateness for progression to the next level. A decrease in pain/soreness allows advancement to the next level. With no change in symptoms at a particular level, a climber should stay at the current level for one week and then progress to the next level. An increase in soreness should have the climber regress down one level.

The bottom level of the pyramid aims to Unload the tissues in the body so that they have the best healing environment. Often times, after an injury there is some sort of change in Mobility. After the tissues have calmed down from the previous level, this stage will look to reestablish normal, pain free range of motion. Once the injured area restores its mobility, it is time to increase the Strength of the surrounding muscles so that Movement in the following level can be coordinated and optimized. Click here to learn more about the rock rehab pyramid structure. The following is a general rehabilitation guide for PCL injuries.
Unload:
*Acute Injuries*
Unlike the ACL, some evidence has shown that the PCL has a natural healing ability. Several researchers discussed the importance of initial immobilization and offloading with the knee locked in full extension with an acute injury. This will help prevent the hamstrings from activating, pulling the tibia posteriorly, and causing the ligament to heal in an elongated position. This is a crucial step that can drastically help reduce risks of chronic instability in the knee.
Mobility exercises:
*Acute Injuries*
The literature supports mobility exercises in the early phases of rehabilitation. The goal would be to prevent pain and swelling that can contribute to joint stiffness2. During the first few weeks after the injury, isolated contractions of the hamstring muscles should be avoided. Once the initial inflammation subsides, you may move the knee through passive ranges of motion (ROM) in prone (on your stomach) with a gradual increase in knee flexion. To avoid excessive stress to the PCL, stay between 40° and 90°of flexion in the initial 2 weeks8. By about 6 weeks, you should strive to have full knee ROM (~120° degrees of flexion)1,8.
Distal joint mobilization, like ankle pumps, can also help reduce swelling through distal muscle contraction which ultimately helps prevent joint stiffness as well5.
The following exercises are recommended for individuals who are no longer in the “acute phase” of healing.
*Chronic Injuries*
Tight calf and hamstring muscles can pull the tibia (leg bone) backwards and strain the PCL further. The goal for the following three mobility exercises are to lengthen the muscles of the posterior chain that cross the knee joint.
Exercise 1: Gastrocnemius Stretch→ A static calf stretch to target the gastrocnemius muscle spanning behind the leg.
Exercise Instructions:
- Start by positioning yourself about a foot distance away from the wall.
- Step one foot back with both hands resting on the wall for support.
- Bend the knee of the foot furthest from the wall while keeping the heel down. Bend the knee until a stretch is felt back behind the leg.
Frequency: 2-3 minutes each, once per day
Exercise 2: Hamstring Foam Roll
Exercise Instructions:
- Start by getting into a long sitting position with a foam roller positioned under the thigh.
- Use hands and arms as a lever to slightly lift the bottom up to maneuver up and down or side to side on the foam roller.
Frequency: 2-3 minutes, once per day
Exercise 3: Body Weight Romanian Deadlift → An exercise that can actively lengthen (“stretch”) the hamstring muscles.
Exercise Instructions:
- Start by positioning feet shoulder width apart.
- Maintain a neutral spine and slowly shift hip backwards allowing the knee to bend slightly, while lower hands along the front of your thighs and legs until a stretch is felt in the back of the thigh.
- Slowly return to starting position.
Frequency: 3 sets of 10 repetitions, once per day
Strength exercises:
Due to the scarcity in rehabilitative studies on isolated PCL injuries, cries for further evidence and research seem to be the common theme in the conclusions of these studies. However, what we do know is the importance of quad strengthening and proprioception training early on in the rehabilitative process. The following exercises are just a few that can be incorporated into your rehab or weekly training routine.
Exercise 1: Quad Sets → A classic quad activation exercise before moving on to more functional standing quad dominant exercises.
Exercise Instructions:
- Start by lying down on your back or in a long sitting position.
- Place a towel under your knee crease.
- While keeping the knee straight, press the knee down towards the surface.
- Squeeze the quad muscle and hold for 2-3 seconds, then release.º
Frequency: 3 sets of 15 repetitions with 2-3 seconds holds, once per day
Exercise 2: Banded Terminal Knee Extension → A progression from quad sets into a functional standing position to activate the quadriceps muscle with some resistance before transitioning into a more dynamic functional exercise (i.e. squats).
Exercise Instructions:
- Start by looping a thick looped band around a stable pole at knee height.
- Situate self by facing the pole with the resistance band wrapped around the back of the knee below the knee crease with a slight knee bend.
- Step back until the band is no longer slackenned or step back further for greater resistance.
- Without moving the feet, straighten and push the knee against the resistance band, hold for a few seconds, then slowly return to starting position.
Frequency: 3 sets of 15 repetitions with 2-3 seconds holds, once per day
Exercise 3: Front Squats → A great exercise to load the quads by carrying the external weight in the front of the body to increase the tissue tolerance surrounding the knee joint.
Exercise Instructions:
- Choose a kettlebell weight of your choice. I recommend starting out with a lighter weight to be able to focus on controlling the movement.
- Start with feet shoulder width apart with kettlebell held in the front close to the chest.
- Slowly with control, lower your body down as if you are going to sit down into a chair. *Make sure you are hinging at the hip with a neutral spine*
Frequency: 3 sets of 10 repetitions, once per day
Exercise 4: Banded Lunges → An exercise that focuses on knee stability in a staggered stance.
Exercise Instructions:
- Start by looping a thick band around a stable pole at knee height.
- Begin by positioning feet shoulder width apart with the resistance band wrapped around the back of one knee below the knee crease.
- Step back to take the slack out of the resistance band, then step the free leg back even further to get into a lunge position.
- Lower body down towards the ground by allowing the front knee to bend 90º without the toes passing over the foot.
- Repeat this movement with the band pulling the knee outwards and inwards. Make sure to keep the knee stable during the lunge motion to prevent forwards-backwards and side-to-side movements at the knee.
Frequency: 1 set of 15 repetitions in each direction, once per day
Exercise 5: KettleBell Swings with Single Limb Balance → An exercise that focuses on lower extremity stability and balance by challenging the three main sensory systems of the body.
Exercise Instructions:
- Find a compliant surface (i.e. a pillow or crash pad).
- Hold two weights in your hands and swing them forwards-backwards and side-to-side while balancing on the compliant surface.
Frequency: 2 sets of 30 seconds with each variation
As mentioned in the above segment, a hamstring dominant heel hook can generate a very large force posteriorly at the knee joint causing great strain on the PCL. To mitigate this strain, we can distribute the force generation by positioning the foot outwards to recruit the larger glute muscles. These next exercises are great lower extremity warm-up exercises that will help wake-up the glute muscles for your climbs.
Exercise 6: Glute Activation
Exercise Instruction:
- Put one resistance band around and above the knees
- Perform the following variations with the resistance bands:
- Diagonal Step Backs: Shift body weight into one leg and step opposite leg diagonally and back while maintaining the tension in the resistance band.
Frequency: 2 sets of 10 repetitions, once a day
-
- Four Corner Walks: Get into a mini squat with feet shoulder width apart. Maintain the tension in the band and step forwards, to the side, backwards, and back to the side in a box pattern.
Frequency: 3 rounds in each direction, once a day
Exercise 7: Glute-Ham Bridges → An exercise that trains the individual to activate the bigger glute muscles before recruiting the hamstring muscles for hip extension, mimicking heel hooking mechanics with optimal muscle activation in a gravity eliminated position.
Exercise Instruction:
- Lie on your back with your knees bent.
- Squeeze and engage your glutes and lift hips up towards the ceiling. Load through the heels while keeping your feet flat on the surface.
Frequency: 3 sets of 10 repetitions, once a day
Movement Advice:
- Tip #1: This first one is simple — learn how to fall or jump off a problem properly! Avoid falling directly on your knees when jumping off of the climbing wall or landing with stiffened knees. Think of a soft landing with a slight knee bend for some shock absorbing action.
- Tip #2: Do a movement analysis of yourself. It may sound complicated but it’s quite simple; have a friend watch you or film yourself climb. Run through the video a few times and pick out where your technique may be lacking to see if there’s any correlation with some aches and pains you’ve been experiencing lately. It often goes unnoticed, but our body is naturally great at picking up the slack from lacking body regions. Like most things in nature, our body will choose a path of least resistance; but that doesn’t always mean it’s the best path for injury free climbing. Repetitive nonideal movements can stress the body beyond its limits, increasing the risks for those unplanned falls on to your knees or even a serious catastrophic injury like a knee dislocation.
- Tip #3: Climbing specific training is great but overall strength training can help reduce risks of injury as an inexpensive and easily accessible tool for injury prevention. The few exercises provided in this blog would be a great place to start if you are injury-free; if you are recovering from an injury, be sure to consult your healthcare professional before attempting the exercises to make sure the exercises are appropriate for your specific injury.
The Research
- Agolley D, Gabr A, Benjamin-Laing H, Haddad FS. Successful return to sports in athletes following non-operative management of acute isolated posterior cruciate ligament injuries medium-term follow-up. Bone Jt J. 2017;99B(6):774-778.
- Beutler, A., Alexander A. Physical examination of the knee. In: Post T, ed. UpToDate. UpToDate; 2020. Accessed December 22, 2020. www.uptodate.com
- Beutler, A., Fields, K. Approach to the adult with knee pain likely of musculoskeletal origin. In: Post T, ed.UpToDate. UpToDate; 2020. Accessed December 22, 2020. www.uptodate.com
- Loading Patterns of the Posterior Cruciate Ligament in the Healthy Knee: A Systematic Review
- MacDonald, J., Rodenberg, R. Posterior Cruciate Ligament Injury. In: Post T, ed. UpToDate. UpToDate; 2020. Accessed December 22, 2020. www.uptodate.com
- Morelli V, Bright C, Fields A. Ligamentous injuries of the knee; anterior cruciate, medial collateral, posterior cruciate, and posterolateral corner injuries. Prim Care – Clin Off Pract. 2013;40(2):335-356.
- Nasab SHH, List R, Oberhofer K, Fucentese SF, Snedeker JG, Taylor WR. Loading patterns of the posterior cruciate ligament in the healthy knee: A systematic review. PLoS One. 2016;11(11):1-28.
- Pierce CM, O’Brien L, Griffin LW, LaPrade RF. Posterior cruciate ligament tears: Functional and postoperative rehabilitation. Knee Surgery, Sport Traumatol Arthrosc. 2013;21(5):1071-1084.
- https://www.physiotutors.com/wp-content/uploads/2017/10/PCL.jpg
Author Bio
Honoka Wendy Shiga is a second-year doctorate student from Irvine, California. She earned her kinesiology degree from Chapman University and is currently working towards her doctorate degree in Physical Therapy from the University of Southern California. She was an athlete all her life and acquired several injuries, including an injury to her PCL, that ultimately led her to pursuing a profession in healthcare. Although she enjoyed the competitive years of basketball from a young age through college, she now enjoys the sport recreationally. In the more recent years, she was introduced to the sport of climbing and completely fell in love when she had the opportunity to watch her more advanced climbing friends project and send climbs on boulders in Yosemite National Park. You’ll probably see her at the local climbing gyms for now, but she hopes to find some time between her school work to make trips outdoors. To contact Wendy with any questions and comments, please email her at hshiga@usc.edu.
- Disclaimer – The content here is designed for information & education purposes only and the content is not intended for medical advice.

Related Posts