New Knee Pains for Climbers: How to Prevent and Recover from Meniscus Injury
There was a large competition over the weekend and the gym is now open for you and full of new climbs. It’s time to send those competition problems! With a mix of abstract moves, crazy high steps, intense drop knees, and tricky but necessary heel hooks, these aren’t your typical climbs. You’re feeling strong, psyched, and working hard to unlock the pivotal beta. On the wall and out of options, you finally decide to commit a drop knee and crank through your next move. You hear a pop in your knee and feel some pain. The next day your knee starts to swell and walking hurts. What is going on?
Climbing is a demanding sport, requiring good health from the tips of your fingers to the tips of your toes. With the trends in climbing competitions driving changes in route setting at local gyms to have more varied, full-body climbing, there is a great demand put on the lower extremities and especially the knees. These trends in route setting are also driving trends in climbing injuries: Knee injuries are becoming more common and are associated with advanced lower-extremity climbing moves. One of the more common parts of the knee injured while climbing is the medial meniscus.1 In this article, we’ll talk about how to identify, prevent, and rehabilitate meniscus injuries for climbers.
What is the meniscus?
Within each knee there are two “C” shaped menisci, one medial and one lateral. Each meniscus is a disc-like cartilaginous structure within your knee that sits between your tibia and your femur, the two primary bones in your leg. One of your meniscus’ primary functions is to distribute forces within your knee joint.

The outer portions of the menisci are vascularized, meaning they get a regular supply of nutrients and are more readily able to undergo a healing process. The portion of the meniscus that is more central within the knee does not have a good vascular supply and as such, this region does not heal and may require surgical repair if injured.
What is the mechanism of injury for the meniscus?
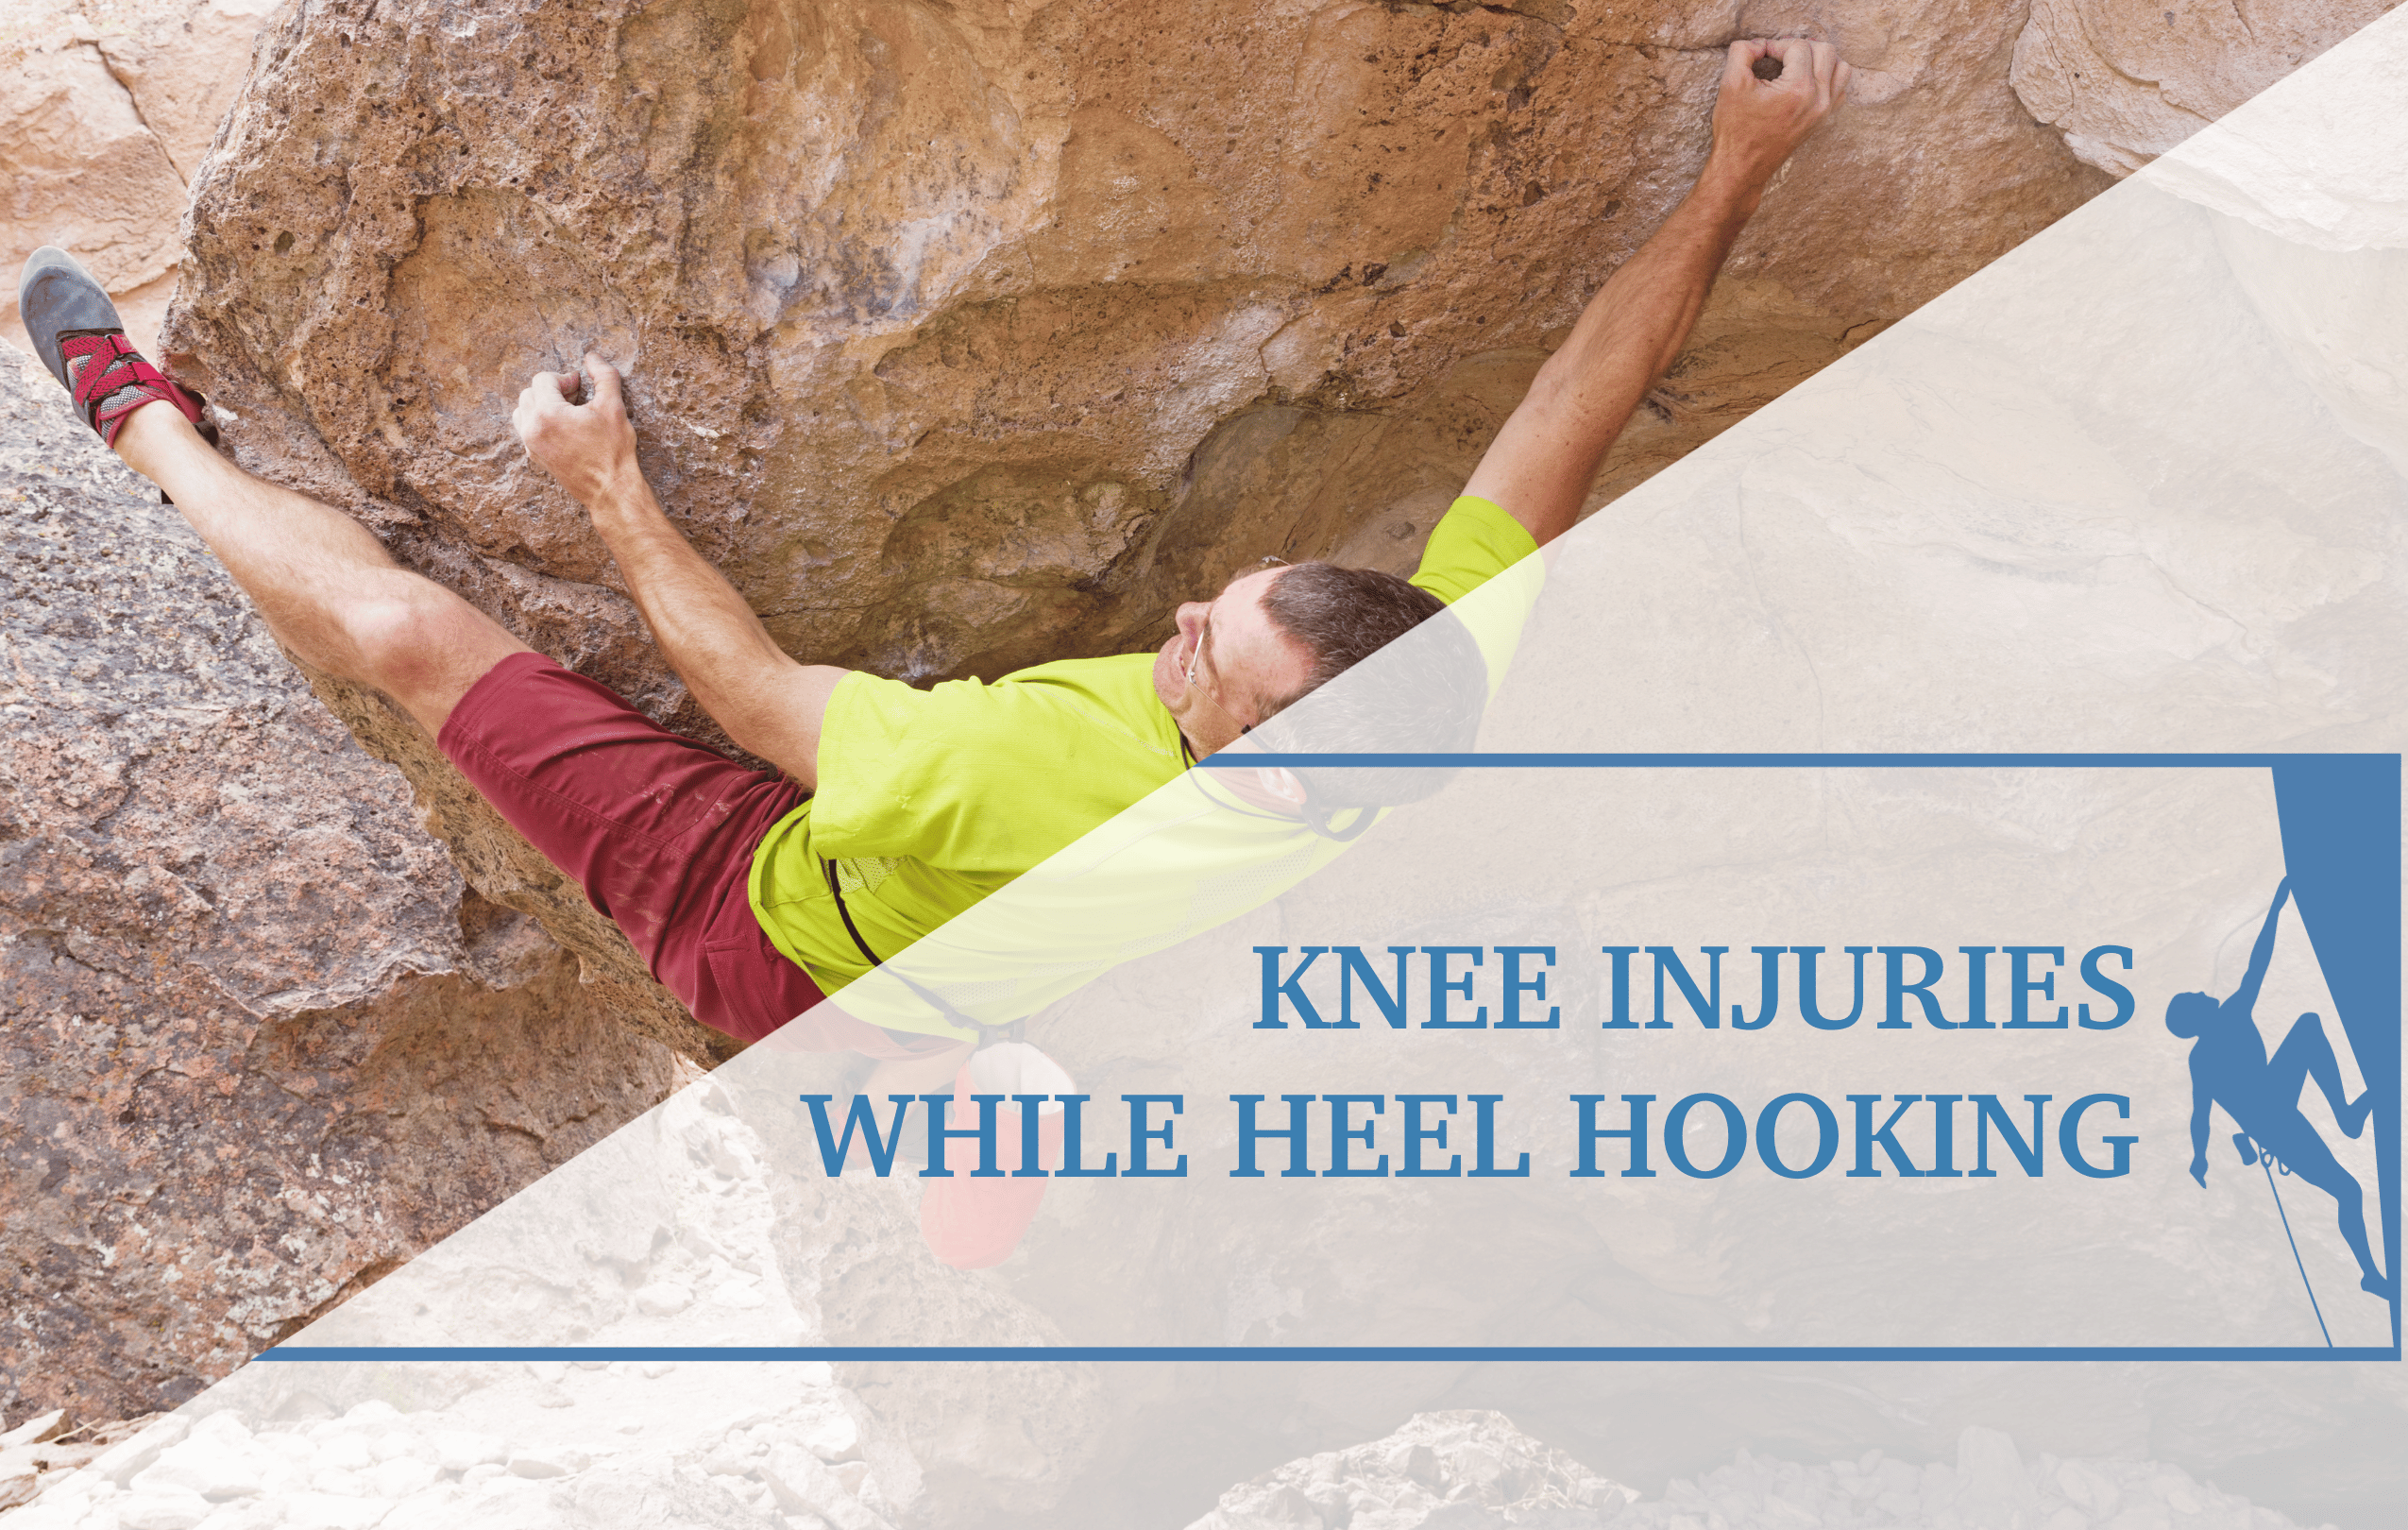
Meniscus injuries are common to running and cutting sports such as soccer and American football. The common movements associated with injury are the knee flexing or extending under load while the tibia (lower leg bone) or femur (upper leg bone) is rotating. This combination of movements and torsion puts excess strain on the meniscus, causing injury.2 There are three climbing moves in particular that are associated with meniscus injuries. These moves are the drop knee, heel hook, and high step.
In the images below you can see the climber’s foot is not pointing in the same direction as their femur, indicating that some rotation is occurring in their tibia or lower leg. If this climber lurched for a new hold from one of these positions, the forces through their leg could generate more rotation of their tibia while their knee is simultaneously bending, putting their meniscus at risk.
The not so good …


Notice the climber’s femur (thigh) and foot are not parallel in the moves pictured above, demonstrating a lack of tension through his hamstring.
How can you avoid injury to the meniscus while climbing?
Technique can play a significant role in minimizing your risk of knee injury. When performing these moves that stress the knee, consider the orientation of the tibia or lower leg relative to the thigh. The direction your toes point generally show which way your tibia is rotated. Attempt to keep your toes in line with your femur (thigh) when heel hooking, drop kneeing, or high stepping. In addition to being safer, more strength and control of these movements from the hips rather than relying on stability from passive structures in the knee will also lead to better climbing.
The good …


In the pictures above there is good muscle tension through the climber’s hamstring controlling the rotation of the tibia keeping good relative femur to foot alignment. As a result of this tension, the risk for meniscus injuries is reduced and control through the climber’s leg is increased!
When keeping good tension through the lower extremity, specifically the hamstrings, you will minimize the dynamic tibial rotation in your knee and improve the control of movement while executing your desired move.
As you progress in your climbing, you should also consider the progression of movements. Gradually increase your activity tolerance to more advanced climbing moves as you learn them and incorporate them into your climbing.
The research by Lutter et al. in 2020 shows there is a lower prevalence of meniscal injuries in competitive climbers than non-competitive climbers, suggesting that strengthening and fitness help to protect against meniscus injuries of the knee.3 In climbing, there is a heavy emphasis put on upper extremity training such as hangboarding, or campus training. However, a strong and balanced lower extremity program should not be neglected. Improved strength in the lower extremity can assist with more control over the rotation of the lower leg during climbing. An often overlooked component of knee stability is hip strength. Hips strength is a key component to stability at the knee and should be considered as an addition to any overall fitness program.
Signs and Symptoms
If you have an injured meniscus, you will likely experience:
- Onset of swelling in your knee after the first day or two
- Tenderness or pain directly along the joint line of your knee
- Pain with movement of your knee that may include popping or clicking
- Possible locking of your knee joint
Assessment
What will your physical therapist do to rule in or rule out an injury to the meniscus?
Tests used by physical therapists are designed to stress specific structures within the body to isolate the type of tissue injured and location of injury. Therefore, the tests used to assess meniscus injury try to isolate and stress the meniscus or surrounding tissue to help guide the rehabilitation process. The following are common tests performed to help determine if a meniscus injury is present.
Simple Meniscus Assessment
- Observation for swelling
- Quad atrophy/inhibition
- Palpation for joint line tenderness
Meniscus Entrapment Testing
- Apley’s Test
Depending on the findings from an evaluation and the severity of your symptoms, your physical therapist may refer you for imaging. There are some instances where referral to an orthopedic surgeon is warranted.
The Rock Rehab Pyramid
The Rock Rehab Pyramid was developed by Physical Therapist, Dr. Jared Vagy in his book Climb Injury-Free. This pyramid aides in the rehabilitation of climbing injuries by providing a system of four major categories that will guide the climber’s recovery process. Following an injury, one will start at the bottom of the pyramid and work upwards using general guidelines to determine appropriateness for progression to the next level. A decrease in pain/soreness allows advancement to the next level. With no change in symptoms at a particular level, a climber should stay at the current level for one week and then progress to the next level. An increase in soreness should have the climber regress down one level.

The bottom level of the pyramid aims to Unload the tissues in the body so that they have the best healing environment. Often times, after an injury there is some sort of change in Mobility. After the tissues have calmed down from the previous level, this stage will look to reestablish normal, pain free range of motion. Once the injured area restores its mobility, it is time to increase the Strength of the surrounding muscles so that Movement in the following level can be coordinated and optimized. Click here to learn more about the rock rehab pyramid structure.
Unload exercises:
- Activity modification:
- Depending on the severity of meniscus injury, you may be advised initially to use crutches to offload your knee entirely, with progression to weight-bearing through the leg as tolerated.
- You may need to take a break from climbing to offload the knee and protect it while it’s in the early phases of healing, up to 6 weeks.
- Your should avoid uneven or unstable ground, including the padded flooring at your gym, for the first few weeks of recovery to avoid excess strain on your meniscus while it is healing.
- Control swelling
- Use rest, ice, elevation, and compression to control your knee swelling.
Mobility exercises:
Knee Range of motion
Heel slides
Perform 3-6 times a day for 1 minute each. Stay within a pain free range of motion.
Terminal knee extension
Perform 3-6 times a day for 1 to 3 minutes each. Progress up to 3 sets for 3 minutes each. Continue until knee extension appears equal to the unaffected knee.
Strength exercises:
Early strengthening (weeks 1-3)
Quads sets
Perform 3 sets for 10 seconds each, 3 times a day. Perform at a pain free or minimal pain intensity.
Short arc quads
Perform 3 sets of 10-15 reps, 3 times a day. Perform in a pain free range.
Bridging
Perform 3 sets of 10-15 reps 2 times a day. Progress intensity by moving your heels away from your torso. Perform at a pain free or minimal pain intensity.
Middle to late stage strengthening
Single leg RDL
Perform 3 sets of 15 reps, once a day, 2-3 days a week.
Squats
Perform 3 sets of 5, progressing to 3 sets of 15, once a day, 2-3 days a week. Do not push into pain.
Single leg heel taps
Perform 3 sets of 5, progressing up to 3 sets of 10, once a day, 2-3 days a week. Do not push into pain.
Movement exercises:
The following drills are designed to re-establish trust in your knee and develop stronger and safer movement patterns when returning to climbing.
Standing wall drills
These drills should be performed before return to climbing and then as a warm-up before climbing sessions when you have returned to climbing.
-
- With one leg on the ground for support, perform climbing moves with low vigor and focus on the movement patterns. This includes all three of the ‘risky’ climbing moves described: drop knees, heel hooks, and high steps. Performing these moves in this fashion before returning to higher levels of climbing will facilitate your movement patterns, create more awareness about how you move the knee in these patterns and re-establish trust in your knee before increasing the vigor of your climbing.
Wall drills
Continue progressions from the standing wall to these on the walls drills in the early phases of your return to climbing before increasing the vigor or intensity of your climbing.
-
- On good holds in a controlled fashion, work through each of the 3 climbing moves.
- Drop knee: Start with a starfish position on a vertical wall and initiate a back step (precursor to a drop knee). Initiate the movement from your hip and keep control of your tibial rotation. This will create stronger movement patterns in your climbing. Slowly progress to deeper and deeper knee movements until you can comfortably attain a full drop knee.
- Heel hook: Start with good holds for your hands, one good hold for your ‘hooking’ heel and one good foot for your other non-heel-hooking leg. Practice engaging your hamstrings and progressively taking load through your heel hook to drive your hips up and until you can comfortably take your other foot off the wall.
- High step: Similar to the heel hook drill, start with good hands and good feet and perform this initially on a vertical or slightly greater than 90° wall (slab). Slowly and progressively load weight onto your feet at increasingly greater heights. You can start with a mid-thigh height and progress up to waist level or higher. Keep good foot and thigh alignment throughout.
The Research
- Lutter C, Tischer T, Hotfield T, et al. Current Trends in Sport Climbing Injuries after the Inclusion into the Olympic Program. Analysis of 633 Injuries within the years 2017/18. Muscle Ligaments Tendons J. 2020;10(02):201.
- Chirichella PS, Jow S, Iacono S, Wey HE, Malanga GA. Treatment of Knee Meniscus Pathology: Rehabilitation, Surgery, and Orthobiologics. PM&R. 2019;11(3):292-308.
- Lutter C, Tischer T, Cooper C, et al. Mechanisms of Acute Knee Injuries in Bouldering and Rock Climbing Athletes. Am J Sports Med. 2020;48(3):730-738.
See a Doctor of Physical Therapy
While certain signs and symptoms may point to a meniscus injury, there are many structures that are susceptible to injury in the knee. Your local physical therapist is trained to differentiate these injuries and design a specific rehabilitation protocol to maximize your recovery and get you back on the climbing wall. If your symptoms do not improve, you experience locking of your knee, or you feel instability in your knee, you should seek out a physical therapist or medical professional to formally assess and treat your injury.
Author Bio
At the writing of this article, Joshua Foster is completing his last few months of post graduate training as a Doctor of Physical Therapy through California State University Sacramento. Josh has been a part of the climbing community for 20 years. He started as a youth competitor making it to the national level in high school. Josh later spent 12 years setting routes and a decade as a youth competitive climbing coach facilitating success for new athletes and national champions.


You can reach Josh at: joshuafoster1@gmail.com
- Disclaimer – The content here is designed for information & education purposes only and the content is not intended for medical advice.

Related Posts