Rock Climbing Injury Tips: Nerve Mobility
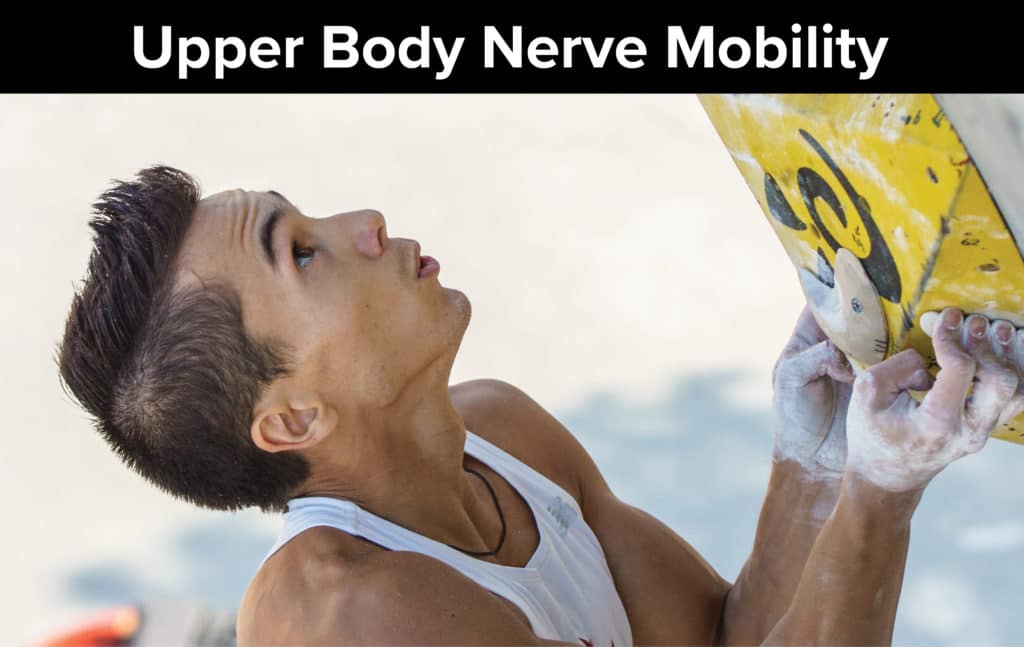
Photo Credit: Eddie Fowke
Nerve Mobility
Imagine that you are belaying your climbing partner and they are stuck at the crux. They keep climbing up and down-climbing but they aren’t going anywhere. You look at your belay device and you see the rope glide back and forth, gaining either more tension or slack.
This is how nerves move throughout in your body. They connect from the brain and spinal cord to your muscles. As you move, nerves tension and slacken several millimeters between the layers of muscle. Below is an example of how nerves tension and slacken just like a climbing rope. The curved lines represent slackened nerves while the straight lines represent tensioned nerves.
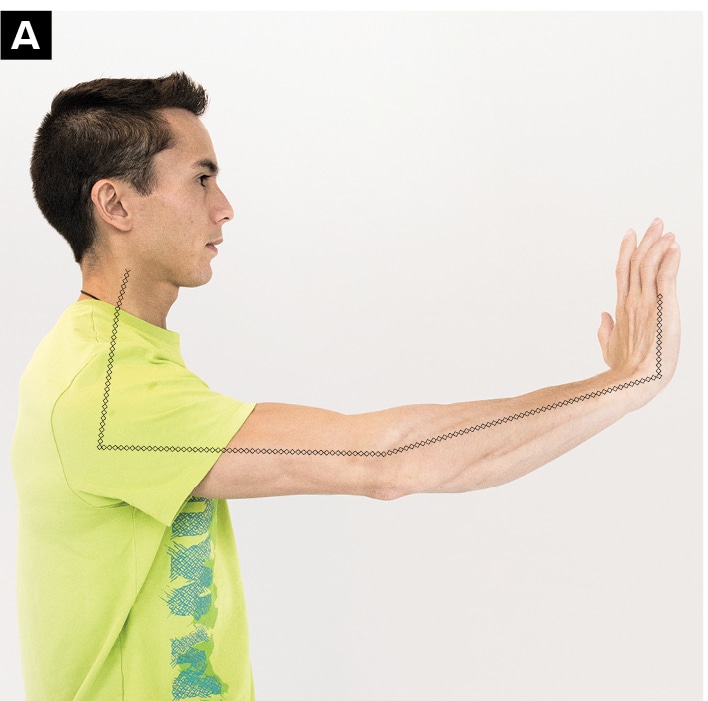
Photo A: Tensions the median nerve across the elbow, wrist and fingers.
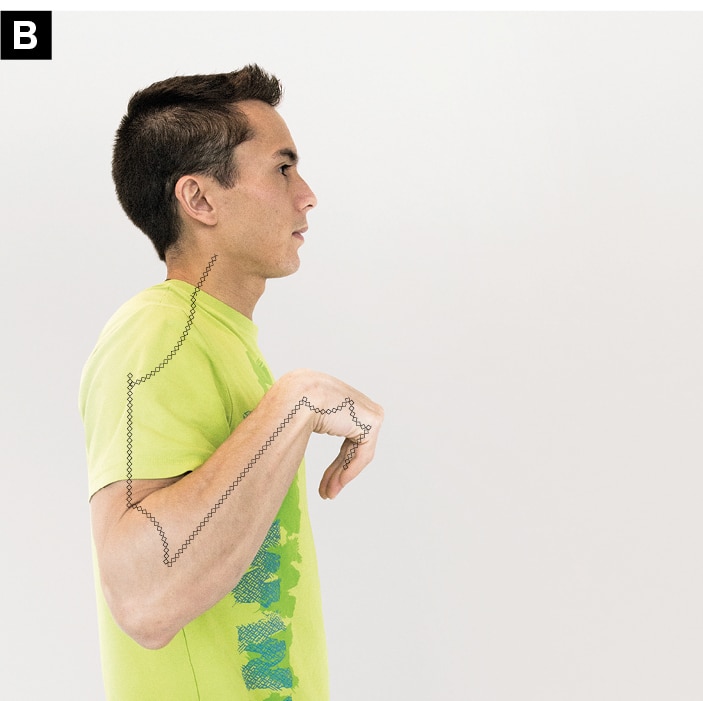
Photo B: Slackens the median nerve across the elbow, wrist and fingers.
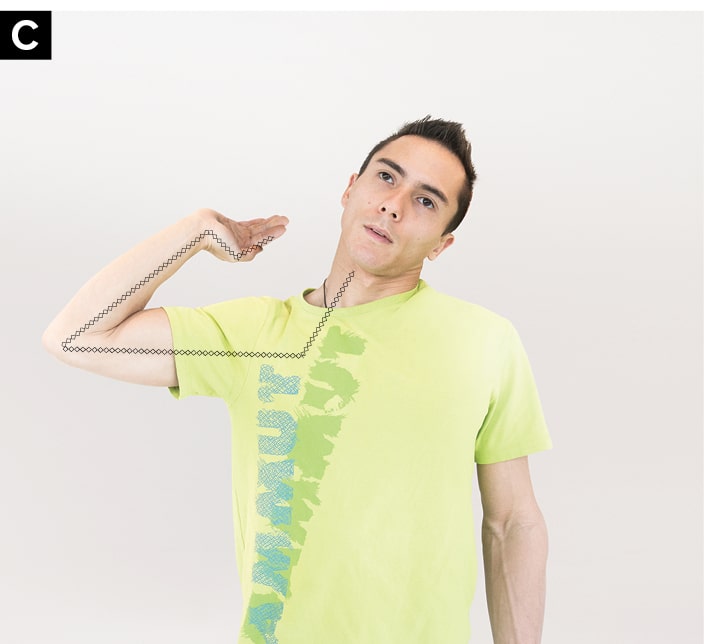
Photo C: Tensions the ulnar nerve across the neck, elbow, wrist and fingers.
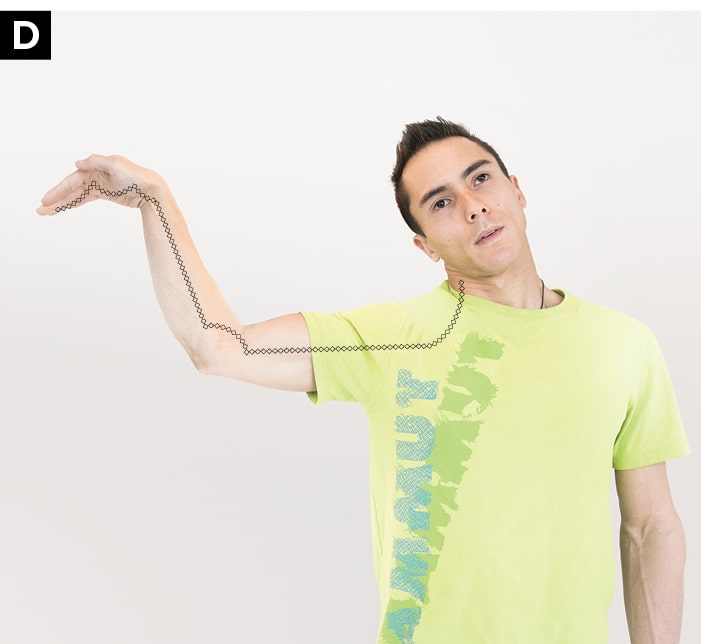
Photo D: Slackens the ulnar nerve across the neck, elbow, wrist and fingers.
How to Know if a Nerve is Causing Your Pain
One test to identify if you have nerve pain is to put your arm in a nerve-tensioned position (see previous page for examples) and then move your neck. Only perform this test under supervision and clearance from a medical professional as it may cause increased symptoms. Once you are in the nerve-tensioned position, tilt your ear to the same side shoulder and opposite side shoulder. If your symptoms in the arm or hand change with head movement, then your pain is likely related to the nerve, and not the muscles, since there is no single muscle that attaches continuously from the neck down to the arm, wrist hand and fingers. The primary structure that can change tension with head movement is the nerve.
Use Nerve Motion to Treat Pain
You can use the dynamic properties of peripheral nerves to treat nerve related pain from a compressed nerve that is lacking mobility. Since nerves glide several millimeters between interfaces of muscle, you can glide nerves back and forth to increase their excursion and you can tension them to improve their capacity to withstand strain. Just don’t stretch nerves statically like you would stretch a muscle—nerves don’t respond well to sustained stretches. If you stretch a nerve with a sustained hold, the nerve can lose oxygen and blood flow. This can lead to further irritation of the nerve. This is the reason why you can sometimes feel “pins and needles” from a sustained stretch.
Nerve Glide Levels
Since nerves have extra play, they can be tensioned or slackened in different body positions. In this article, you will learn how to glide the median nerve through its respective muscular interfaces. There are two levels of exercise given to mobilize the median nerve. Level 1 is a gentle mobilization that utilizes alternating positions of slack and tension. Level 2 is a stronger mobilization that utilizes mostly tensioned positions.
How to Perform and How Often
All nerve glides should be performed for three sets of up to eight repetitions. Perform daily once you can glide the nerve without pain. The motion should be fluid and rhythmic. Never hold tension for more than two seconds at the end position. Start gently with Level 1 exercises and progress to Level 2 exercises once you can perform Level 1 with ease and no pain. Discontinue nerve glides if you experience an increase in numbness and/or tingling. Nerves are sensitive and the mobilizations described in this article should be performed with care. To explore this topic in more detail, I highly recommend reading the book Neurodynamic Techniques written by the NOI Group.
Watch the videos below as Sean McColl teaches you how to perform a Level 1 and Level 2 median nerve mobility exercise for rock climbing.
Median Nerve Glide Level 1
Median Nerve Glide Level 2
- Disclaimer – The content here is designed for information & education purposes only and the content is not intended for medical advice.

Related Posts