Signs and Symptoms
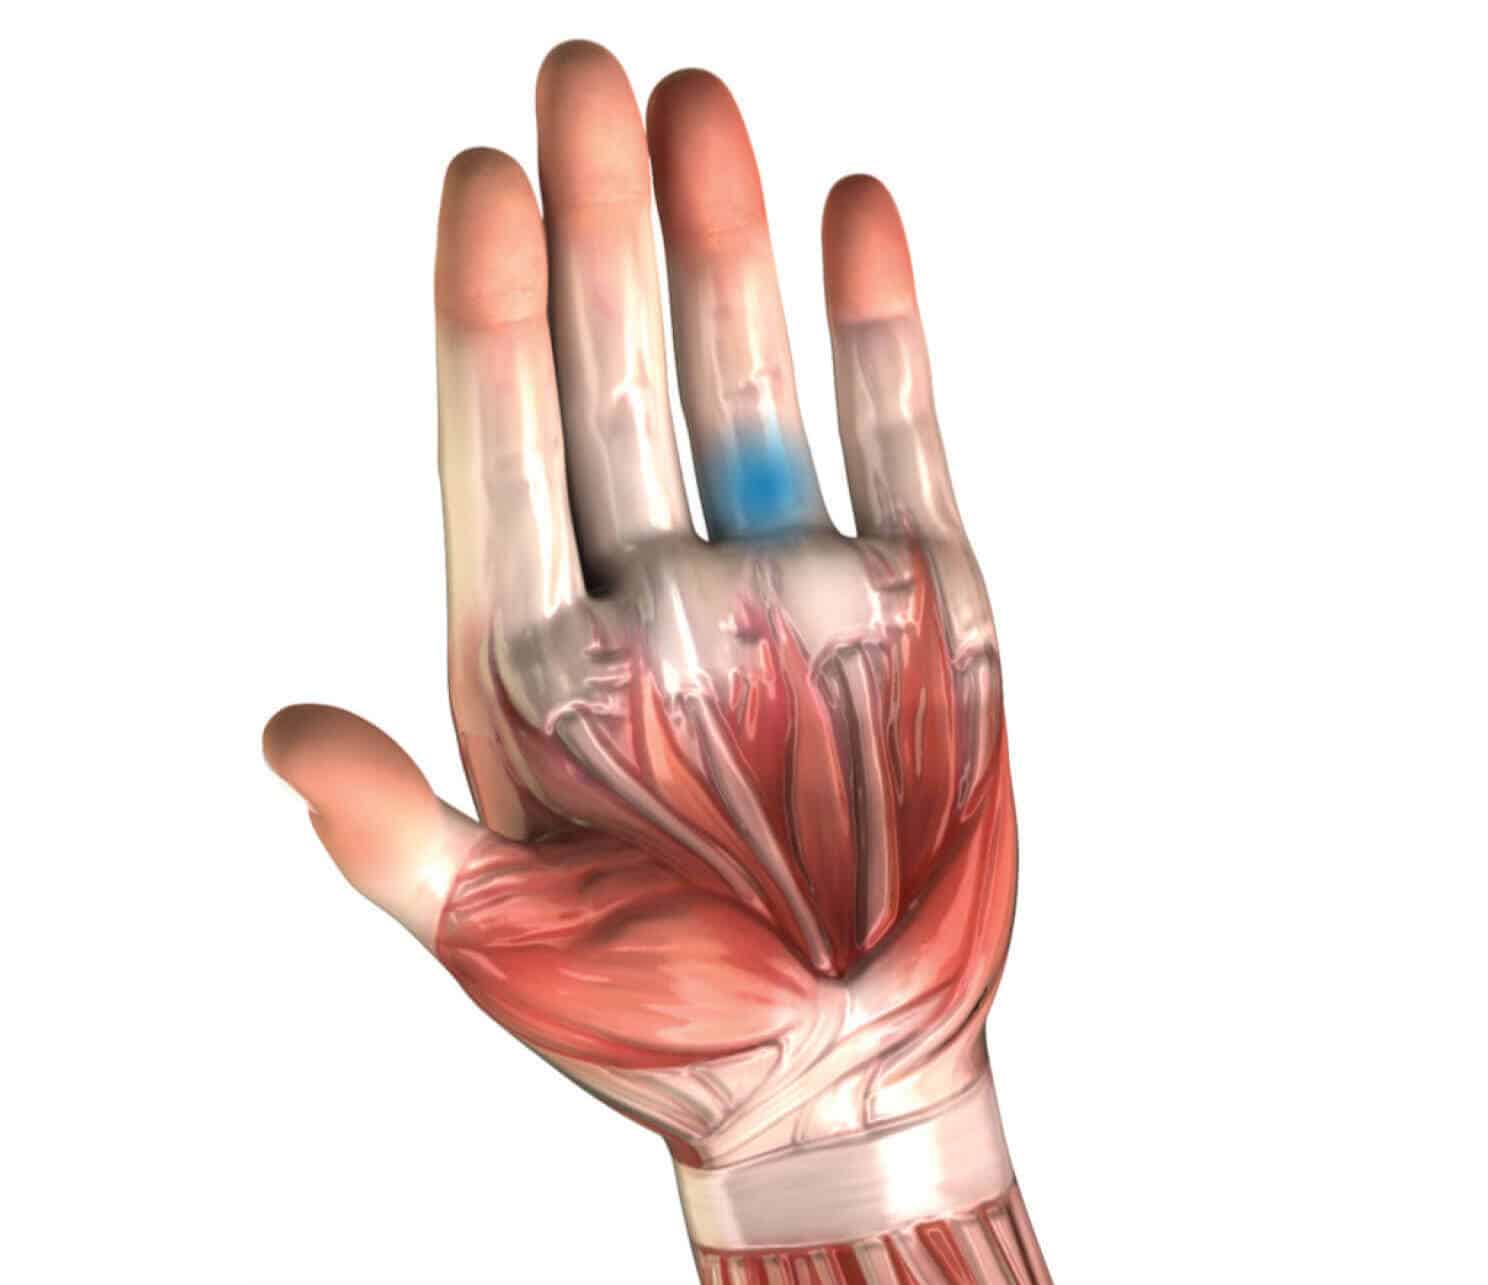
- Can occur over any digit, but most commonly occurs over the ring finger along the A2 pulley
- Tender to the touch along the injured pulley
- Swelling, redness and inflammation
- Stiffness bending the fingers
- Painful to actively crimp and grip
Cause
The forearm muscles transition into long, narrow tendons as they extend into the wrist and fingers. These tendons thread through fibrous sheaths and pulleys, which keep them gliding flush to the finger bones, similar to the way a climbing rope runs through quickdraws. In each finger, there are five annular pulleys, which sling around the front of the bones like the eyelets of a fishing rod, and three cruciform pulleys, which form crosses over the bones, to secure the tendons. When the forearm muscles contract, they pull these tendons and flex the fingers. If the finger flexor tendons create too strong of an outward force – something that can happen if you pull hard on a mono pocket, for example – they can stretch, tear or completely rupture a pulley. Pulley sprains are classified into four grades (see table below) according to severity, based on research by Dr. Volker Schöffl and Dr. Isabelle Schöffl. The A2 pulley is the most commonly injured in climbers because it’s subject to greater outward forces than the others.

Diagnostic ultrasound, an imaging technique that uses high-frequency sound waves to visualize structures within the body, is the most effective tool to diagnosis and grade a pulley sprain. It allows medical practitioners to view the flexor tendons in the finger, and measure the distance between the tendons and the bone. If you don’t have access to diagnostic ultrasound, there’s no need to panic. Other criteria exist. A paper by Dr. Carrie Cooper et al., published in the Journal of Hand Therapy, presented a classification schema to assist in determining the severity of a pulley sprain without diagnostic imaging. This method uses clinical findings such as range of motion, muscle contraction, and palpation to classify whether the degree of injury is mild, moderate, or severe (see the table below).
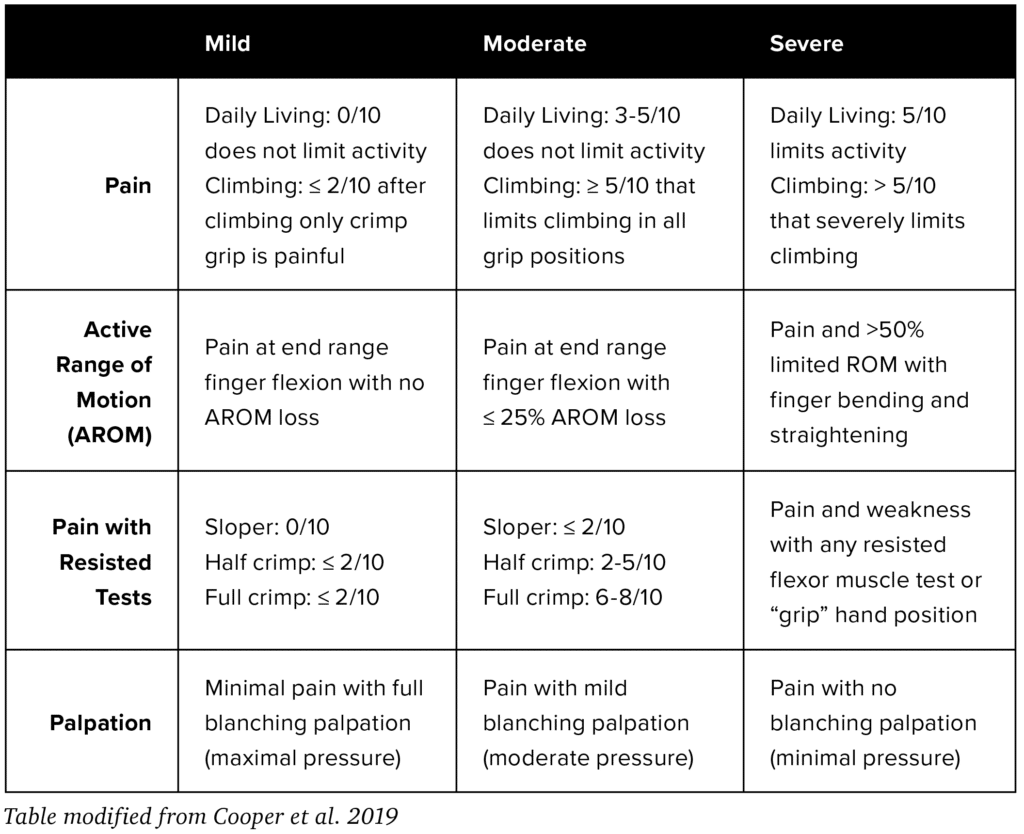
- Pain: Measured with a numeric scale of 0-10.
- Active Range of Motion: Straight fingers to fully-flexed hook/claw
- Resisted Tests: Use the thumb of your opposite hand to pull against your fingers in sloper (open hand), half crimp and full crimp positions. Tests for weakness and/or pain.
- Palpation: Use the thumb of your opposite hand to palpate the pulley region. The degree of skin blanching (when the skin turns paler after you press on it) is associated with the amount of pressure you apply.
Step 2: Choose Your Rehab Category
If you injure a pulley, use the guidelines below based on the degree of injury.
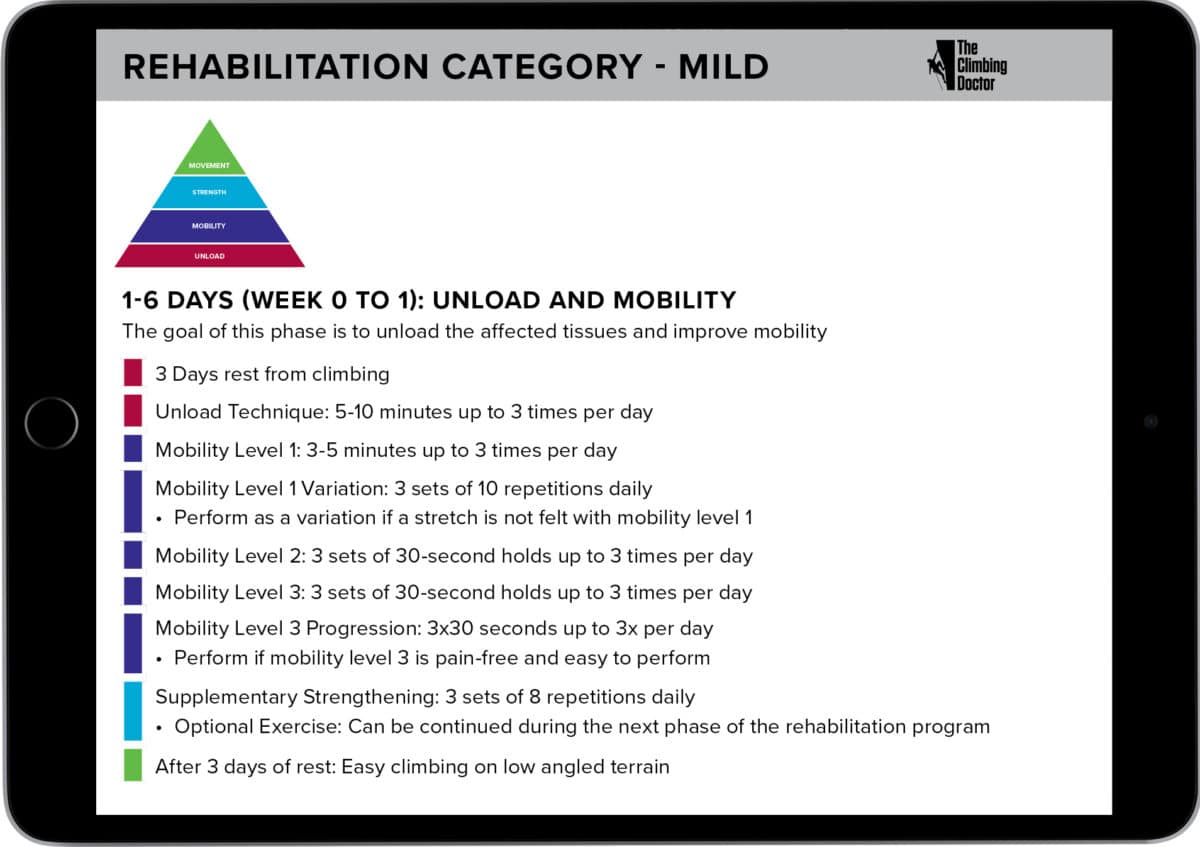
- Grade I or Mild: Rock rehab pyramid (mobility, strength and movement)
- Grade II or Moderate: Medical practitioner consult, rock rehab pyramid (tape, mobility, strength and movement)
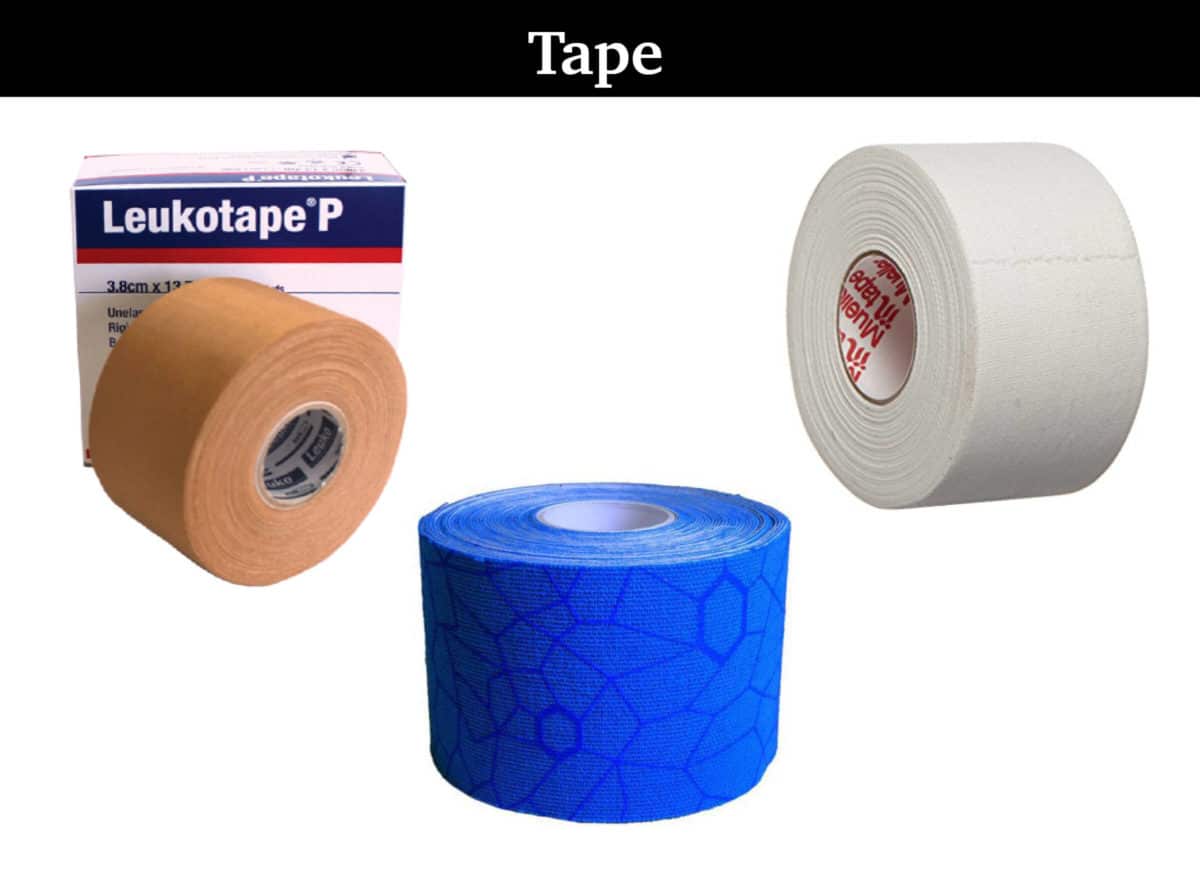
- Grade III or Severe: Medical practitioner consult, rock rehab pyramid (splint, tape, mobility, strength and movement)
- Grade IV: Immediate surgical consult
Note, clinical findings (loss of mobility, decreased strength, and pain) do not always correlate perfectly with the results of a diagnostic ultrasound. For example, a grade I injury may present severe, or a grade II pulley sprain may present mild. If you have imaging of your finger, use the grade of injury (I, II, III or IV) as the primary criteria to fit into a rehabilitation category, otherwise use the clinical criteria (mild, moderate, severe). If there is a large discrepancy between the two, consult with your medical practitioner to determine your rehabilitation category.
Step 3: Start The Protocol
Once you have determined your rehabilitation category, you can begin the rock rehab protocol. The protocols contain a detailed timeline and step-by-step instructions. They utilize a four-phase system to unload the injured tissue, gain full mobility, improve strength and eventually return to pain-free climbing movement. The protocols can either be viewed within the program or downloaded as a PDF.






Reviews
There are no reviews yet.