No Hang Finger Strength Testing for Climbers
In this article, we will take a look at how to test finger strength with the arm fixated, using tension and compression-based dynamometry. See below for a complete video walking through a step-by-step process of how to test no hang finger strength.
What Does The Research Say?
Fixated strength testing for climbers is where dynamometry of the finger flexors is performed but the upper limb is “fixated” meaning it cannot move. This can be accomplished by strapping the arm down, placing it is specialty device, or simply just resting the elbow on a table so that it cannot move.
Non-Fixated strength testing is the opposite. Dynamometry is used for the finger flexors but the climber can adjust their arm while pulling. Essentially their arm is free to move.
These are two forms of strength testing for rock climbers that do not involve hanging from a hangboard.
What is Fixated Versus Non-Fixated
A study by Michailov and colleagues looked at testing finger strength with the arm in a fixated position versus a non-fixated position. As seen in the image below, the study used a customized instrument that allowed the arm to be fixated as well as non-fixated, and it had a climbing hold that was connected to an instrumented force plate.

In their study, they looked at arm fixation versus non-arm fixation and the ability to generate grip force in 22 male climbers. The climbers performed two maximal strength and all-out tests: with the arm fixated, with the shoulder and elbow flexed at 90 degrees; and without the arm fixated, with the shoulder flexed at 180 degrees and the elbow fully extended. They then also tested reliability.
The study showed that arm fixation provides more reliable results. However, they recommended the position without arm fixation when testing and relating to climbing ability.
What Should be Used in The Rehab Setting?
I like to use both. I know that arm fixation is going to isolate the finger flexors without contributions from the rest of the body, improving its reliability. But I also know that when a climber climbs and they move on the wall, they’re not going to climb in that manner (with the arm fixated), so I also need to test with the arm non-fixated.
Combining testing types—arm fixated and arm non-fixated—you can gain a holistic picture of the performance of a climber’s fingers.
Tension-Based Dynamometry
Let’s see what is involved with testing a climber’s position and ability to generate force with the arm fixated. In the below video, you can see that we have a lashing strap that’s hooked to a ceiling anchor. We can use a chain if we want to make sure there’s no attenuation of shock or force. We then have a crane scale or a dynamometer—anything that measures the amount of pull will work. Finally, we have some type of grip device. Whether it’s a tension block, a grip pull, or another similar implement, you will want something that can measure your finger strength, and you have a lot of different options here.
You can perform this test with a tension-based dynamometer or crane scale; and you can perform it with one arm, or you can perform it with both arms. There are benefits and drawbacks to each.
One benefit of performing with two different dynamometers is that it is a lot quicker, and you can go through your assessment and testing with a lot more ease and greater efficiency. However, a climber’s attention needs to face forward during the test. When they’re gripping two dynamometers at one time, they may potentially turn their gaze toward one side and neurologically bias that side, so you need to make sure their face remains directed forward.
Additionally, the dynamometers need to be at the same exact height. As you can see in the Double Arm example below, the portable hangboards are in the exact same position. However, the dynamometers and the slings are in different positions. You need to make sure the grips are in the exact same position to quantify strain side by side.

Testing with a single arm makes it much easier to control variables. In a single arm test, the dynamometer can then be placed on the opposite side after the first reading, and the same exact test and measure can be repeated.
You can also use this tension-based dynamometry with the arm fixated to test finger flexor strength. As with the other, this test can be done with two arms at one time or a single arm.
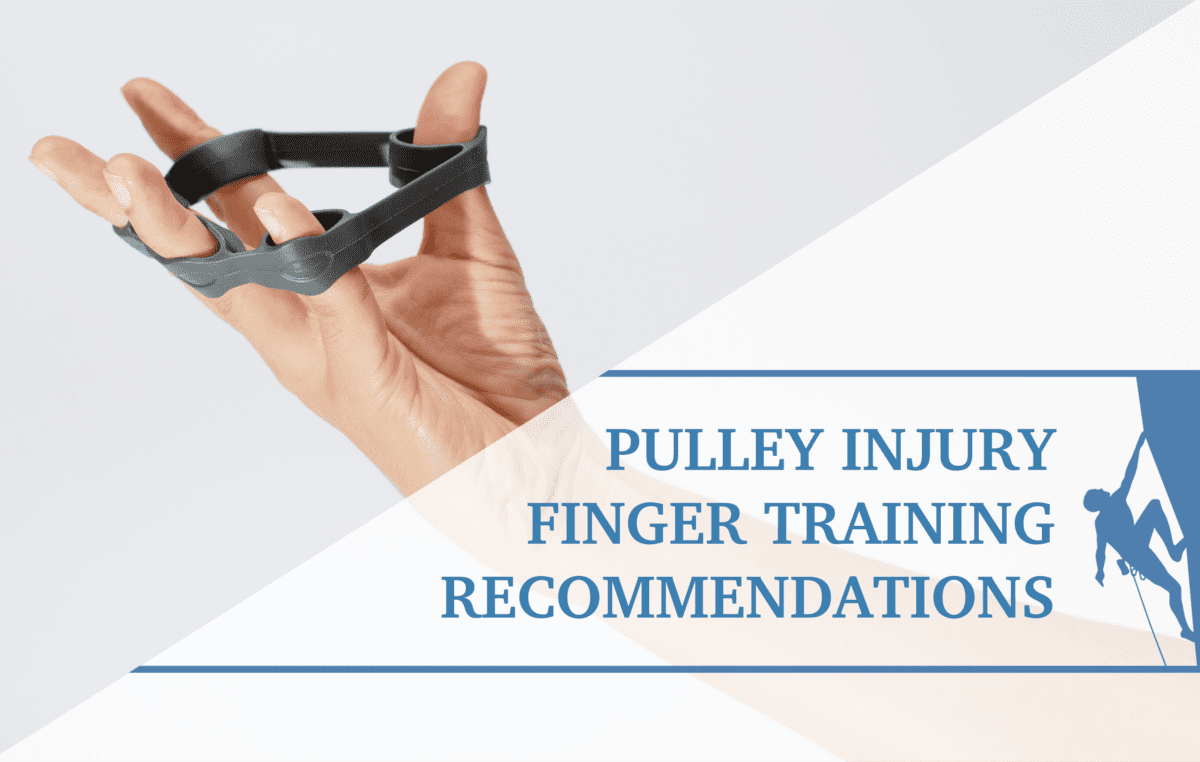
You can also choose which grips you want to use. The image below shows an example of using a half crimp grip with a portable hangboard.

Alternatively, you can test a single finger at a time, having the arm fixated with a portable hangboard and a tension-based dynamometer. Simply repeat the process with each finger, noting the readings so you can compare each finger with the others, including the fingers of the opposite hand.

One thing to note with tension-based dynamometry: you are going to have some attenuation of force through the nylon strap that you’re using above as well as through the quarter let on the portable hangboard. If you want, you can utilize chain links or something similar that has more metal and is generally more stable to decrease this attenuated force.
If you’re using the same system on one side versus the other, it’s a lot easier to change the tension and height and position with a lashing strap on top. It’s a lot easier and lighter to use quarter let.
Clinically, I’ll oftentimes use this method, but just know there are many different ways to obtain your data and values. You just want to make sure you’re consistent with each one.
Tools for Tension-Based Dynamometry

- Crane Scale: These have maximal loads of about 272 kilograms and cost around $50 (US), and they have a low sampling frequency.
- Tindeq Progressor, it has a maximal load of 150 kilograms, and its cost is about $135 (US); its sampling frequency is about 80 Hz.
- K-Force Link: Looking at a higher end or more expensive model, the K-Force Link has a maximal load of 300 kilograms; its cost is about $1,000 (US), plus or minus, and it has a sampling frequency between 75 to 100 Hz.
There are many different types of tension-based dynamometers that you can use. As with most things, there are more expensive ones, mid-range ones, and cheaper ones. It’s really interesting to see the data that supports different devices.
A study conducted by Urquhart and his colleagues looked at eight recreationally active males. They had them perform five isometric mid-thigh pulls using a force plate, which they then compared to a crane scale. They took the intra-class correlation coefficients and the coefficients of variation, and with this information, these tests demonstrated strong levels of reliability for both the force plate and the crane scale. The crane scale showed good construct validity against the force plate.
This indicates that the crane scale is a valid, reliable, and affordable alternative to measure peak force when a force plate or a dynamometer is not available.

Compression-based Dynamometry
Another option to measure finger force and finger strength is by using a compression device, with the arm fixated.
Below you will see a K-Force compression dynamometer sitting below a portable hangboard. To use it, the climber will stabilize their elbow on a table or surface and place their fingers into the portable hangboard. They will then fully grip for five seconds with maximal force.
Using the Data for Diagnosis
So we have all these different ways to assess finger strength and finger force in rock climbers. But why does this matter? How do we relate this to injured climbers?
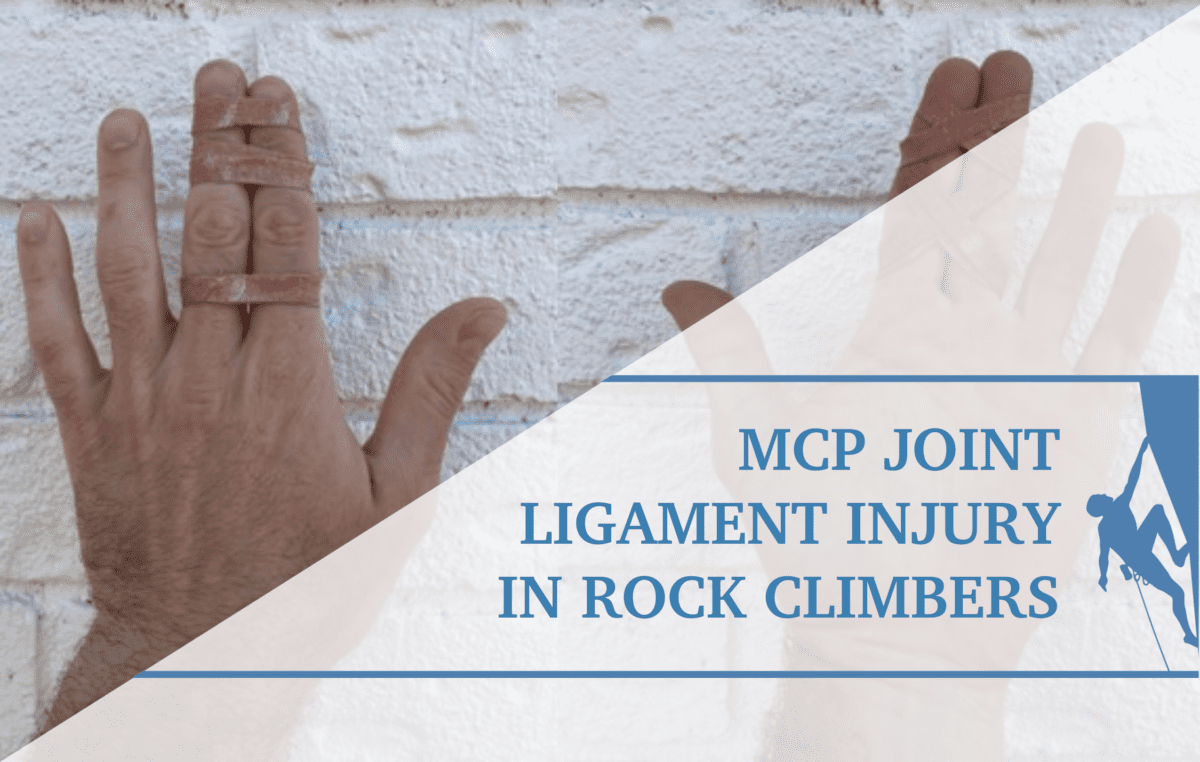
A study by Iruretagoiena-Urbieta monitored grip strength in rock climbers, associating and comparing it with tendon–bone distance. They looked at 39 rock climbers with A2 or A4 pulley injuries of the third or fourth fingers.

In this study, they took climbers who had pain upon palpation, an ultrasound that revealed that the tendon–bone distance was increased, and a decrease in finger-grip strength.
They utilized three different grip types during this testing: a one-finger crimp, an open crimp, and a closed crimp. What they showed was a finger-grip strength deficit percentage of greater than 41% when performing a one-finger crimp, which is equivalent to a high-resolution ultrasound tendon–bone distance of greater than two millimeters. The study also revealed a decrease in finger-grip strength could be considered diagnostic for A2 and A4 pulley injuries to the third and fourth fingers.
This information is helpful. Knowing from this study that a 41.4% deficit in a one-finger crimp grip on one side—the affected side—compared to the other may be indicative of a pulley rupture, especially when it correlates with ultrasound findings of a tendon–bone distance of greater than two millimeters. This can help us diagnostically, clinically determine if a climber has a pulley sprain.
Now, of course, we have to allow ourselves to correlate this to other measures; we can use clinical criteria, active range of motion, palpation, muscle tests, and subjective reports, combining all of this together into a picture for the climber. But this research is starting to draw correlations between the performance of a muscle and the actual pathology of a pulley sprain.
About The Author

Jared Vagy is a doctor of physical therapy who specializes in treating climbing injuries. He is the author of the Amazon #1 best-seller “Climb Injury-Free,” teaches Climbing Injury Professional Education for Medical Providers, and is the developer of the Rock Rehab Protocols. He has published numerous articles on injury prevention and lectures internationally. Dr. Vagy is on the teaching faculty at the University of Southern California, one of the top doctor of physical therapy programs in the USA. He is a board-certified orthopedic clinical specialist. He is passionate about climbing and enjoys working with climbers of all ability levels, ranging from novice climbers to the top professional climbers in the world.
For more education, check out the Instagram page @theclimbingdoctor
- Disclaimer – The content here is designed for information & education purposes only and the content is not intended for medical advice.

Related Posts