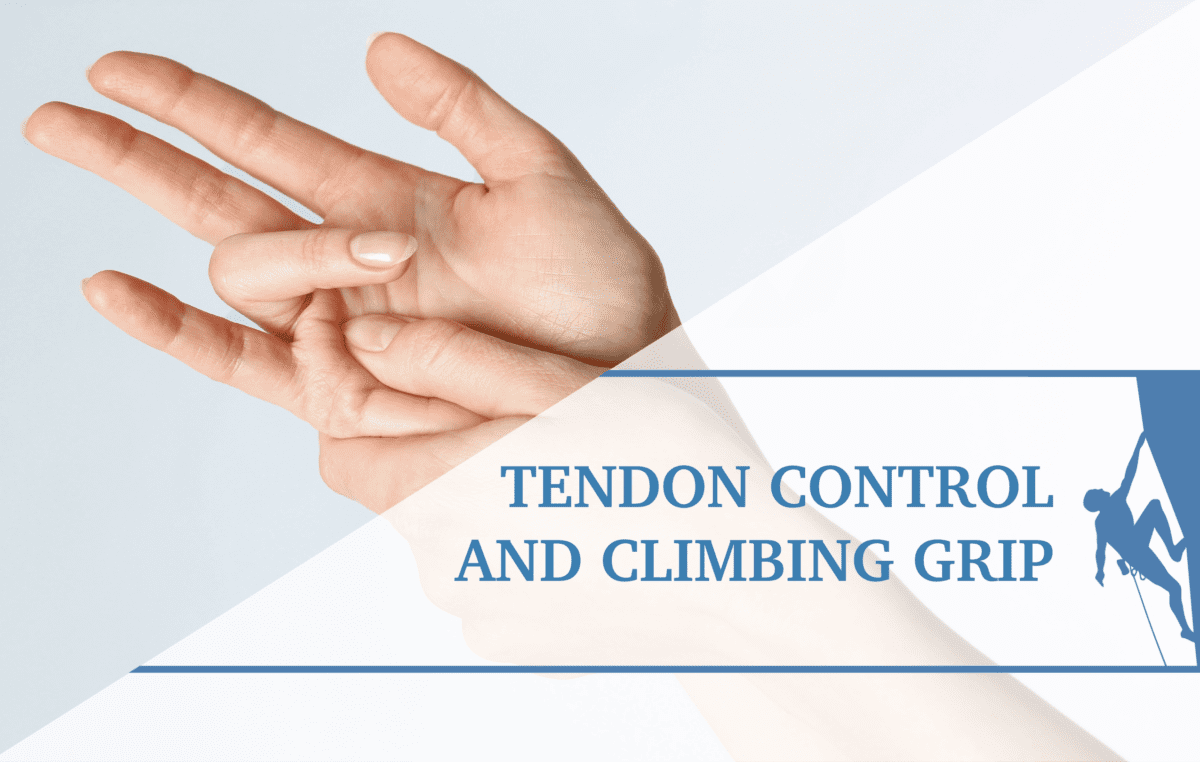
How To Rehab a Climbing Finger Pulley Injury
In this post, we’ll review the rehabilitation guidelines for a pulley sprain. Based on the research by Lutter and colleagues as well as Cooper and colleagues.
First, lets review the grading of an injury with ultrasound from a study by Lutter and colleagues. As you can see in the table below, pulley injuries are graded, based on ultrasound evidence, as Grade I, II, III, IVa, or IVb.
| Grade I | Grade II | Grade III | Grade IV a/b |
|---|---|---|---|
| Stretching or Slight Tearing | A3 or A4 Complete Rupture A2 Partial Tear | A2 Complete Rupture | Multiple Complete Ruptures |
These rehabilitation timelines and categories were based on the grading of pulley sprains. This is grading with ultrasound imaging; you can also use CT scan or MRI. But what if you don’t have access to ultrasound imaging? What if you can’t grade the pulley sprain from I to IVb? Then you can use clinical criteria, also developed by Cooper and colleagues, and as you can see in the table below, the characteristics of these clinical criteria are Mild, Moderate, and Severe. The influence of pain on daily living and function, active range of motion, manual muscle testing, and pain with palpation make up the clinical criteria to grade the severity of a pulley injury.
| Mild | Moderate | Severe |
|---|---|---|
|
Daily Living: 0/10 does not limit activity Climbing: ≤ 2/10 after climbing only crimp grip is painful |
Daily Living: 3-5/10 does not limit activity Climbing: ≥ 5/10 that limits climbing in all grip positions |
Daily Living: 5/10 limits activity Climbing: > 5/10 that severely limits climbing |
| Pain at end range finger flexion with no AROM loss | Pain at end range finger flexion with ≤ 25% AROM loss | Pain and >50% limited ROM with finger bending and straightening |
|
Sloper: 0/10 Half crimp: ≤ 2/10 Full crimp: ≤ 2/10 |
Sloper: ≤ 2/10 Half crimp: 2-5/10 Full crimp: 6-8/10 |
Pain and weakness with any resisted flexor muscle test or “grip” hand position |
|
Minimal pain with full blanching palpation (maximal pressure) |
Pain with mild blanching palpation (moderate pressure) | Pain with no blanching palpation (minimal pressure) |
So let’s take a deeper look at each of those grading criteria so that you have a better understanding of the injury. Because once you know the grade or severity of the injury, you can then determine how best to treat it. See below for a video walking through the two methods to determine the grade or severity of a pulley injury.
How to Rehab The Injury Based on Grade or Severity
If you are using ultrasound the determine the grade of injury, it is rather straightforward to determine your recovery timelines since that is the gold standard assessment. However if you are using the clinical criteria to the severity of injury, it is important to know there is no correlation in research between the ultrasound’s degree of bone-tendon distance and the clinical findings of Mild, Moderate, or Severe. However, use the clinical judgment of a medical provider when identifying which category to rehabilitate in. For example, you could group the below degrees and severities together. When in doubt, always error on the side of being more conservative,
- Grade 1 or Mild
- Grade 2 or Moderate
- Grade 3 or Severe
If you look at the table below, you can see the clinical criteria of a Mild or a Grade I pulley sprain and the timelines associated with returning to both hangboarding and climbing. In the middle, you can see the yellow column for Moderate or Grade II, and then at the far right, the Severe or Grade III column. On the far left, you can see the criteria for climbers to return to: No Pain Hang Stage 1, Easy Climbing, No Pain Hang Stage 2, Moderate Climbing, Low Pain Hang Stage 1, Hard Climbing, and Low Pain Hang Stage 2.
Simply put, the hanging criteria below are defined as the below. These categories with be discussed in more depth later in the article in the strength section.
- “No Pain Hangs” are loading the fingers on a hnagboard or a portable training device with NO PAIN
- “Low Pain Hangs” are loading the fingers on a hnagboard or a portable training device with 2-10 PAIN
|
|
Mild or Grade 1 |
Moderate or Grade 2 |
Severe or Grade 3 |
|---|---|---|---|
|
No Pain Hang Stage 1 |
Week 1-2 |
Week 2-4 |
Week 3-6 |
|
Easy Climbing |
Week 2-3 |
Week 4-6 |
Week 6-9 |
|
No Pain Hang Stage 2 |
Week 2-3 |
Week 4-6 |
Week 6-9 |
|
Moderate Climbing |
Week 3-4 |
Week 6-9 |
Week 9-12 |
|
Low Pain Hang Stage 1 |
Week 3-4 |
Week 6-9 |
Week 9-12 |
|
Hard Climbing |
Week 5-6 |
Week 9-12 |
Week 12-15 |
|
Low Pain Hang Stage 2 |
Week 5-6 |
Week 9-12 |
Week 12-15 |
To define easy, moderate, and hard climbing, you can refer to the table below. Determining the intensity of a climb and the stress on the fingers is not an exact science, so it is recommended that you work with your medical provider to determine the best categories for returning to climb. However, the below can be used as a reference
| Type | Example |
|---|---|
| Easy Climbing |
Avoiding half and full crimp using large holds on faces not angled beyond vertical, 2 full grades below onsight (5.12 -> 5.10, V8 -> V6) |
|
Moderate Climbing |
Beginning to use half crimp on routes with mild angle beyond vertical 1 full grades below onsight (5.12 -> 5.11, V8 -> V7) |
|
Hard Climbing |
Using crimps on routes with angle beyond vertical Can climb up to onsight level (5.12 -> 5.12, V8 -> V8) |
Now that we understand the grading of the injuries using ultrasound and clinical criteria, as well as the research on return to sport timelines, We have to look to see how they can progress through a rehabilitation pyramid (see the diagram below from the book Climb Injury-Free). We start with unloading the tissues, and we move on to mobility. We go further go into strength and muscle performance, and then we retrain movement. This is the formula to return a climber back to sport after a pulley injury.

Unload The Tissues
Let’s look at the base level of the pyramid, unloading. There are four different ways to unload. As you can see in the image below, the first three ways are using tape to improve bone-tendon distance. On the far left is circumferential taping, in the middle, figure-8 taping, and on the far right, H-taping. These three different techniques provide different levels of support to the pulley.
- For the circumferential technique, wrapping the tip closer to the distal end of the proximal phalanx can help decrease the bowstring effect of a ruptured pulley by reducing the angle of the flexor tendon acting upon the pulley.
- The figure-8 taping technique is often used to improve bone-tendon distance, but it also substantially decreases the PIP joint flexion angle while climbing.
- The H-taping is more supportive to the pulley than the figure-8 and the circumferential taping methods; it reduces the bone-tendon distance by 16% and increases the strength in the crimp grip by 13%.

So these three taping techniques have the potential to reduce bone-tendon distance, whether for wall climbers performing exercises or for those who are actually climbing. The least supportive technique is the circumferential; the middle-range supportive technique is the figure-8, and the most supportive is the H-taping, which improves bone-tendon distance, primarily acting at the level of A3 to approximate the area of maximal bowstringing. In effect, this then unloads A2 and A4. So these are the tape jobs that are recommended to improve bone-tendon distance in a climber who has a pulley sprain.
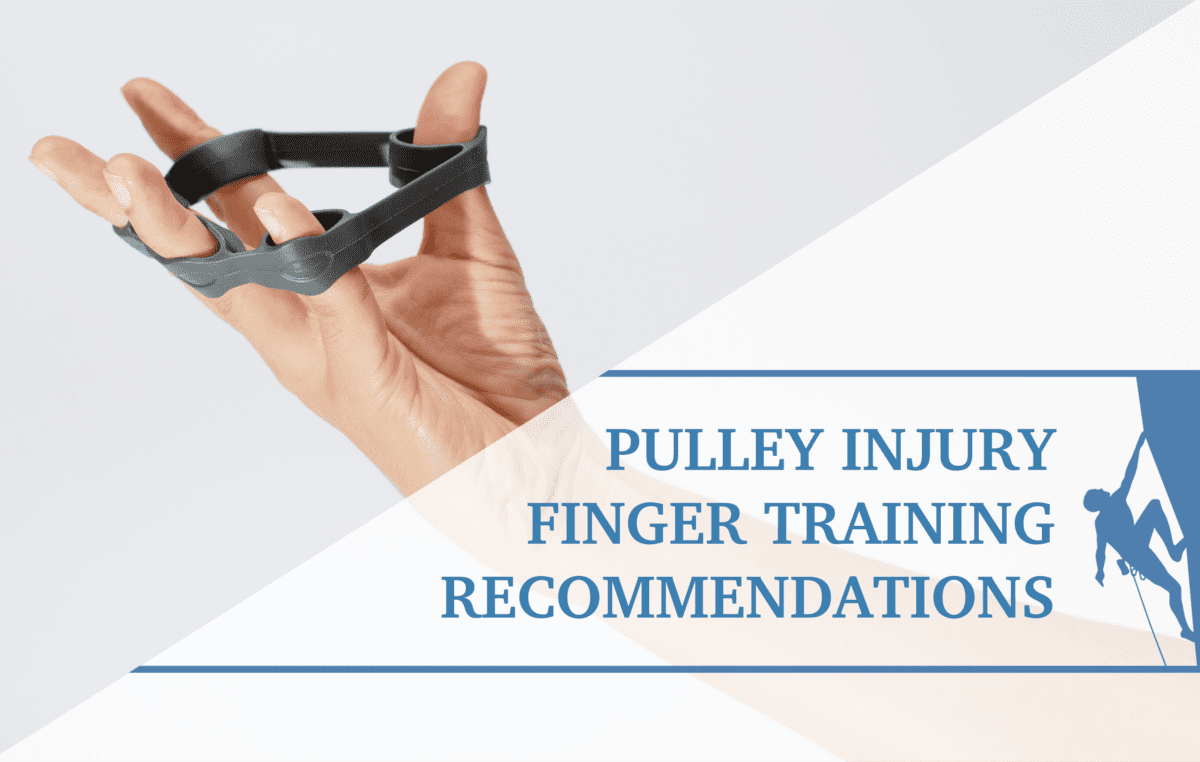
But a more aggressive way to improve bone-tendon distance even further is Unload Level 4, a pulley protection splint. See below for a video demonstrating how to make the splint.
A pulley protection splint is a thermoplastic ring that wraps around the finger and is custom fit to adhere or to press the tendon closer to the bone. In the image above, you can see a fabricated pulley protection splint. Wearing this type of splint during exercises and throughout the day is highly effective for anyone who is returning to climbing after a pulley sprain. The benefit of a pulley support splint has been supported in research.
In one study, Micha Schneeberger and his colleagues looked at forty-seven complete pulley ruptures in forty-five different rock climbers. They used a pulley protection splint treatment and looked at the bone-tendon distance, which improved from 4.4 millimeters to 2.3 millimeters after an A2 pulley rupture and also from 2.9 millimeters to 2.1 millimeters after an A4 pulley rupture. They had these climbers wear the pulley protection splints on their fingers for eight weeks after injury. Eighty-eight percent of the climbers regained their previous climbing level after wearing this splint and going through the parameters of the study.
So, improving bone-tendon distance and allowing that pulley to fully heal is a very important part of the rehabilitation process for a pulley sprain. So, as you look at the pyramid, we start with these unloading techniques in four different categories: Levels 1,2, and 3—circumferential, figure-8, and H-taping—and Level 4, pulley protection splints. And now we’ll move on to the next level the pyramid: mobility.
Improve Mobility
There are several different ways to improve the mobility of a finger after a pulley sprain. First, you want to make sure you get adequate circulation to the finger. There are many ways to do this, and we’ll go over several of them. Second, you want to make sure that you can glide the tendons in the finger. Make sure that the flexor digitorum profundus (FDP) and the flexor digitorum superficialis (FDS) can glide underneath the pulleys to lubricate those surfaces and improve healing. And third, if there are any mobility deficits in the fingers, make sure that you maintain the range of motion. You can see the three different categories in the images below: improving circulation, gliding the tendons, and restoring mobility.

Improve Muscle Performance
So after a climber unloads their tissues by using taping or splinting, and they improve mobility, you then want them to slowly increase muscle performance—but to do so without irritating the pulley. In order to do this, they can go through progressive loading. If you look at the image below, you can see two categories on the left: no pain and low pain. On the right are different methods.

Methods
Let’s first discuss the methods. You see two categories: pulling and hanging. These are two ways to load the fingers for rock climbing and to rehabilitate a pulley injury. Let’s start with pulls. We have isometric gripping with the isotonic pull; imagine this as taking a portable hangboard, connecting it to a big resistance band, isometrically gripping the hangboard, and then isotonically flexing and extending the elbow to perform a row. This would be an isometric grip with an isotonic pull.
Then you can have an isotonic grip with an isometric pull. This isotonic grip would involve flexing and extending the fingers, and an isometric pull means fixing the elbow angle. So you can have that same setup—you can row the portable hangboard into your body, and then you can slowly open and close the fingers, going into a full or half crimp, and then go into an open hand position.
Our final pull method an isometric grip with an isometric pull. This would be, for example, standing underneath the hangboard, pulling with your full amount of force but not coming off the ground, isometrically pulling with your elbow flexing, isometrically engaging the finger flexors, and not having any type of body movement, every joint maintains the same starting position.
Types of Hangs
Now let’s look at the different types of hangs. A climber can hang with double arm, single arm, weight added, or weight removed. We have all these different parameters and methods to load a climber after a pulley injury, and you can mix and match them to find the best fit for the climber clinically. See below for an example of each hang.
Once you’ve identified the best fit—and typically the best fit clinically is the method that produces the least amount of pain or the method that has the least amount of tendon bowstringing—then look at how to load a climber with different types of hangs or different types of pulls.
Low Pain and No Pain Hangs
Whether performing pulls or hangs, the no-pain category is an exercise that generates 0/10 pain, and a low-pain exercise generates 3/10 pain that lasts no more than three minutes. Beneath each description is an example of a Stage 1 and Stage 2 protocol utilizing a no-pain or a low-pain category.
The whole purpose of a low-pain or no-pain category is progressive loading. There’s no rhyme or reason for sets and reps. There has been no clinical research that supports one protocol over the other in the rehabilitation of a pulley sprain. But if you can slowly, progressively load a climber, then you have the best opportunity to return them to climbing with little pain and with full function. Think about it: for a low-pain hang versus a no-pain hang, the only difference is the pain generation. You’ll want to use no-pain first, and Stage 1 before Stage 2, as is clearly outlined in the chart, so you can progress a climber through a rehabilitation model. Stage one is a seven-seconds-on, three-seconds-off repeater with three sets, seven reps, three minutes’ rest between sets, and three times a week, using only the open-hand grip. Stage 2 uses the same parameters but now adds the half-crimp grip.
With the low-pain criteria, we have Stage 1, which is one set of four reps, seven seconds on and three seconds off, three minutes’ rest between sets, two times per week, and you use different holds—an open hand, a half crimp, and a three-finger pocket. This in progresses with the same parameters into Stage 2, now adding a two-finger pocket.
As long as the climber is progressively loading their ligaments and tendons, they are on the right track. They just need to follow the outline criteria and guidelines, sticking to no-pain exercises, moving through the two different stages. They then progress to the low-pain exercises during this remodeling maturation phase and going through the two different stages there. And it’s progressive loading, which is variable—the types of grips and the sets and reps—for each climber. The progressive loading is the key, and using the different parameters and these different methods can allow climbers to get to their goals a lot sooner.
Additional Advice
A clinician will need to use their judgment to determine when and how much to apply taping techniques or a pulley protection splint during functional rehabilitative exercise.

When a climber is going through the rehabilitation for a pulley sprain injury, you want to make sure that they protect the pulley as they perform range of motion, strength, and gripping.
This means that they are taping or wearing a pulley protection splint during the early stages of the injury and while performing their exercises
The duration they wear the tape or splint is based on the grade or the clinical classification.
Use an unloading technique such as H-taping (as illustrated below) during a crimp position and during active range of motion exercises, strength training, and climbing; the tendon approximates close to the bone, which is giving the pulley the ability to heal.
References
- Lutter, C., Tischer, T., & Schöffl, V. R. (2021). Olympic competition climbing: the beginning of a new era—a narrative review. British Journal of Sports Medicine, 55(15), 857-864.
- Cooper, C., & LaStayo, P. (2019). A potential classification schema and management approach for individuals with A2 flexor pulley strain. Journal of hand therapy: official journal of the American Society of Hand Therapists.
- Schneeberger, M., & Schweizer, A. (2016). Pulley ruptures in rock climbers: outcome of conservative treatment with the pulley-protection splint—a series of 47 cases. Wilderness & environmental medicine, 27(2), 211-218.
Courses for Medical Providers and Coaches
Want to learn more ways to assess, diagnose and treat climbing shoulder and neck injuries? Check out the online course below to expand your knowledge and skillset in the management of rock climbing injuries. Click the course to learn more!
About The Author

Jared Vagy is a doctor of physical therapy who specializes in treating climbing injuries. He is the author of the Amazon #1 best-seller “Climb Injury-Free,” teaches Climbing Injury Professional Education for Medical Providers, and is the developer of the Rock Rehab Protocols. He has published numerous articles on injury prevention and lectures internationally. Dr. Vagy is on the teaching faculty at the University of Southern California, one of the top doctor of physical therapy programs in the USA. He is a board-certified orthopedic clinical specialist. He is passionate about climbing and enjoys working with climbers of all ability levels, ranging from novice climbers to the top professional climbers in the world.
For more education, check out the Instagram page @theclimbingdoctor
- Disclaimer – The content here is designed for information & education purposes only and the content is not intended for medical advice.

9 Comments
Leave A Comment
Related Posts
Hello, thank you for all these fantastic resources! I have a question about taping: With a grade 2 pulley injury, when should a H-tape be worn? Is it during resting time, or during exercises, or all the time? Thank you!
During any loading activities, this includes fingerboarding and climbing.
Hello, what kind of tape is used for these finger wraps. I need to use the H wrap.
Thank you,
Kimberly
One option is white athletic tape:
https://amzn.to/3MaFHh6
Another option (much stronger but may restrict some circulation) is Leukotape:
https://theclimbingdoctor.com/product/leukotape-and-cover-roll/
Thanks for posting this valuable plan. A couple of questions: when you refer to open grip do you mean hanging from a jug or are you referring to an open crimp position with digits 2 and 5 fully open and 3 and 4 in somewhat of a half crimp position? Also why do you only add in 3 finger drag and 2 finger pocket training when progressing to higher stages? I would think those could be more beneficial earlier on while half crimping and open crimping could easily reinjure tissue. Thanks!
The key to the early phase or rehab is that the loading is pain-free. So an open hand position (either open crimp, 3 finger drag, or sloper grip) are recommended. That is then progressed to a pain-free half crimp. I find training these grips early on with “no pain” facilitates being able to use them later on when climbing. In my experience, when a climber adds a 3 finger pocket (not drag) or 2 finger pocket too early – even though they have lower pain thresholds, they tend to “push it” more and typically flair up – slowing down the recovery process. However, to your point, those grips will have less pulley stress (because the PIP is not flexed as aggressively as a crimp) – so a climber could choose to substitute a 3 finger pocket for an open crimp – or could try a 2 finger pocket in the earlier stages- they key is that they follow the rules of “no pain hangs” and “low pain hangs. Hope that helps clarify!
Would you know why the A4 rupture is considered grade II and not grade III? Is that implying that the A4 heals faster?
Yes, it is graded lower because recovery is much quicker since there is less force through the A4 during crimping and only one tendon (A4 = FDP) instead of two tendons (A2 = FDS and FDP) run under it.
Cool, thanks for the fast response. Glad to hear it. Will the pulley actually grow back after a full rupture or will scar tissue just adhere and functionally replace it?