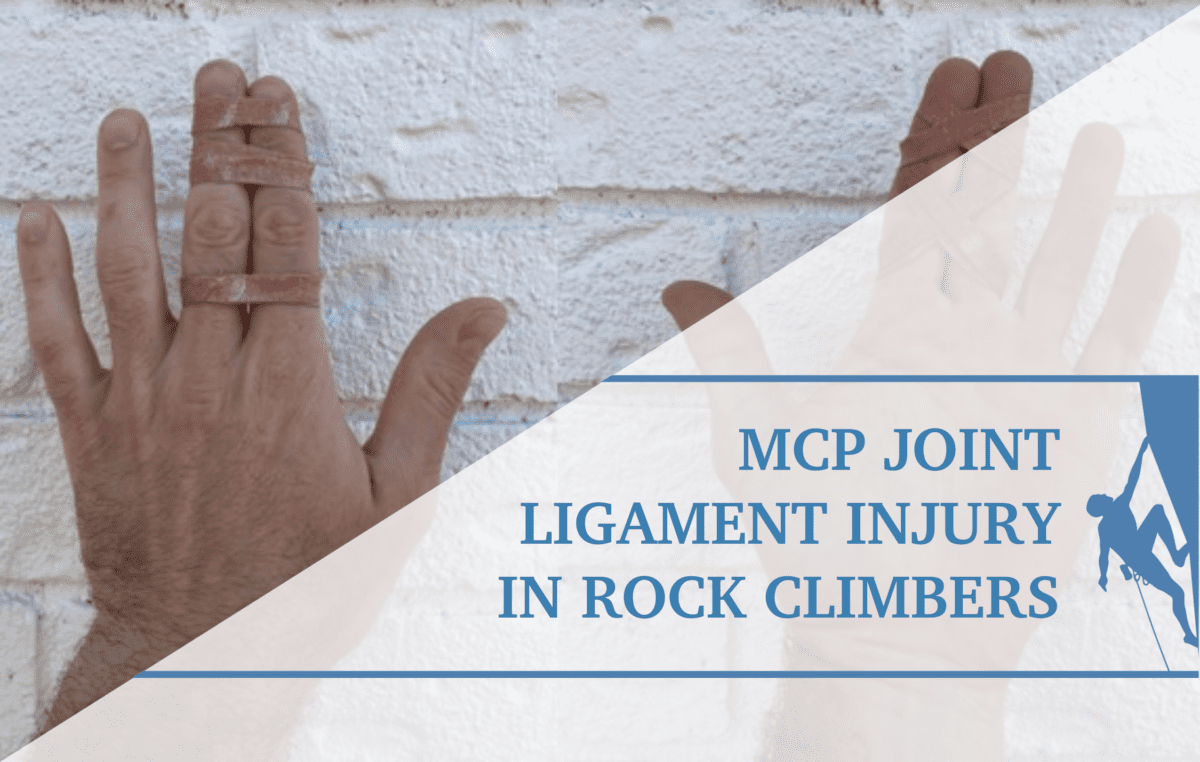
Capsulitis and Synovitis Climbing – Swelling of the Fingers
Saturday morning—finally time to get back on your project. You stretch out in bed and slowly open your hands. They feel stiff and sore, you look at your swollen finger joints wondering what’s going on. For the last couple of months, you’ve ramped up your training to be ready for your project. You’ve noticed some finger stiffness and swelling, but the pain hasn’t been too bad, more of a dull ache. You’ve pushed through hoping the symptoms would disappear, but… they haven’t. And now it’s dawning on you that you must take action.

What is Synovitis and Capsulitis?
Synovitis/capsulitis occurs due to inflammation inside the joint capsule, and can be seen as swollen finger joints. To better understand the mechanics of why this happens, here’s a brief look at the anatomy of the fingers. Your finger has three bones: the proximal phalangeal, the middle phalangeal, and the distal phalangeal. Between the proximal phalangeal and the middle phalangeal is the proximal interphalangeal joint (PIP), and between the middle phalangeal and the distal phalangeal is the distal interphalangeal joint (DIP). You have cartilage where the bones meet, as well as a joint capsule around the end of the bones. The inner layer of these capsules is called the synovial membrane and contains synovial fluid.1

Picture by Madelene Kristensson
What is it and how does it happen?
Climbing puts a lot of stress on the fingers, which can lead to various overuse injuries. Thick and swollen finger joints can be seen in experienced climbers due to repeated stress on the joints. This isn’t always cause for alarm: in some cases, the tissue is simply responding to training by becoming thicker and more resilient.2 Even novice climbers can develop swollen joints as their fingers respond to the stress of the sport.3 When swelling becomes more of an issue, though, is when it’s accompanied by pain and a decrease in the range of motion.
Synovitis/capsulitis can be attributed to too much climbing and training without adequate rest. Some grip positions that particularly stress the joint capsule are repetitive use of crimps, finger jams, and pockets.2 When crimping, the PIP joint is flexed almost to its maximum and the DIP joints are overextended. This in turn leads to the synovial membrane in the PIP joint getting both stretched and pinched.4 Repeated stress on the finger joint can cause micro-tears in the cartilage, leading to a release of enzymes that irritate the synovial tissue. Here, a maladaptive cycle emerges: the irritated synovial tissue causes an increase of synovial fluid, which puts pressure on the synovial tissue, leading to the production of even more synovial fluid. As the synovial fluid increases, a mild pressure on the nerve endings in the joint results in a dull ache3.

Open Hand

Half Crimp
Signs and symptoms
Synovitis/capsulitis are marked by swelling, decreased range of motion, and a feeling of discomfort in your finger/s. These conditions are often most noticeable in the morning following a previous day of intense climbing or training as lack of motion when we sleep leads to a buildup of fluid in the fingers.3
- Early-morning finger stiffness
- Decreased range of motion
- Non-specific pain around the
- PIP and/or DIP joints
- Pain after training
Inflammation in the acute state will heal rather quickly if given proper care. If left untreated, these conditions can cause long-term problems, such as stiffness and lost range of motion. For climbers with a chronic increase of synovial fluid, the pain may become less noticeable over time. It’s not yet clear whether the decrease in pain comes from damaged nerve endings or from pain normalization, so greater research is needed in this area.3
Assessment
Synovitis/capsulitis is an injury that stems from doing more than the tissue is prepared to handle.3 The first thing to examine is your training history. Ask yourself questions like:
- How has your training load been lately?
- Have there been any sudden spikes in training volume or intensity?
- Have you allowed yourself a sufficient amount of rest?
- Have you worked on a project, repeating the same move over and over?
Reflecting on your training history will help both you and your healthcare provider to better understand what might have caused your injury, make a diagnosis, create a rehabilitation plan, and implement changes to prevent it from happening again.
Testing The Fingers
Active range of motion: assess by trying to touch the upper part of your palm with the tip of your fingers. It’s important to keep the back of your hand straight when you perform the test. Measure the distance from the tip of your finger to the palm.
Joint overpressure: using your non-injured hand, push your distal phalanx towards the proximal phalanx on your injured finger, at the end range apply pressure to assess the end feel of the joint. Compare with your other fingers.
Joint compression and distraction: using your non-injured hand, compress the joint to see if it reproduces the pain, then perform distraction to see if the pain decreases.
Bunnell Littler test: helps determine if the range of motion is restricted by joint capsular tightness versus intrinsic muscle limitation. Examine the range of motion in the PIP joint with the metacarpophalangeal joint (MCP) in an extended position. Repeat the test with the MCP joint in a flexed position. If the range of motion in the PIP joint increases with the MCP joint flexed, the intrinsic muscles limit the range of motion. If there is no change, capsular tightness is limiting the motion.
The Rock Rehab Pyramid
The treatment recommendations below are based on the Rock Rehab Pyramid’s self-treatment strategies. The different rehabilitation phases can be seen in the picture below. The time in each phase will differ depending on the severity of your injury. Some pain during exercise is okay, but increasing pain can be a sign that you have done too much. It’s a good idea to track your symptoms in a training journal so that you can follow your progression over time. If you are unsure about how to move forward, seek help from a medical professional. You can find further information on the Rock Rehab Pyramid in Dr. Jared Vagy’s book Climb Injury-Free.

As you consider your rehabilitation plan, I want to encourage you not to stop your training altogether. Instead, get creative and see this time as an opportunity to develop other areas in your climbing that otherwise might be neglected. Below are some ideas.
Foot technique – perfect to practice on a slab, using one or no hands.
Strength – focus on any area where you lack strength, like your core.
Flexibility – improving your range of motion can increase your efficiency.
Phase 1: Unload
When you get injured, it’s important to take a step back and reflect on how it happened and why. Stop all activities that aggravate the finger so that your pain and inflammation can settle. Good care early on will help speed up the rehabilitation process.
While it’s important to rest the injury, remember the above ideas for redirecting your training. For one, staying active while injured helps increase blood circulation, which supports healing. But just as crucial is that it allows you to take your mind off the injury, even as you give yourself time to heal.
While there are conflicting views around icing an injury, it may help relieve pain and decrease swelling, which will help with regaining range of motion.5 However, heat may help in more chronic cases.3
When injured, practice skills that otherwise might be neglected, such as your bat-hang as seen below.
")
Photo by Matt Ray
Phase 2: Mobility
Pain and inflammation have decreased. Your body is now working on repairing the damaged tissue, and your rehabilitation plan should contribute to this goal. The exercises below will help promote circulation and range of motion, and they can be done 3-5 times per day.
Circulatory massage: massage your fingers with your other hand to increase blood flow to the injured area.8
Self Joint Mobilization: take your thumb and place it under the proximal phalanx of your injured finger. Grab around the middle phalanx with your other hand and do joint oscillatory movement to the PIP joint at a rate of 1-2 hertz or use sustained pressure6 for around 30 seconds. The Climbing Doctor has a great video on his youtube channel. After the joint movements, follow up with active mobilization.
Passive mobilization: using your non-injured hand, push your distal phalanx towards the proximal phalanx on your injured finger.7 Hold for 7-8 seconds and repeat for 3-5 sets. This helps establish a new range of motion.
Active mobilization: To follow up passive mobilization, you want to use your new range of motion. Move all your fingers through a full range of motion. Keep your wrist and the back of your hand straight. Do 3 sets of 10 repetitions.8
Phase 3: Strength
When injured, it’s important to progressively build your strength back up to make your fingers stronger and more resilient. This requires loading the tissue properly to support healing and remodeling. Starting out, the loading should be done frequently at a moderate intensity. During this process, you should stay away from too much high-volume training and climbing because even though the intensity is low, its high-volume will put repeated stress on the injured tissue.
The hangboard is a great tool to use when rehabilitating a finger injury, because it’s very easy to control both your grip type and load. Long-duration hangs and repeaters are good hangboard protocols to use, and will help support fluid change in the joint. Open-hand hangs are a good place to start since they require less stress on the PIP and DIP joint. Use an edge around 20-30 mm and perform the hangs at an intensity around 50-75%. If needed, use a pulley system to reduce the weight. A pick up device is another great tool to use where it is easy to control the load of the fingers. How many sessions per week will depend on your training history and severity of the injury.8
- Deadhangs, long-duration: Hang for 30 seconds. Do 4 sets of 30-second hangs and rest 2-3 minutes between sets.
- Deadhangs, repeaters: Hang for 7 seconds rest for 3 seconds, complete a total of 6 hangs. Rest 2-3 minutes between sets.
As you get stronger, you should progressively increase the intensity of your deadhangs and eventually bring half-crimp positions back into your training.


Phase 4: Movement
The final phase is about movement. Repetitive movement can put unnecessary stress on your body, so assessing your climbing movement and grip positions is essential to prevent reinjury. Always track the intensity, duration, and volume of your training sessions to watch out for potential overuse.
Crimping puts a lot of stress on the joint capsule, so consider reducing this grip type while rebuilding your strength. Open-hand grip creates less flexion in the PIP joint and less extension in the DIP joint, which makes it a good grip to start with when back on the wall. However, remember that no single grip type is superior to any another when it comes to risk of injury. Only using one type of grip increases the risk of overuse injuries, so opt for building up strength in a variety of grip positions. This has the dual benefit of improving your efficiency while also reducing your risk of injury.8
Overgripping is common in climbing. Be mindful of the unnecessary stress it puts on the fingers. Read the route or boulder properly before you start your climb. Does every move really need maximum force? Or can you try to soften your grip and save maximum effort for when you really need it?
Both static and dynamic movements are useful while climbing, but be aware of how dynamic moves put a higher load on the fingers. They can also make it harder to control your grip position as you catch the hold. Make sure to limit dynamic moves when you first return to climbing after an injury, building them back into your training more gradually.
Cultivating balanced climbing techniques will not only make you a better climber, but it will also make you a climber who is less prone to injuries. To prevent unnecessary stress on your body, increase your skill in a range of different grip types, be aware of shoulder and elbow position, and move your feet efficiently. This can be tricky to achieve by yourself, so consider asking a coach to help you evaluate your climbing. You can also film yourself to get a sense of how you move and what adjustments you need to make. Even better, do this with a climbing buddy to help each other evolve.
")
About the Author
Nanna Brandt is a third-year physical therapy student at University of Gothenburg, in Sweden. Nanna started climbing in 2012 and immediately fell in love with the sport. When not studying, she can be found out on the rock, training for a project or an upcoming climbing trip. In the future, she hopes to help people stay injury free, so they can keep pursuing their own passion.
If you have any questions for Nanna, please feel free to email her at:
nanna.rc.brandt@gmail.com

References
- Houglum, P A. Bertoti D B. Brunstrom´s Clinical Kinesiology. 6th edition. F. A. Davis Company, 2012.
- Schöffl, V R, Schöffl, I. Finger pain in rock climbers: reaching the right differential diagnosis and therapy. I Journal of Sports Medicine and Physical Fitness; Mar 2007; 47, 1; Social Science Premium Collection pg. 70
- Hochholzer T, Schoeffl V, Zapf J. One Move Too Many — : How to Understand the Injuries and Overuse Syndromes of Rock Climbing. Lochner; 2003.
- Schweizer A. Biomechanical properties of the crimp grip position in rock climbers. Journal of Biomechanics 34 (2001) 217}223
- Kwiecien, S Y. McHugh, M P. The cold truth: the role of cryotherapy in the treatment of injury and recovery from exercise. European Journal of Applied Physiology (2021) 121:2125–2142
- The climbing doctor. Joint mobilization for rock climbing synovitis. YouTube. 2021. https://www.youtube.com/watch?v=_A0KXUZ2zAI (cited 2022-02-19)
- Lattice training. Finger injuries in climbers lattice training x sheffield climbing clinic part 1. YouTube. 2021. https://www.youtube.com/watch?v=h7TaPA0O1JE (cited 2022-02-20)
- Vagy, J. Climb Injury-Free: A Proven Injury Prevention and Rehabilitation System. Climbing Doctor, 2017.
- Disclaimer – The content here is designed for information & education purposes only and the content is not intended for medical advice.

Related Posts