The Nose of El Capitan
Three years ago, I entered Yosemite Valley on a backpacking trip with friends, spotted El Capitan and knew that someday I wanted to climb The Nose. I by no means considered myself a climber. I had pulled on plastic and clipped a couple bolts but I had no experience with traditional climbing and no knowledge of aid climbing. All I had was a set of quickdraws, a harness and some motivation.
I came home from my trip, went online and impulsively bought a starter climbing rack. I added some hexes that were given to me from a friend and I was ready to trad climb. Climbing soon took hold of my life and I was out every weekend pursuing my passion.
I was climbing hard, having fun with friends, but I felt like something was missing. In 2010, I decided I wanted to climb walls. Enough single pitch cragging in Joshua Tree. I wanted to go big. I wanted to climb El Cap.
Training:
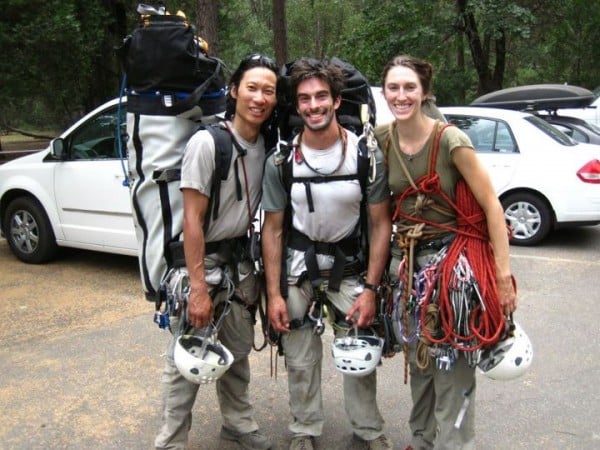
I was lucky enough at the same time to have two friends who wanted to learn how to aid as well (Jeremy and Tara). We had no idea what it took to climb El Capitan. We didn’t know an aider from a fifi hook (still get confused from time to time). Someone had to know; and we had to learn. We scoured the internet, read Chris Mcnamara’s online big wall draft, digested You Tube videos, bought Jared Ogden’s Big Wall Book and took a class at Red Rock Rendezvous from Ammon McNeely (who put up with me asking 1,000 questions).
After we acquired enough information, we decided to go all in. We had a gut feeling that we would be drawn to climbing big walls and that all we needed to do was buy the gear; so we shelled out the cash and equipped ourselves to aid climb.
We set up fixed lines in trees outside my house, aided on bolt ladders in the gym, practiced on broken cracks at Riverside Quarry, practiced on “the pirate” in Taquitz and throughout the year were able to fit in Lost Arrow Spire Tip, Moonlight Buttress, The Prow, Part of Mount Watkins (two missing bolts on a ladder forced a retreat), and the Northwest Face of Half Dome.
We felt like we were ready for the Nose, so we set a date: Labor day 2011
The Gear:
We developed a big wall pack list (it is still a work in progress as we gain more experience)
STUFF SACK (10 ESSENTIALS/FIRST AID):
Full Mini First Aid Kit, Matches, Tinder, Lighter, Emergen-C, Sharpie(TM) Pen, Duct Tape/Climbing Tape, Toothbrush and Paste
PERSONAL HYDRATION BAG X 3:
Hand Sanitizer, Baby Wipes, Toilet Paper, Poop Bag, Sunblock, Chapstick, Sunglasses, Headlamp (extra batteries), Lunch, Camera, extra Topo in ziplock, Iphone, 2+ liters of water capacity
IN POCKET:
Topo, Bars, Hard Candy
CLOTHING (choices depend on weather)
Upper Body: Waterproof Shell, PrimaLoft Layer, Long Underwear Top, Wicking Tshirt
Lower Body: Waterproof Shell, Nylon Pant, Long Underwear Bottom
Other: Hat ,Gloves, 2 Pair Socks,1 Pair underwear, Bandana, [stylish] Kool Tie
COOK/DRINK
Spork/Knife, collapsible bowl
WASTE
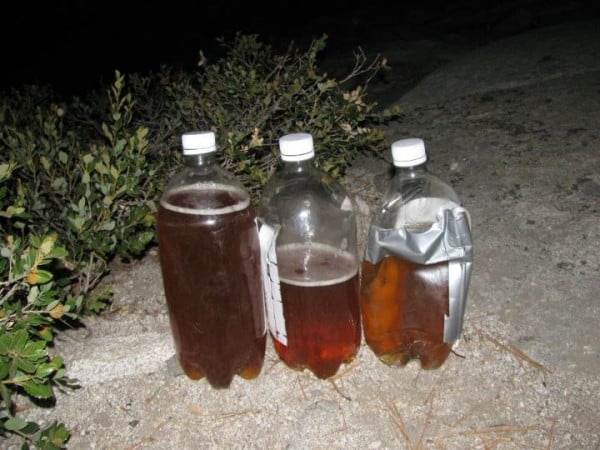
Poop Tube (vons & freezer bags with kitty litter), Pee Bottle for night time (use old 2 and 3 liters)
SLEEP
Synthetic Sleeping Bag, 2 Sleeping Pads (thin-to line the bags), 3 inflatable sleep pads (unless you’re on the portaledge every night), Portaledge, Bivy Sack (Optional)
TECHNICAL
Footwear: Rock Shoes, Wall/Approach Shoes
Body: Prusik Kit, Kinfe/Ductape kit, gloves, helmet, harness
Hauling: Swivel, ProTraction with 2 oval lockers, 20oz bottle top cut off to protect knot (2 litter’s were too bulky and weaker plastic), Haul bags are connected with steel biners
Ropes: Lead Rope 9.7-10.2mm (60 meter), Follow Rope 9.7-10.2mm (60 meter), Haul Line Static 9mm (70 meter – tied for 10 meters of lower out)
Belay: Locking-assist device (Grigri/Cinch) priceless, tube-style backup
Gear: Recommended Super Topo Rack, 3rd cordalette would prove useful coming out of bivies, obtain Aliens for rack if possible. Off-sets are lovely, again obtain Aliens if possible, much more durable than Metolius’ offsets.
Additional: Belay Seat (just use aiders as a makeshift seat), Rope Bags X 5 (or nylon bag) Xtra Ascender & Pulley (backup and for Spanish Burton), bail kit for haul bag with rap rings and cordage
PACKS
2x haul bags (1 Medium & 1 large), 18L pack for all climbers w/ 2.5+ liter hydration bladder
WATER/FOOD
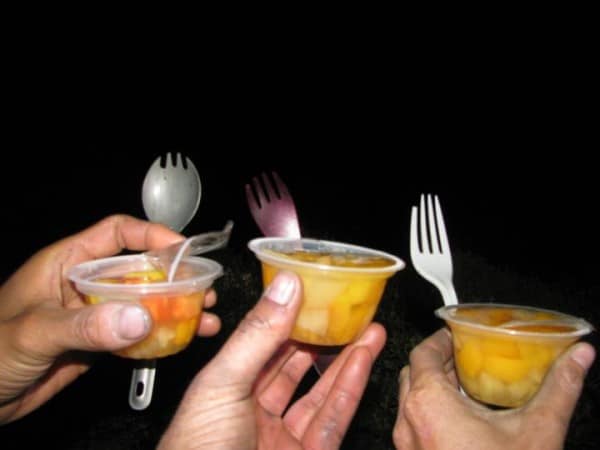
4 L/person (4kg ~8.8 lbs) per day (use 2 or 3 liter soda or h20 bottle with parachute cord clove hitched or taped on), enough food for 4 days, Fruit Cups for the summit
OTHER
Sandwich/Garbage/Trash Bags, Individual Stuff Sacks, Walkie Talkie (very useful on last pitch)
Strategy:
We decided to go heavy and at a moderate to slow speed to maximize our chances of success. We knew of more efficient methods with 3 people that involved short fixing and using only two ropes, but, alas we are mere amateurs and we decided to do what had worked for us in the past and use three ropes. Two 60 meter dynamic lead/follow lines and a 70 meter static haul line tied off at 60 meters so that we could lower out. We would pack out our urine in bottles and crap in a poop tube to ensure that we would make minimal impact on the rock.
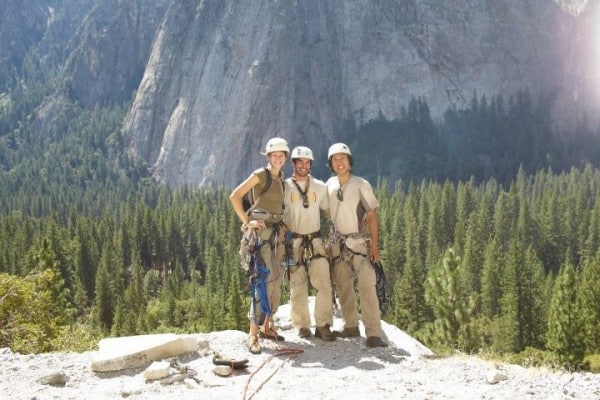
The Trip:
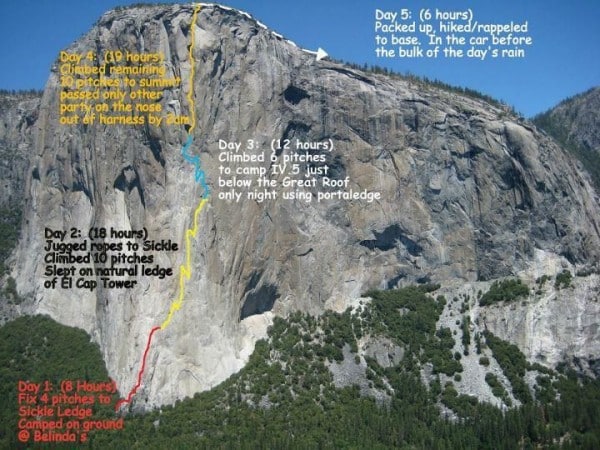
Day 00: Scoped out the climb, checked the lines (there were none), chilled in El Cap meadow drinking hard lemonade(don’t judge), newcastle and king cobra
Day 0: Humped loads to the base; drank several beers near the campground
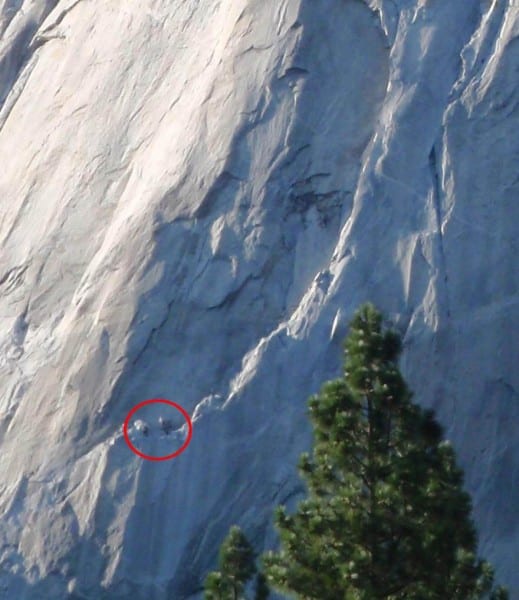
Day 1: Fixed to Sickle (8hrs)
Day 2: Bivied El Cap Tower (18hrs)
Day 3: Bivied @ Camp IV.5 (P22 between Camp IV and the Great Roof) (12hrs)
Day 4: Summit! (19hrs)
Day 5: Hiked/rappelled down (6hrs)
Weather:
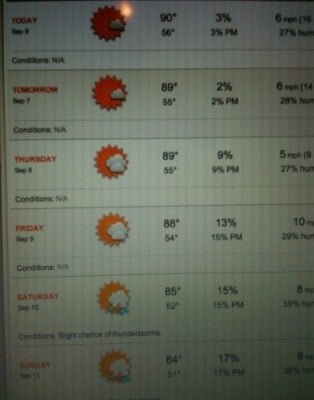
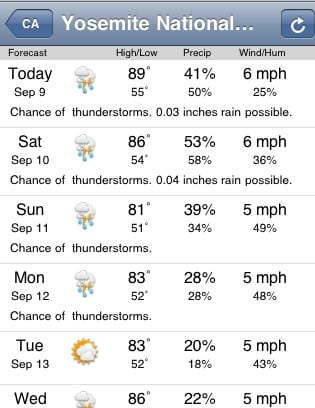
The Climb – Random Pitch Comments:
Day 1:
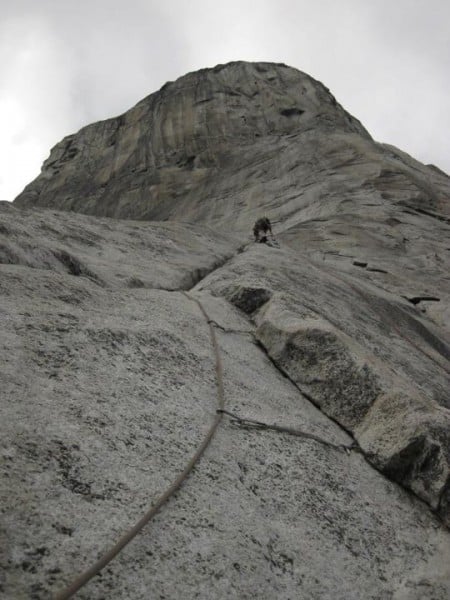
Pitch 1: Easy broken rock to a shallow right leaning crack/corner. Mixed C1 and 5.8 free climbing.
Pitch 2: Straight forward C1, good pitch to dust off your aid skills and get ready for the 29 more to come.
Pitch 3: Nothing memorable
Pitch 4: Really fun tension traverses. The first one is a little harder and longer than the second one.
Day 2:
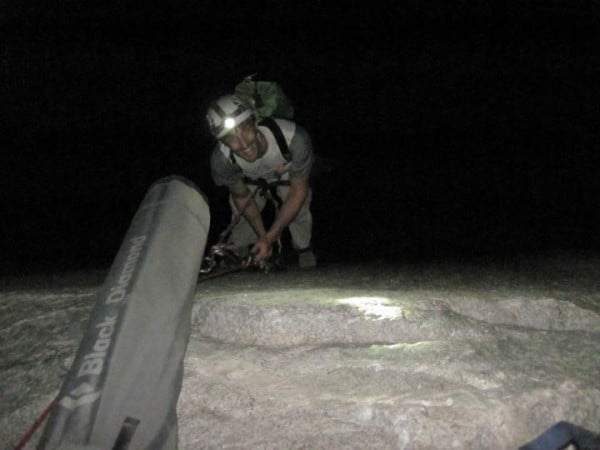
Pitch 5: Easy 4th class
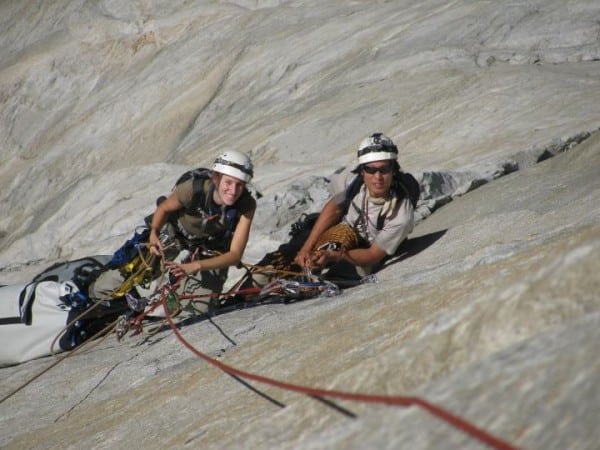
Pitch 6: Only one or two 5.9 moves, mixed free and aid
Pitch 7: Fun Pendulum 20 feet down into 5.6; did not see bolts, so just kept climbing until I ran into the belay station which I assumed as Dolt Hole
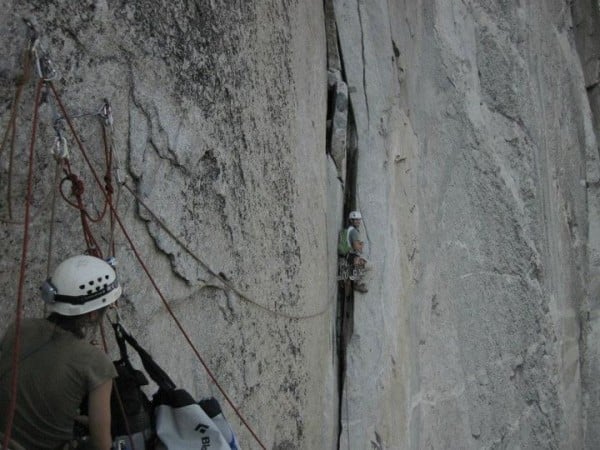
Pitch 8: Easy C1 (#4 BD) brings you to a long bolt ladder. Climb to the top of the bolt ladder and lower down until about 10 feet above the belay (as per option A on the supertopo). Swing over to the Stoveleg cracks. As the leader, DO NOT clip any gear or you will suffer severe z-clip-drag. Your belay might be your first piece. Great perfect hand crack. My (Jeremy) favorite pitch.
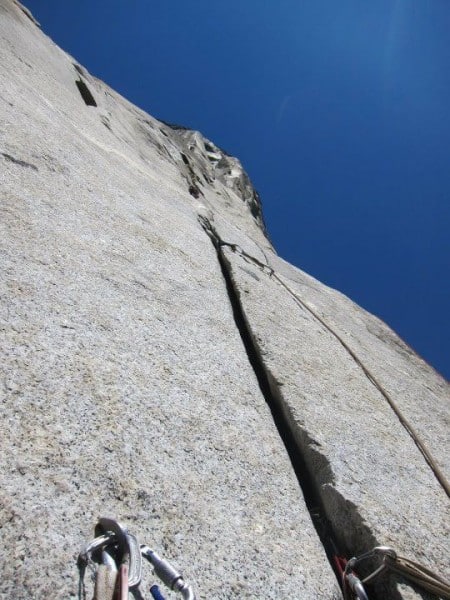
Pitch 9: Continuation of the stovelegs, still fun, but not quite the same splitter
Pitch 10/Pitch 11: These pitches should link with a rope stretching 1 pitch. We did it in 2 pitches because we didn’t have 40 feet of rope left after pitch 1. The topo may be slightly inaccurate or we just suck and guesstimating rope length. Possibly pitch lengths should be 170 and 30. Dolt Tower is a good bivy for 2. Be careful of the loose rocks all over the ledges. We connected the far left bolted anchor to the far right bolted anchor with about 15 feet of our lead line and used this as a line to shuttle our bags to the far right edge for a more proper belay. We then took the rope down and set up the belay.
Pitch 12/Pitch 13: These 2 easily link with one 60-meter rope. So glad I brought two number 4’s for pitch 13! Combining these pitches made for easier hauling.
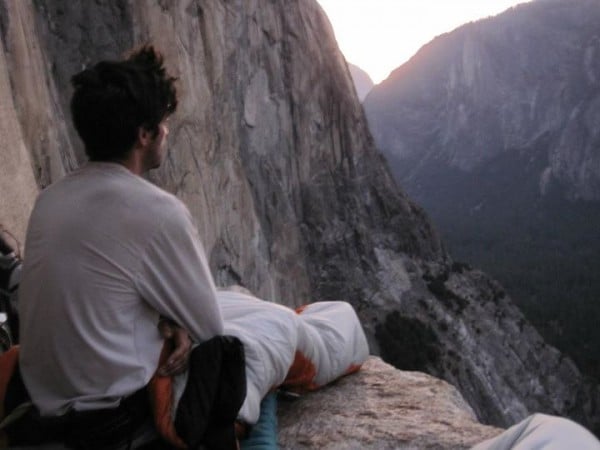
Pitch 14: Easy 5.7; climbed with headlamp, saw frogs on the wall up here! Climbing is easy, but somewhat dirty toward the bivy. Bivy is nice 3.5’ x 10’ nearly level & flat ledge.
Day 3:
Pitch 15: Texas flake. Word to the wise. Don’t be silly (Jeremy…) and bring a 3 liter pack of water and a double rack up this one; rack up later for the next pitch. If you don’t place any gear until the bolt, there will be no drag.
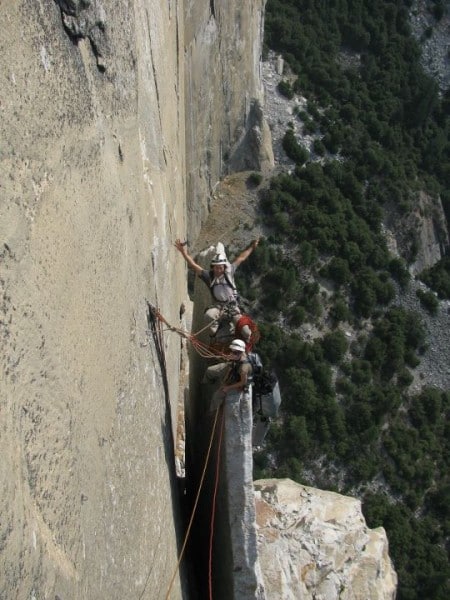
Pitch 16: Boot Flake: Splitter and fun aid; after the bolt ladder a cam hook was bomber in the C1+. Be sure to snap a picture of your belayers, as you will not see Texas again.
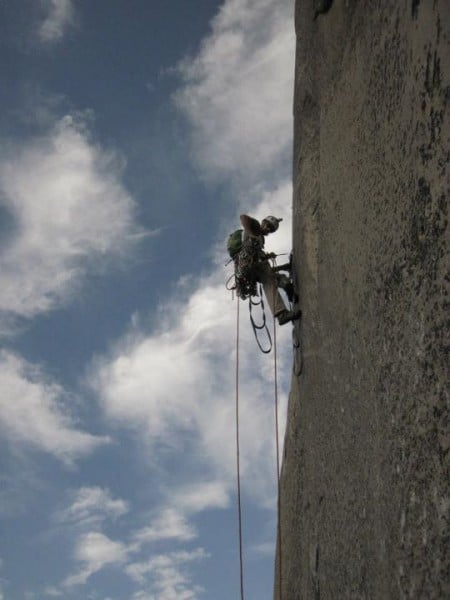
Pitch 17: The King Swing. Lowered about 20 feet below the boot and got it on the second try. I may have been a little low. There is a squeeze/corner with a flare and a small/medium crack in the back below the intermediate belay pedistal. Pulled some awkward C1 (needed a number 4) and continued up to the top of pitch 17 belay. Partners both lowered themselves and the bag out. The aiding was awkward but easy and it saved the extra pitch of lowering down to Eagle Ledge.
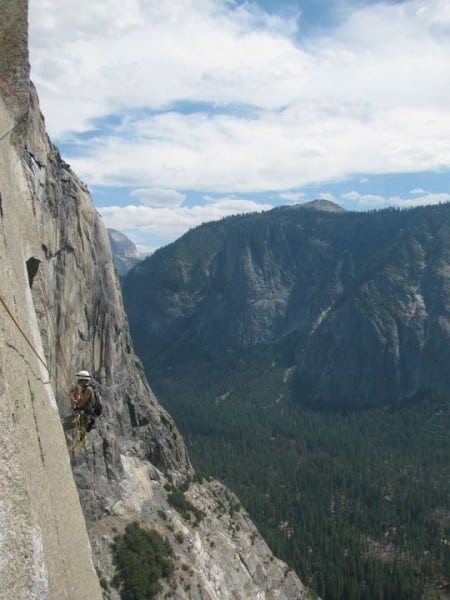
Pitch 18: Thin C1, to an uncomfortable hanging belay. Might link to intermediate belay (post pendy) w/ 60m. Do not haul on this pitch.
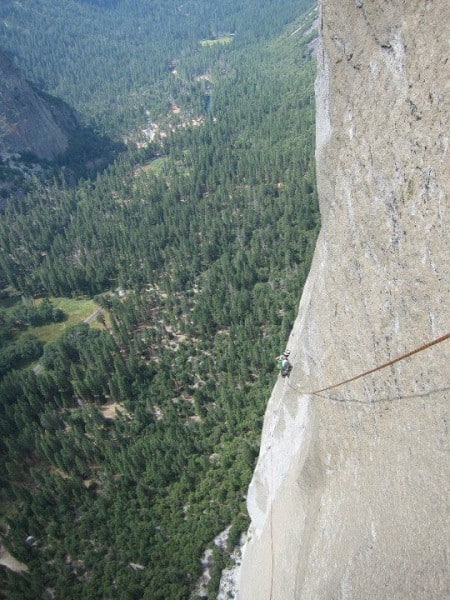
Pitch 19: We stopped short of 19 and belayed at the intermediate station beforehand. This was great for hauling from the top of P17. This then linked straight to Camp IV.
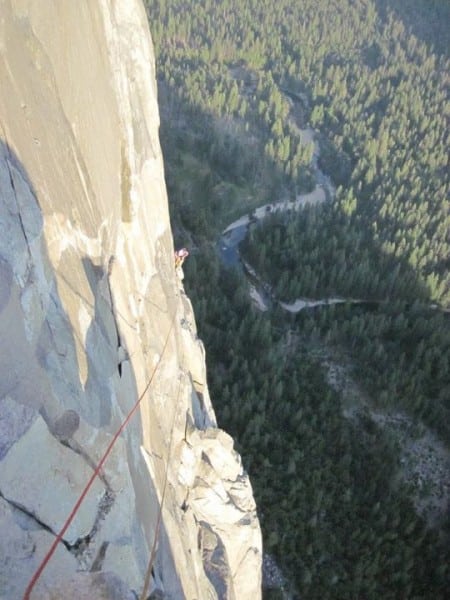
Pitch 20: Camp IV, sticky w/ urine, but not overwhelming. We did not haul here, It would not make a good bivy for more than one, and not ideal at that.
Pitch 21: I was belayed from pitch 20 by one partner as the other partner waited at pitch 18.5 with the bag. I must have missed something because I could not see two pitons. I scrambled to the left of the belay because to the right looked untraveled and there was not a crack. I then traversed back to the right and aided up to a fixed piece with a beaner attached. Traversed 15 feet on 5.7 to thin broken terrain that felt like C2. This was a scary pitch for me for some reason. I had on 5.10 tennies; maybe it would have been cake in free shoes or maybe I’m just a whimp. I aided up to the belay which was on my left. We hauled the bag from pitch 18.5 (where the second released it and jugged directly up).
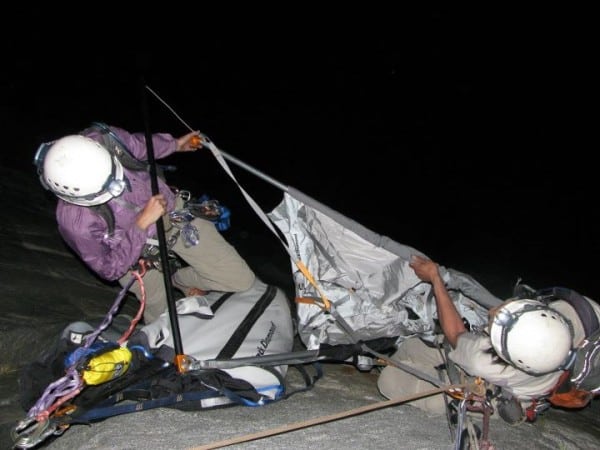
Day 3:
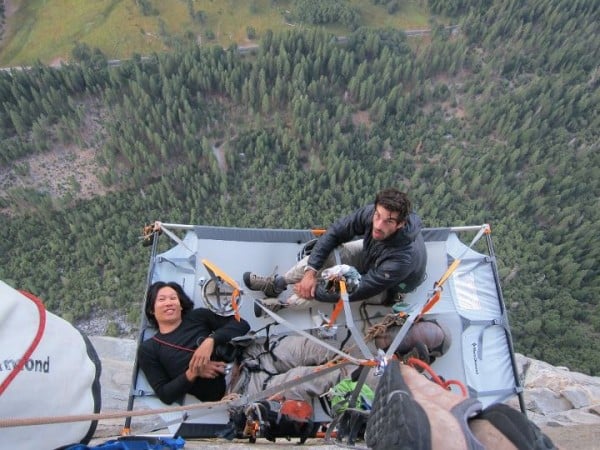
Pitch 22: Easily lead and comfortable back cleaning to the roof clipping only fixed gear. So much fixed gear on the roof but of skeptical quality, follower just clips it and then third jugs a straight line (mini lower-out/pendulum) to the belay.
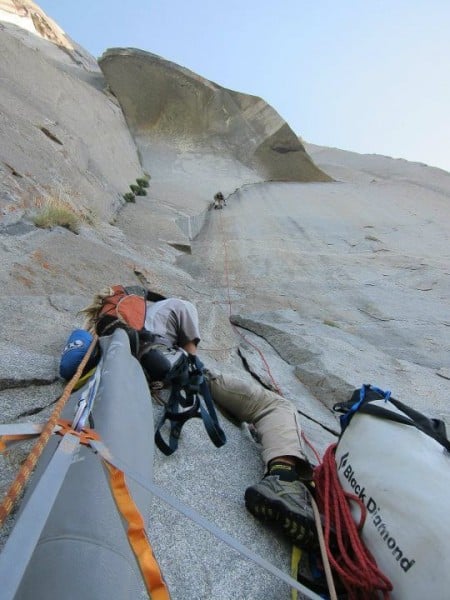
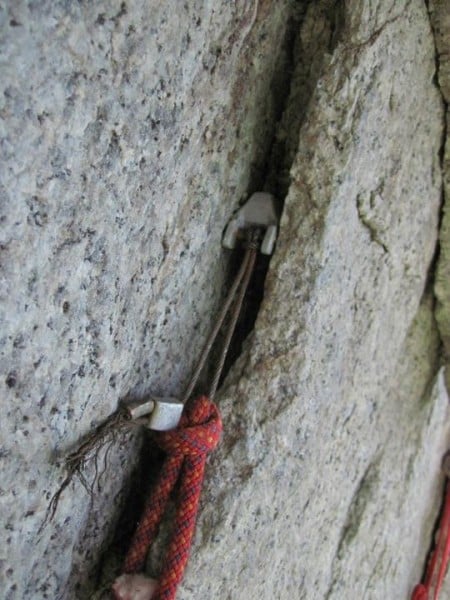
Pitch 23: Pancake Flake: Super Fun.
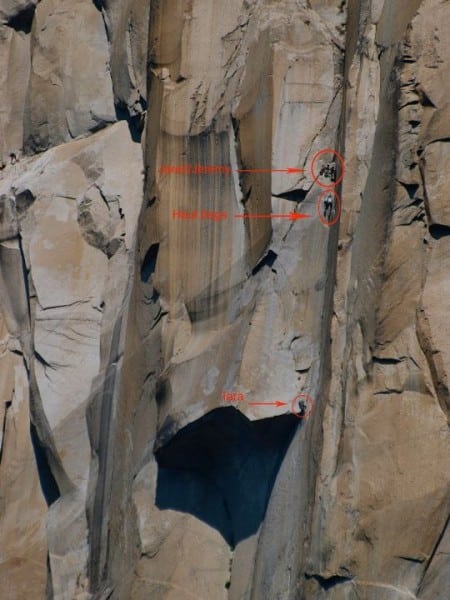
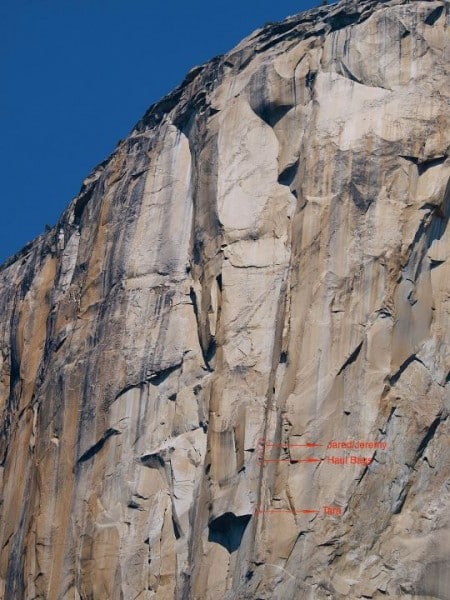
Pitch 24: Awkward dihedral then ledge hopping before Camp V. Great bivy spot, plus 1-person bivy just 15’ below and right, and another 1-person bivy 15’ up and right of Camp V. Easy hauling
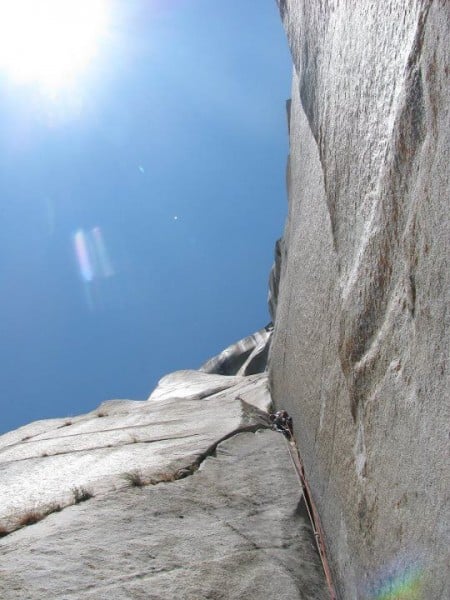
Pitch 25: Easy lead, hauling ok once pigs are plumb. Nice belay stance on 4×3 triangular ledge
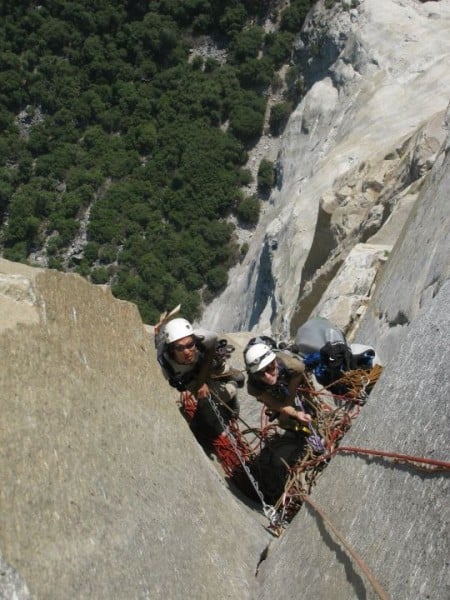
Pitch 26: Easy C1; lot’s of leap frogging
Pitch 27: Changing Corners: We caught up to a party (Ed and Vick from the UK) and they were nice enough to let us pass them at the top of the changing corners belay. After some easy aid, I climbed the bolt ladder to the third bolt (reachy!) but only clipped the first. I then heel hooked the arête and crossed over the corner and placed a 00 offset cam. I know it is recommended to clip the first and transition but I thought this way was super fun.
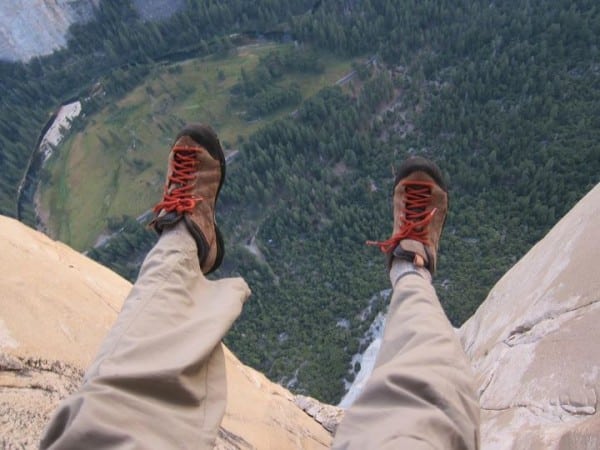
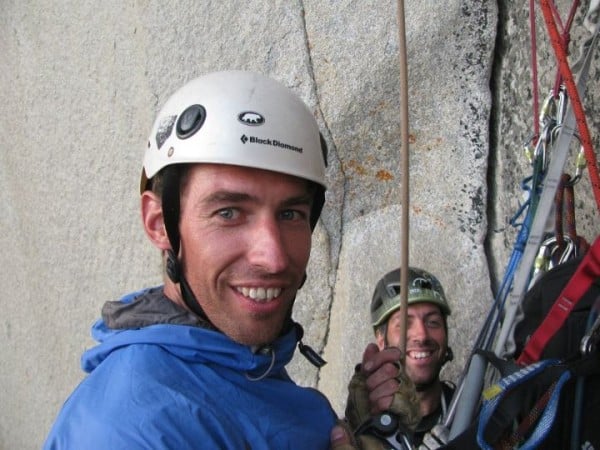
Pitch 28: Super easy C1 on #1 BDs. Very quick if you leap-frog them. Good 2×2 belay stand after short pitch
Pitch 29: Intermediate belay on topo is not so hot. 5.6 trough is awkward, low-angle, would be quick in free shoes. C2F is heady but straight forward right to the belay, Keep an eye on sagging ropes 5’ down and right of the belay stance, as there are loose flakes down there. Comfy belay otherwise.
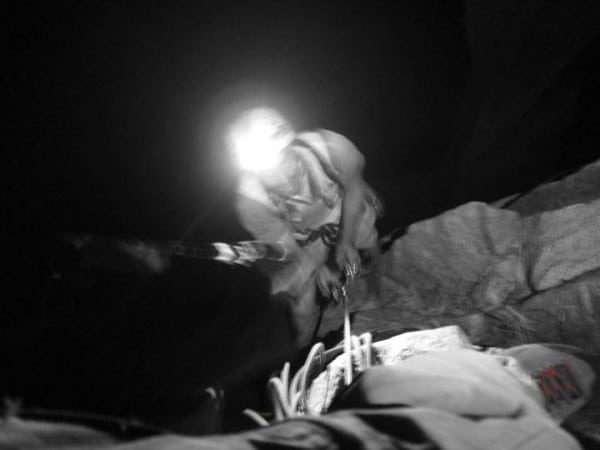
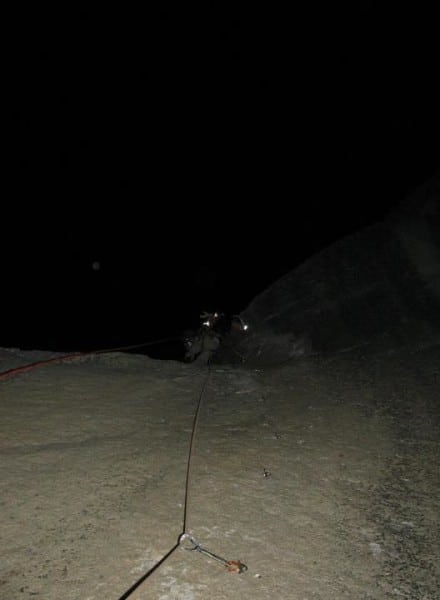
Pitch 30: Easy aid but I did this one in the dark, so I went slow and placed a lot of gear. I could not find a set anchor so I threw 3 offsets in a seam above a bolt and tied a 4-piece anchor to include the bolt.
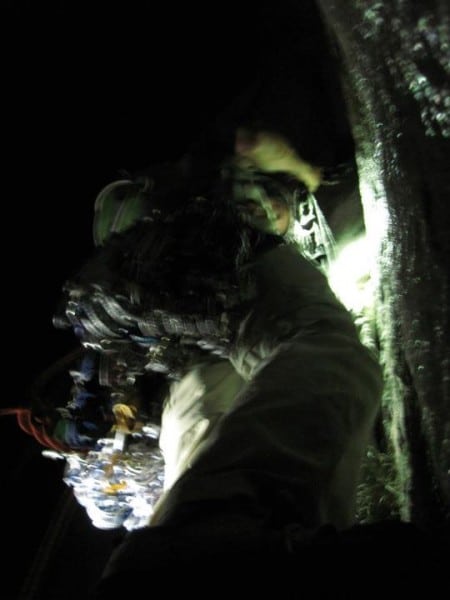
Pitch 31: Super fun, steep bolt ladder. Free section was more comfortable in free shoes or good approach shoes. If hauling, stop where the topo suggests, at the nest of webbing on 2 bolts; hauling past this point is atrocious. Then shuttle gear as suggested. We used a walkie talkie to communicate because it is difficult to hear your partner in this section.
Conclusions/Tidbits:
* Please note that these comments are coming from beginner aid/wall climbers:
We used the acronym that we made up called DAPPS: Docked (haul bag), Anchor, Protraction, Pulley (if using mechanical advantage on haul), Second Rope (attached to the second and ready to trail)
Always put your ascenders and ladders in the same place on your harness
Do not forget bivy sacks and if you see storm clouds coming move your bivy/rain gear to the top of the bag and get ready to wait for the storm to pass; weather reports can change.
Spanish Burton was used for day 1 and part of day 2 to try to hump our heavy loads, but double body haul was more efficient.
Learn to lower out quickly as it will save a lot of time
Leader calls 10 or 5 minutes to anchor. Follower preps for jugging, pendulum, pig lower-out, etc… upon hearing this.
We planned to free much of the route but ended up in ladders the majority of the time because didn’t realize the difficulty aid/free transitioning and free climbing 5.9 with that much exposure and heavy gear.
It is difficult to transition from aid to free
Bring 2 number 4’s, pitch 12 would be scary without them
Number 4’s are fine for body weight tipped out in 4.5 inch cracks
Only did only one cam hook move the entire climb, did not need a talon or skyhook
Offset Cams are amazing – Don’t leave home without them. Metolius Master cam plastic sheath will likely get shredded from aiding; safety will not be compromised.
Placed 1 nut the entire route and 1 micronut, also takes longer for follower to clean passive gear
We decided to haul up all of our urine to leave no trace on the wall. Correction: Actually Jeremy decided this – which I was initially skeptical about but in the end supported and will continue in the same style on future walls. Pictured: 7 liters or 15 pounds of urine. Curious what colors we could attain eating more beets.
Wear your harness really tight and wear a long shirt or else your harness will ride up and your shirt will chafe during hauls (Jared forgot his lube)
Replace all heavy beaners with Camp nanos (more convenient size) or Metolius FS minis to shave weight and rack multiple cams (upto 4) per beaner
Rack Quickdraws in sets of 5-6 so handoffs are easier
Carry multiple trad/extending quickdraws, as they are super useful at the bivy and belays. These are also great retainers for sleeping pads, as the single runner will slip snuggly around the pad.
Lead in blocks, saves time & transitioning gear. Also keeps individuals mentally/physically focused in their roles.
- Disclaimer – The content here is designed for information & education purposes only and the content is not intended for medical advice.

